Configure Connection to the Atlas Data Source
Alation Cloud Service Applies to Alation Cloud Service instances of Alation
Customer Managed Applies to customer-managed instances of Alation
Enhanced Connector Enhanced connectors add extended capabilities and require a separate entitlement in addition to your Alation platform license.
Configure New Atlas Data Source
Add a new Atlas data source in Alation: - Log in to Alation as a Server Admin. - Expand the Apps menu on the right of the main toolbar and select Sources. - On the Sources page, click +Add (top right) and select Data Source. - In the Add a Datasource screen, select Database Type as Atlas OCF Connector.
General Settings: - Populate the required fields in the General Settings tab.

If Atlas needs to be connected through Knox, select Knox SSO Authentication:
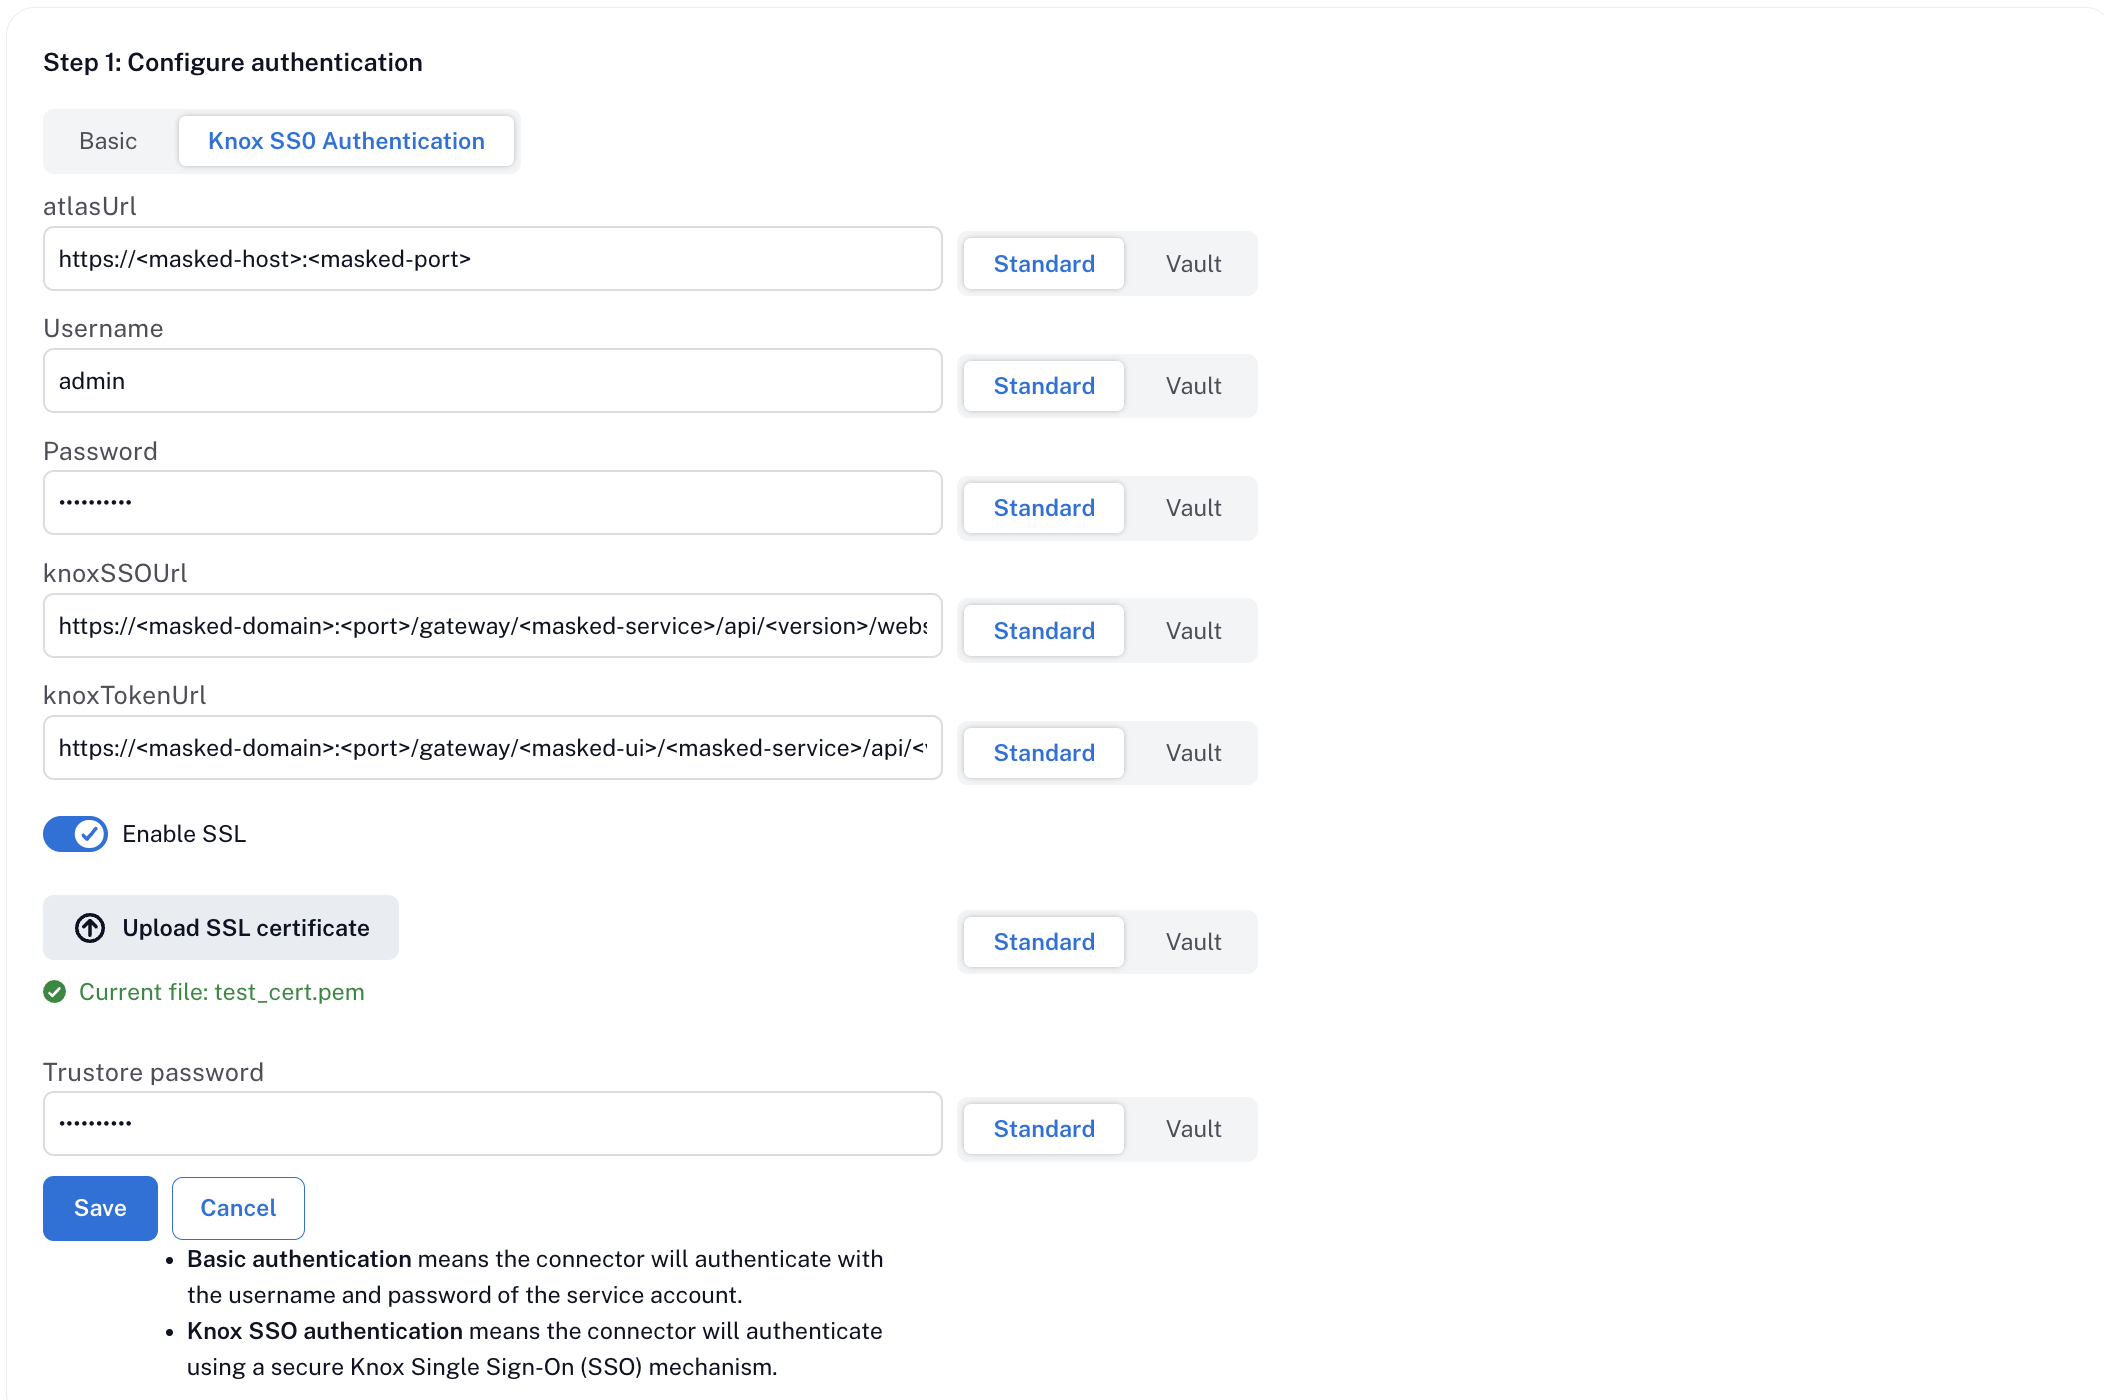
KNOX SSO URL: Provide the redirection URL for the required topology. Example:
`
https://<knox_url>/gateway/knoxsso/api/v1/websso?originalUrl=https://<knox_url>/gateway/homepage/home/
`
KNOX TOKEN URL: URL to create the Knox token for the topology. Example:
`
https://<knox_url>/gateway/homepage/knoxtoken/api/v2/token
`
ATLAS URL: Base URL for accessing Apache Atlas through Knox. Example:
`
https://<knox_url>/gateway/cdp-proxy-token/atlas/
`
Note: The above example is for API access in a Cloudera cluster. The topology for UI access may differ. Refer to your Knox configuration.Username and Password: - For Knox config: Provide Knox username and password for generating the token. - For non-Knox config: Provide Atlas username and password.
SSL Certificate: For self-signed CA/certificates, upload the certificate as described in prerequisites.
Truststore Password: The certificate is stored in a JKS file protected by this password. You may use any password.
Parameter Reference Table:
Parameter |
Description |
|---|---|
Atlas URL |
Enter the URL to access Atlas. |
Username |
Enter the service account username for Atlas or Knox. |
Password |
Enter the service account password for Atlas or Knox. |
Use SSL |
Select if Atlas requires SSL. |
SSL Certificate |
Upload the SSL certificate if SSL is enabled. |
Truststore Password |
Password to protect the truststore (JKS) for the SSL certificate. |
Knox SSO URL |
(If using Knox) Enter the Knox SSO URL for authentication. |
Knox Token URL |
(If using Knox) Enter the Knox Token URL for token generation. |
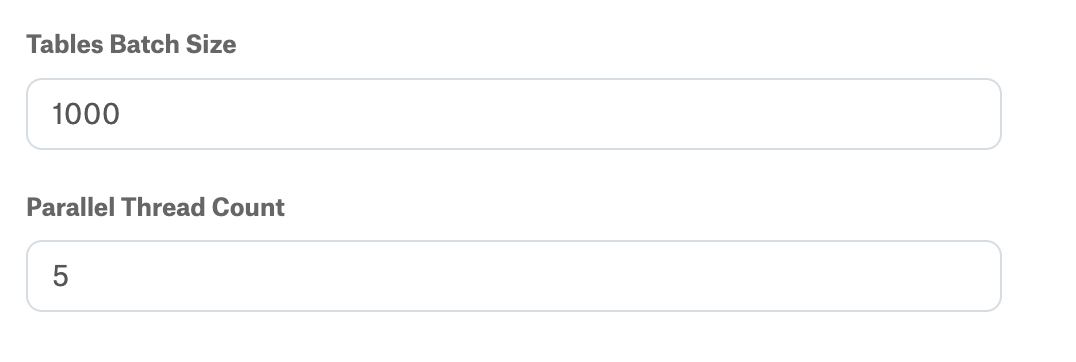
Performance Settings:
Configure the following extraction performance settings:
Parameter
Description
Default value
Tables Batch Size
Number of tables to fetch per API call. Increase for faster extraction on large datasets. Decrease the value if you experience timeouts.
1000
Parallel Thread Count
Number of parallel threads for metadata extraction. Higher values improve speed but consume more resources.
5
Click Save to save all configuration.
Under Test Connection, click Test to validate network connectivity.

Configure Logging
To set the logging level for your Atlas connector logs:
On the Settings page, expand the Connector logs (optional) section.
Select a logging level from the Log Level dropdown and click Save.
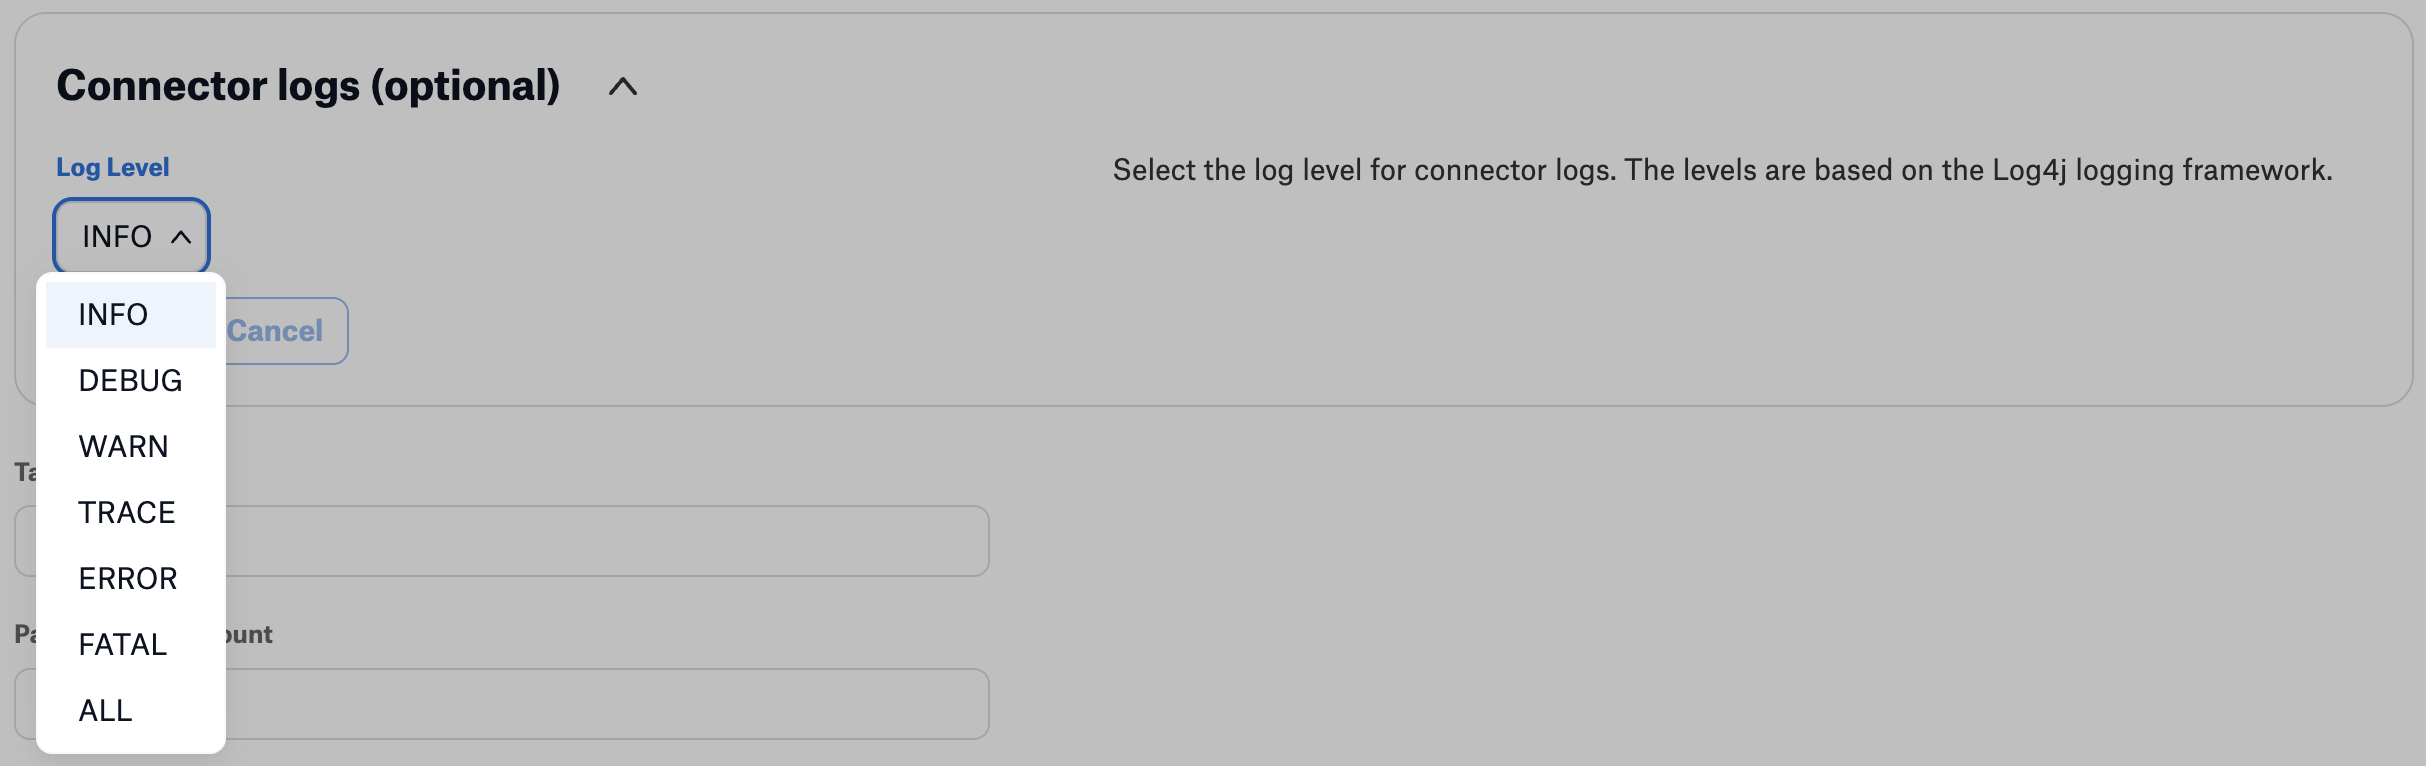
The available log levels are based on the Log4j logging framework:
Log Level
Description
INFO
Default level. Logs informational messages.
DEBUG
Logs detailed information useful for debugging issues.
WARN
Logs warning messages for potential issues.
TRACE
Logs very detailed tracing information.
ERROR
Logs error messages only.
FATAL
Logs fatal errors that cause the application to stop.
ALL
Logs all messages at all levels.