Manage a Marketplace
Alation Cloud Service Applies to Alation Cloud Service instances of Alation
Marketplace owners are responsible for configuring and governing a marketplace so that data products are curated, compliant, and discoverable. This topic explains how to create and maintain a marketplace, set standards and badges, manage product listings, and assign roles to other users. It also explains how to set a default marketplace and take over ownership of a marketplace.
Create a New Marketplace
After you enable the Data Products feature, you can create a new marketplace.
Click on the Data Products icon to open the Data Products page.
On the Setup Marketplace page provide the required information (Marketplace Name, Contact Email, Contact Name, and Marketplace ID) to create the marketplace. To add further details, you can edit the marketplace YAML file later. See Edit the Marketplace.
Click Create Marketplace.
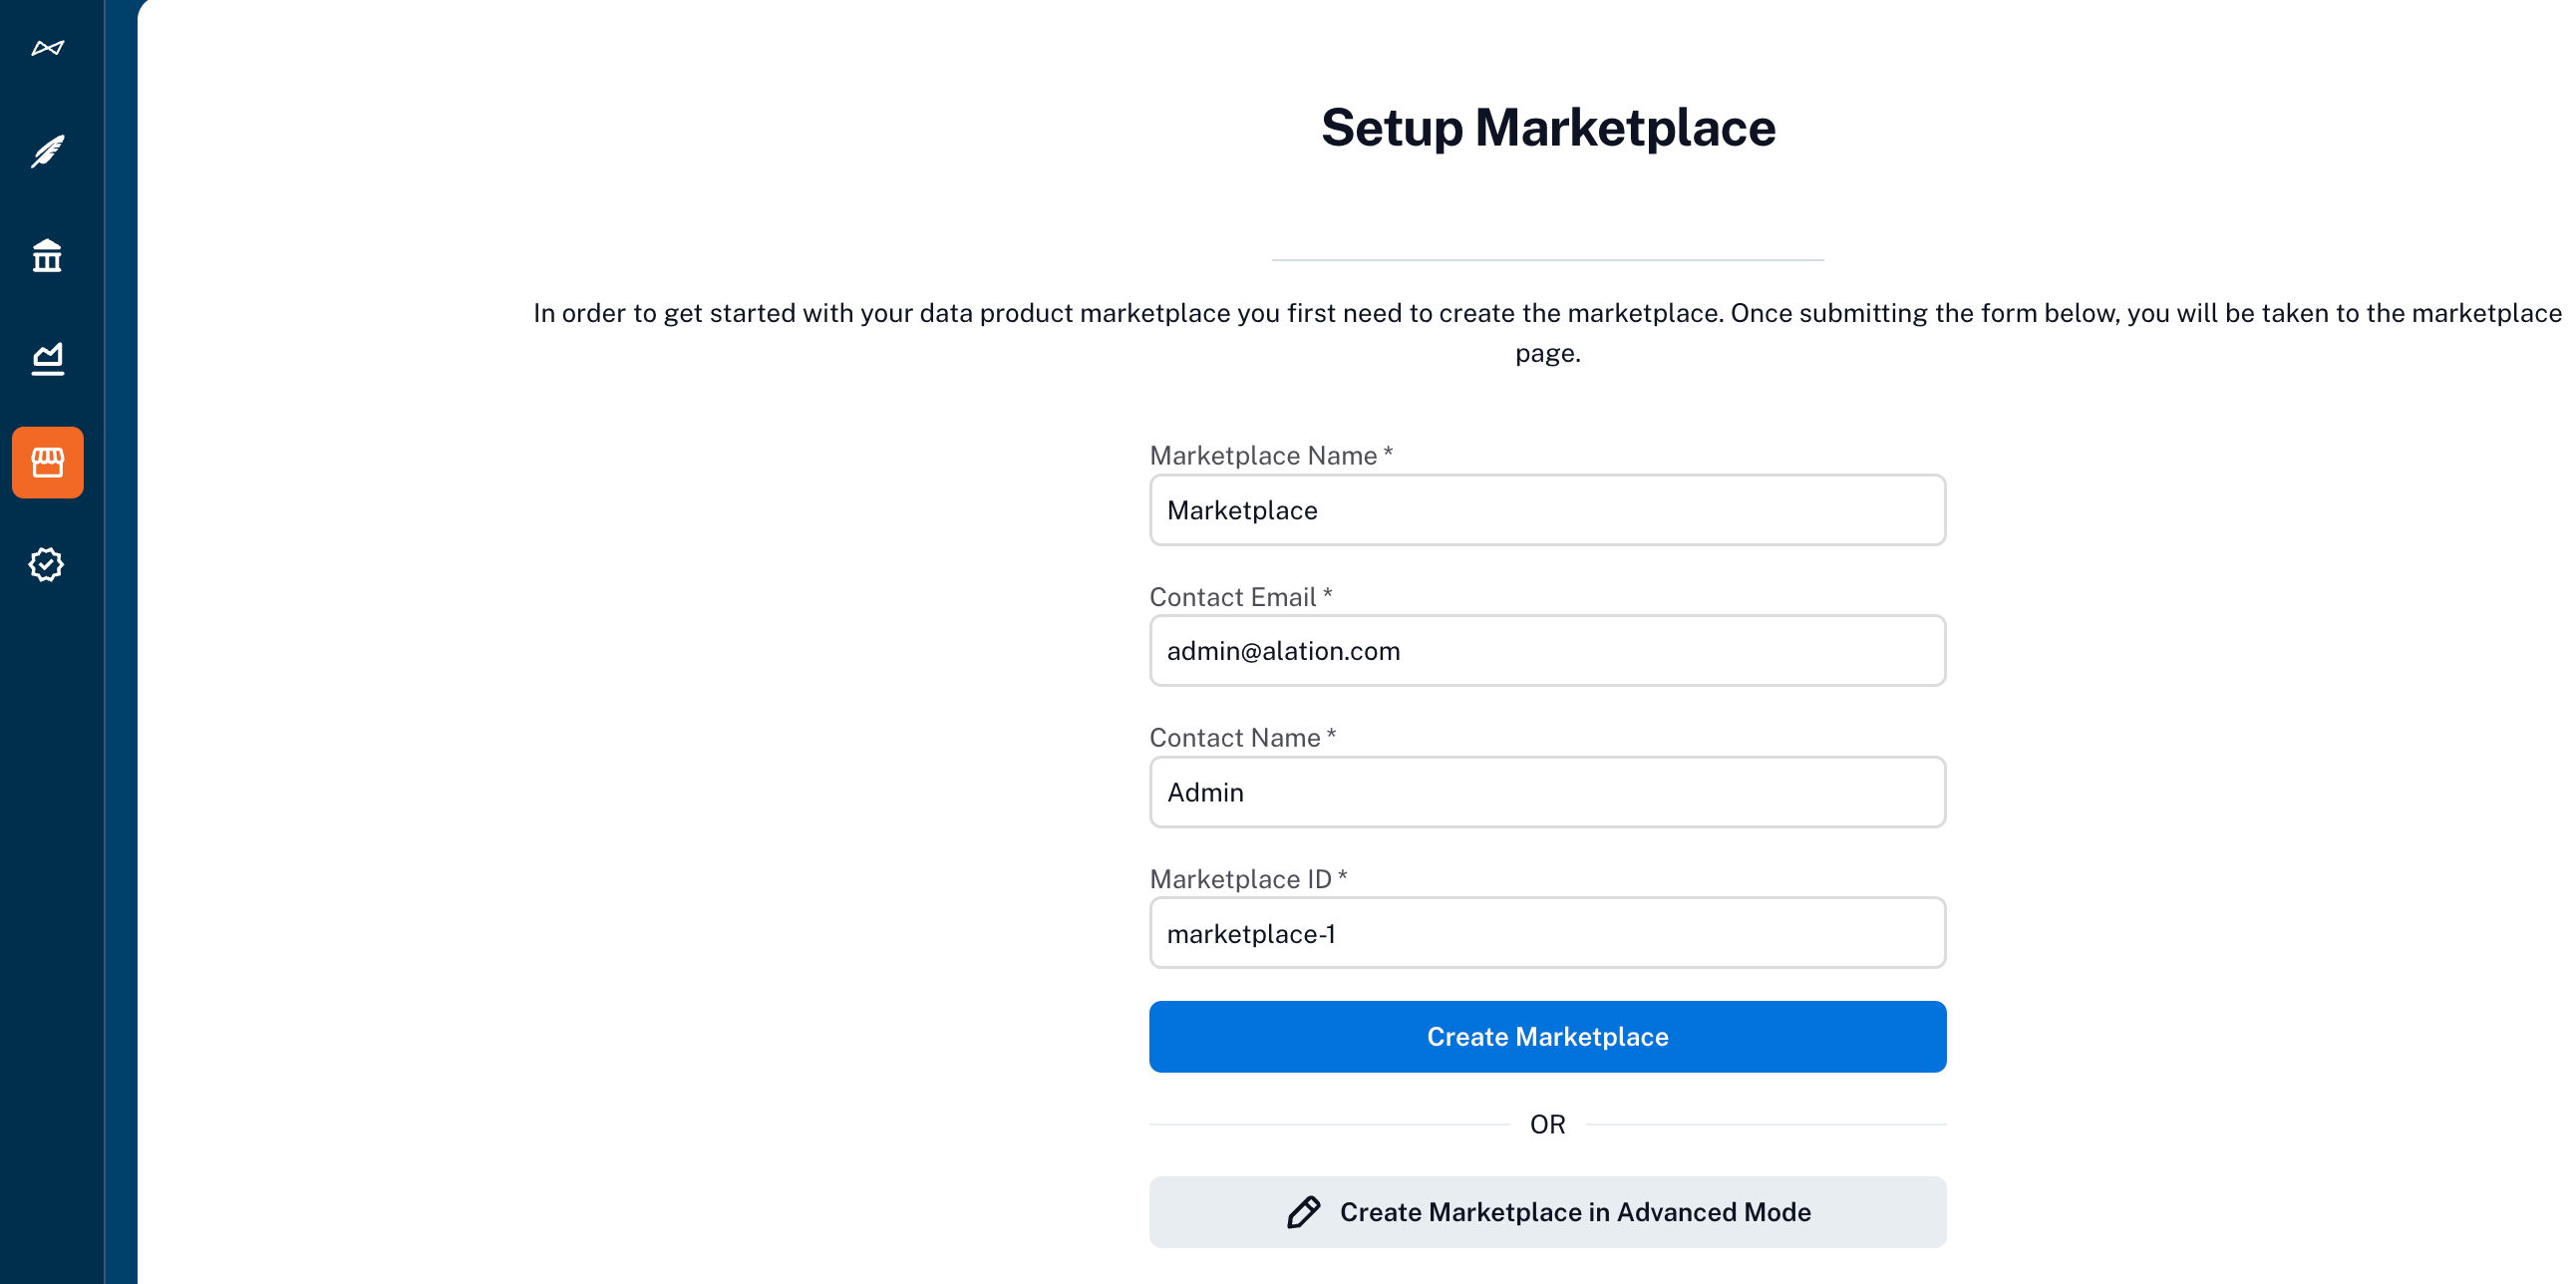
The marketplace is created, and you are redirected to the Marketplace page. You can further define, configure, and submit the marketplace.
Optionally, you can click on Create Marketplace in Advanced Mode to create a marketplace using a YAML specification. Use the specification at
https://<base_URL>/static/swagger/specs/data_products/marketplace_schema.yaml(example:https://myalationcatalog.com/static/swagger/specs/data_products/marketplace_schema.yaml) to develop the .yaml file content.
Here’s an example of a YAML file for a marketplace:
marketplace:
  contactEmail: [email protected]
  contactName: Allie
  dataProductRequirementsSchema: {}
  en:
    description: Sales datasets including ARR, new sales, renewals, and churn.
    name: Sales Data
    shortDescription: Sales data marketplace
    heroImage: https://mycatalog.s3.us-east-1.amazonaws.com/uploads/2Ca2L9pzrcXKAgCEexjCT3basD8AJBUmsGAo/89ad0e768282f8a08e764b84216708c7bcec6dc1be660a8dfa8558c8cec8656b.png
heroBackgroundColor: '#FFFFFF'
marketplaceId: sales_marketplace
badges:
  - check: The description of the product should describe where the data originated
    displayName:
      en: Origins
    key: product.description
    type: static
minimumStandard:
  - check: Product must have a contact email
    displayName:
      en: Has a contact email
    key: product.contactEmail
    type: static
  - check: Has declared a support response time SLA in the description
    displayName:
      en: Has a support SLA
    key: product.description
    type: static
Edit the Marketplace
Update the marketplace’s visibility, title, description, short description, image, contact information, and auto-approval settings through the API
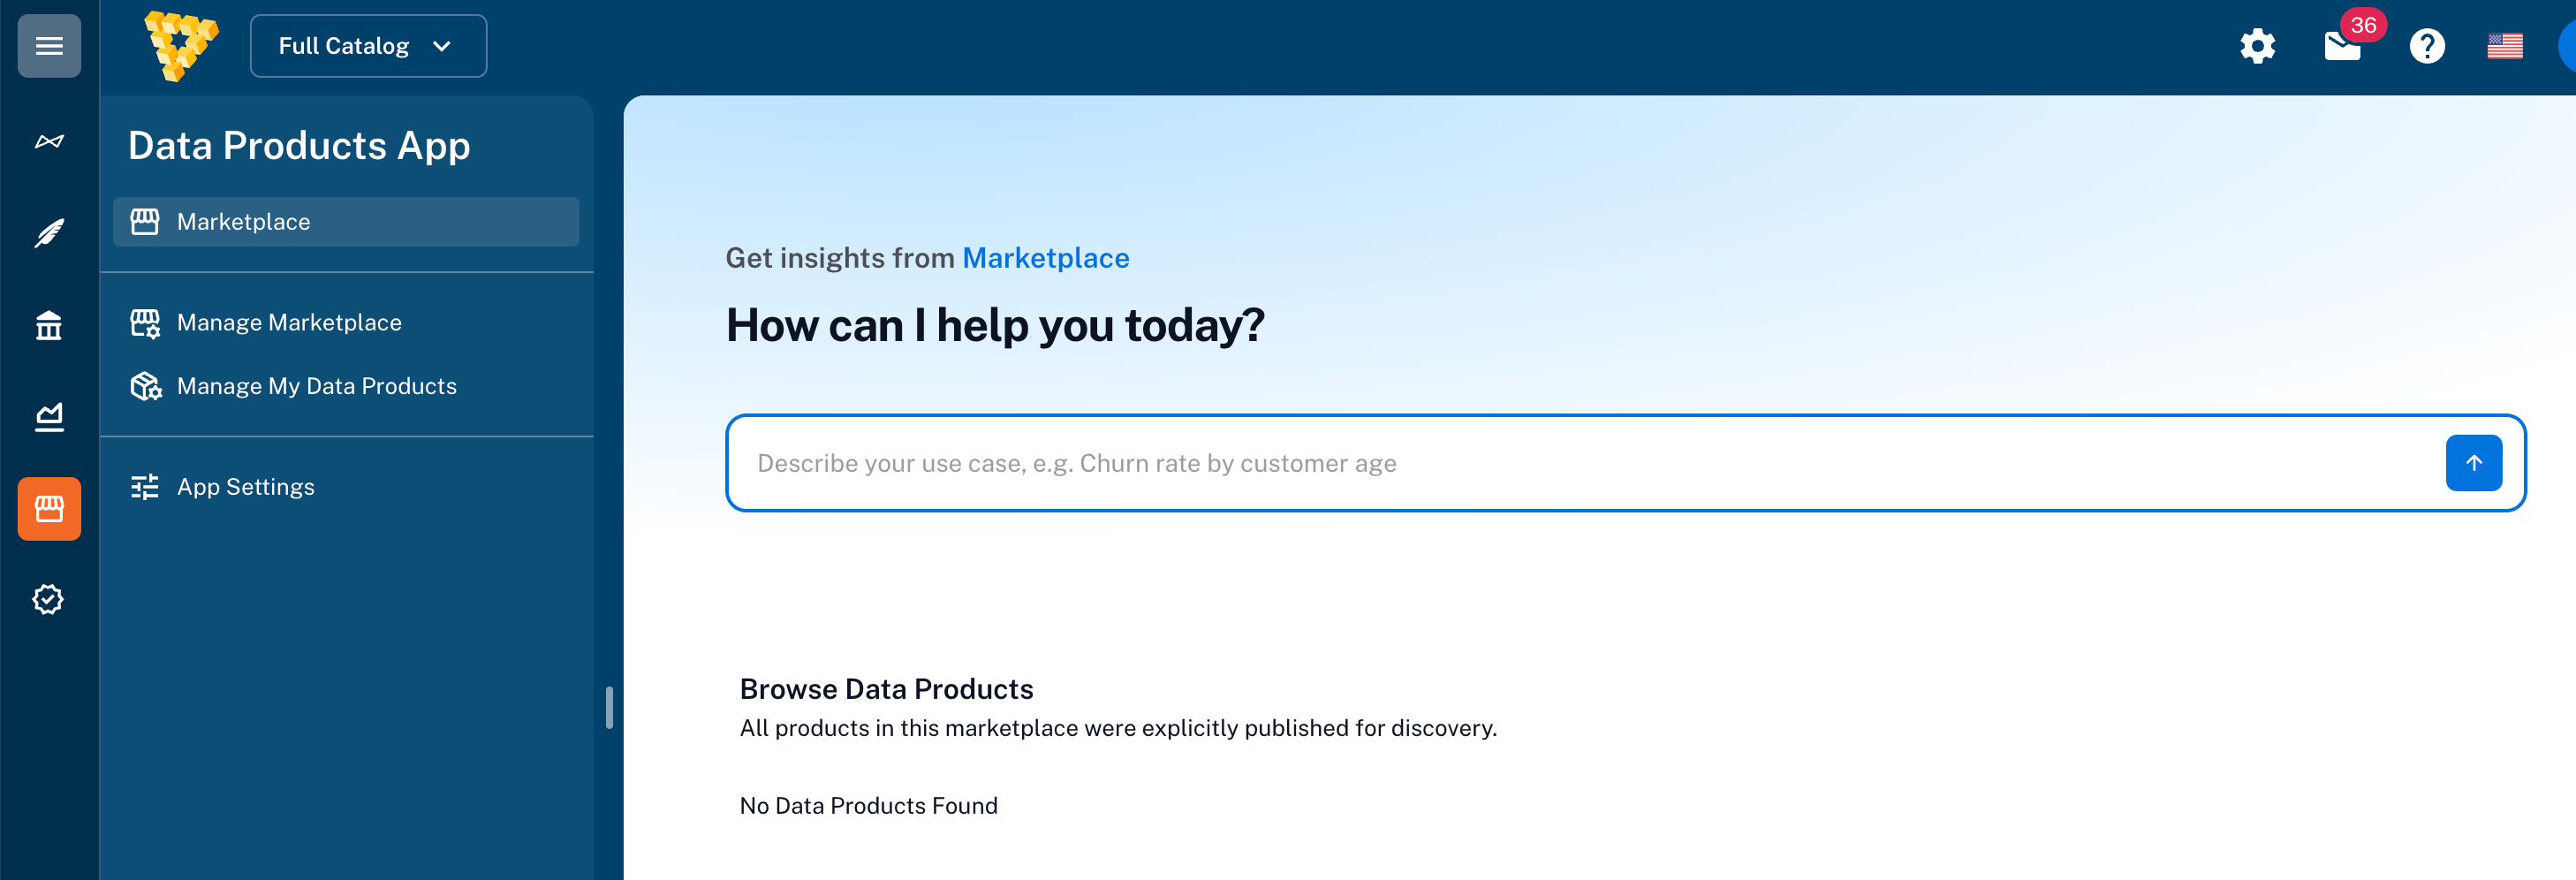
Go to Data Products App > Manage Marketplace.
Click Edit Marketplace.
Click Edit YAML and make the required changes to the editable fields.
Click Save.
Add Validation Conditions
To add validation conditions (standards and badges) to the spec, perform the following steps:
Click on the Edit Marketplace button and click Edit YAML to open the marketplace YAML file.
Under marketplace, add the
minimumStandardfield.Add one or more conditions using the format:
minimumStandard:

  - key: "product.description"

  type: static

  check: "not null"

  displayName:

     en: "Has a Description"
Optionally add badges: to include non-required certifications using the same format.
Click Save to apply the changes to the YAML file.
YAML Field Reference
Each data products marketplace YAML file must include fields specified in the specification at https://<base_URL>/static/swagger/specs/data_products/marketplace_schema.yaml.
Field |
Required |
Description |
|---|---|---|
|
Yes |
Unique ID for the marketplace |
|
Yes |
Email address for inquiries |
|
Yes |
Name of marketplace administrator |
|
Yes |
Display name |
|
Yes |
Long description of the marketplace |
|
Yes |
Short summary (max 200 characters) |
|
Yes |
PNG or JPG image for branding |
|
Yes |
Hex color code for background |
|
Yes |
Required conditions for data product listing |
|
Yes |
Optional badges for qualifying data products |
List a Data Product on a Marketplace
To list a data product on a marketplace, you must submit the data product to marketplace.
Submit the Data Product Using API
Ensure your product is created and has a
productIdandversion. For information on creating a data product, refer to the Create and Manage a Data Product.Choose the target marketplace ID.
Use the endpoint
/integration/data-products/v1/marketplace/{marketplace_id}/data-product/{product_id}/.Include the version as a query parameter or let it default to the latest.
Send a POST request to publish the product.
Validate the Data Product
If your data product fails validation:
Check that all required metadata fields are present.
Confirm that the schema section in each record set includes name, description, and type.
Review the error message in the response. It will list missing or invalid fields.
Make corrections to the YAML file.
Resubmit the file using the same API endpoint.
Monitor Marketplace Activity
To track how users are interacting with your marketplace, you can download a CSV file containing usage data.
Go to Data Products App > Manage Marketplace.
Go to the Activity & Insights section.
Click the download link to obtain a CSV file.
Open the file in a spreadsheet application to analyze usage.
The CSV may include data such as product views, access requests, or search terms with no results.
Assign Marketplace Roles
You can manage who can publish, maintain, or administer the marketplace.
Open the marketplace page.
Click the Permissions tab next to Activity & Insights.
Click Add to assign a new user or group.
Select the role from the dropdown list (Admin, Maintainer, Product Manager, Publisher, Viewer).
Click Save.
Only current marketplace admins can assign or remove roles for other users.
Delete a Marketplace
There is no option to delete a marketplace using the UI. However, you can delete a marketplace using the API.
Note
Marketplace Admins can delete the marketplace. App-level admins can manage roles in marketplace and data products.
Manage App Settings
Only Admins can change app settings and take ownership or transfer administrative control. You can add users to the Data Products App, change the privacy settings, or modify roles.
Confirm that you have the App Admin role for the marketplace.
Open the Data Product App.
Select App Settings from the side navigation pane.
Perform the required changes to App privacy settings, roles, or to add users.