Configure Qlik Sense OCF Connector
Alation Cloud Service Applies to Alation Cloud Service instances of Alation
Customer Managed Applies to customer-managed instances of Alation
Core Connector Core connectors are included with all Alation platform tiers (subject to each tier’s connector limits) and are fully supported by Alation.
Follow the steps in this topic to perform the required configuration for the Qlik Sense OCF connector on the Qlik Sense side and in Alation.
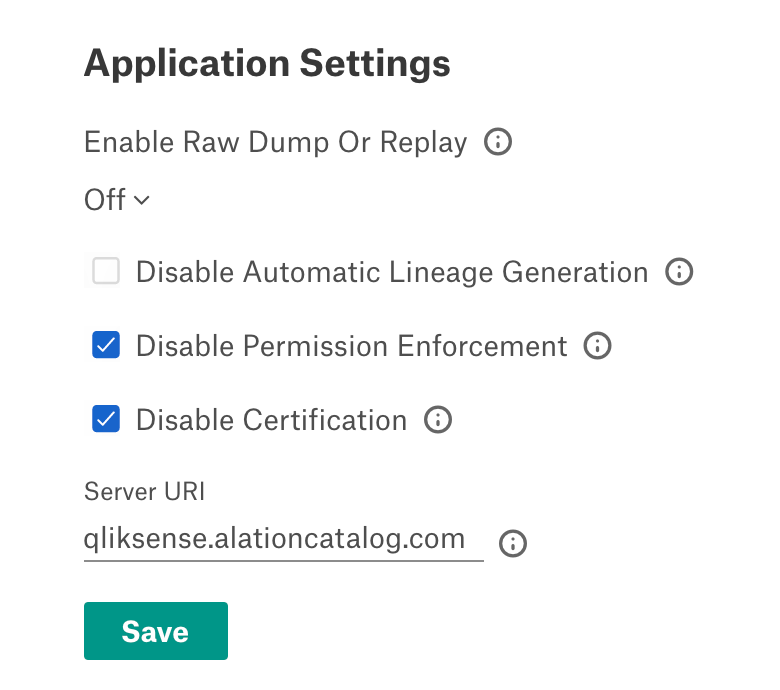
Configure Application Settings
Go to the Settings page of your BI source and navigate to General Settings > Application Settings. Leave all fields in the Application Settings section unchanged. These fields do not apply to the Qlik Sense OCF connector.
Configure Connector Settings
Perform the following steps to configure the Qlik Sense OCF connector settings in Alation:
Under Connector Settings, provide the following information:
Parameter
Description
Host
Enter the URL to access Qlik Sense.
Certificate
Click Upload to upload the client.pfx certificate from your local machine.
Root Certificate
Click Upload to upload the root.cer certificate from your local machine.
Certificate Password
Provide the password of the certificates that is used during exporting the certificates.
Validate DNS Server Name
Clear the checkbox to skip the DNS server name validation. The checkbox is selected by default.
Include unpublished sheets
Clear the checkbox to exclude unpublished sheets from extraction. The checkbox is selected by default.
Note
This field is available from Qlik Sense OCF Connector version 1.4.0 and later.
Include datasources
Clear the checkbox to exclude datasources from extraction. The checkbox is selected by default.
Note
This field is available from Qlik Sense OCF Connector version 1.4.0 and later.
Include Filterpane objects
Clear the checkbox to exclude filter pane objects from extraction. The checkbox is selected by default.
Note
This field is available from Qlik Sense OCF Connector version 1.4.0 and later.
Log Level
Select the Log Level to generate logs. The available log levels are based on the log4j framework.
Enable Cloud Integration
Clear the checkbox to disable integration with Qlik cloud API for lineage generation. The checkbox is selected by default. If this is not enabled, the lineage will be incomplete. Ensure that the prerequisites mentioned in Qlik Cloud Integration are met before enabling this option.
Note
This field is available from Qlik Sense OCF Connector version 1.4.0 and later.
Cloud Host URL
Provide the Qlik Cloud host URL to connect to Qlik Cloud.
Note
This field is available from Qlik Sense OCF Connector version 1.4.0 and later.
OAuth Client ID
Provide the OAuth Client ID generated in Generate OAuth Credentials.
Note
This field is available from Qlik Sense OCF Connector version 1.4.0 and later.
OAuth Client Secret
Provide the OAuth Client Secret generated in Generate OAuth Credentials.
Note
This field is available from Qlik Sense OCF Connector version 1.4.0 and later.
Managed Space ID
Provide the ID of the managed space created in Qlik Cloud Integration which contains the lineage data.
Note
This field is available from Qlik Sense OCF Connector version 1.4.0 and later.
Click Save.
Test the connection
Under Test Connection, click Test to validate network connectivity.
Run Extraction
Under Extraction Settings, turn on Selective Extraction, if required. Selective extraction settings are used to apply a filter to include or exclude a list of projects.
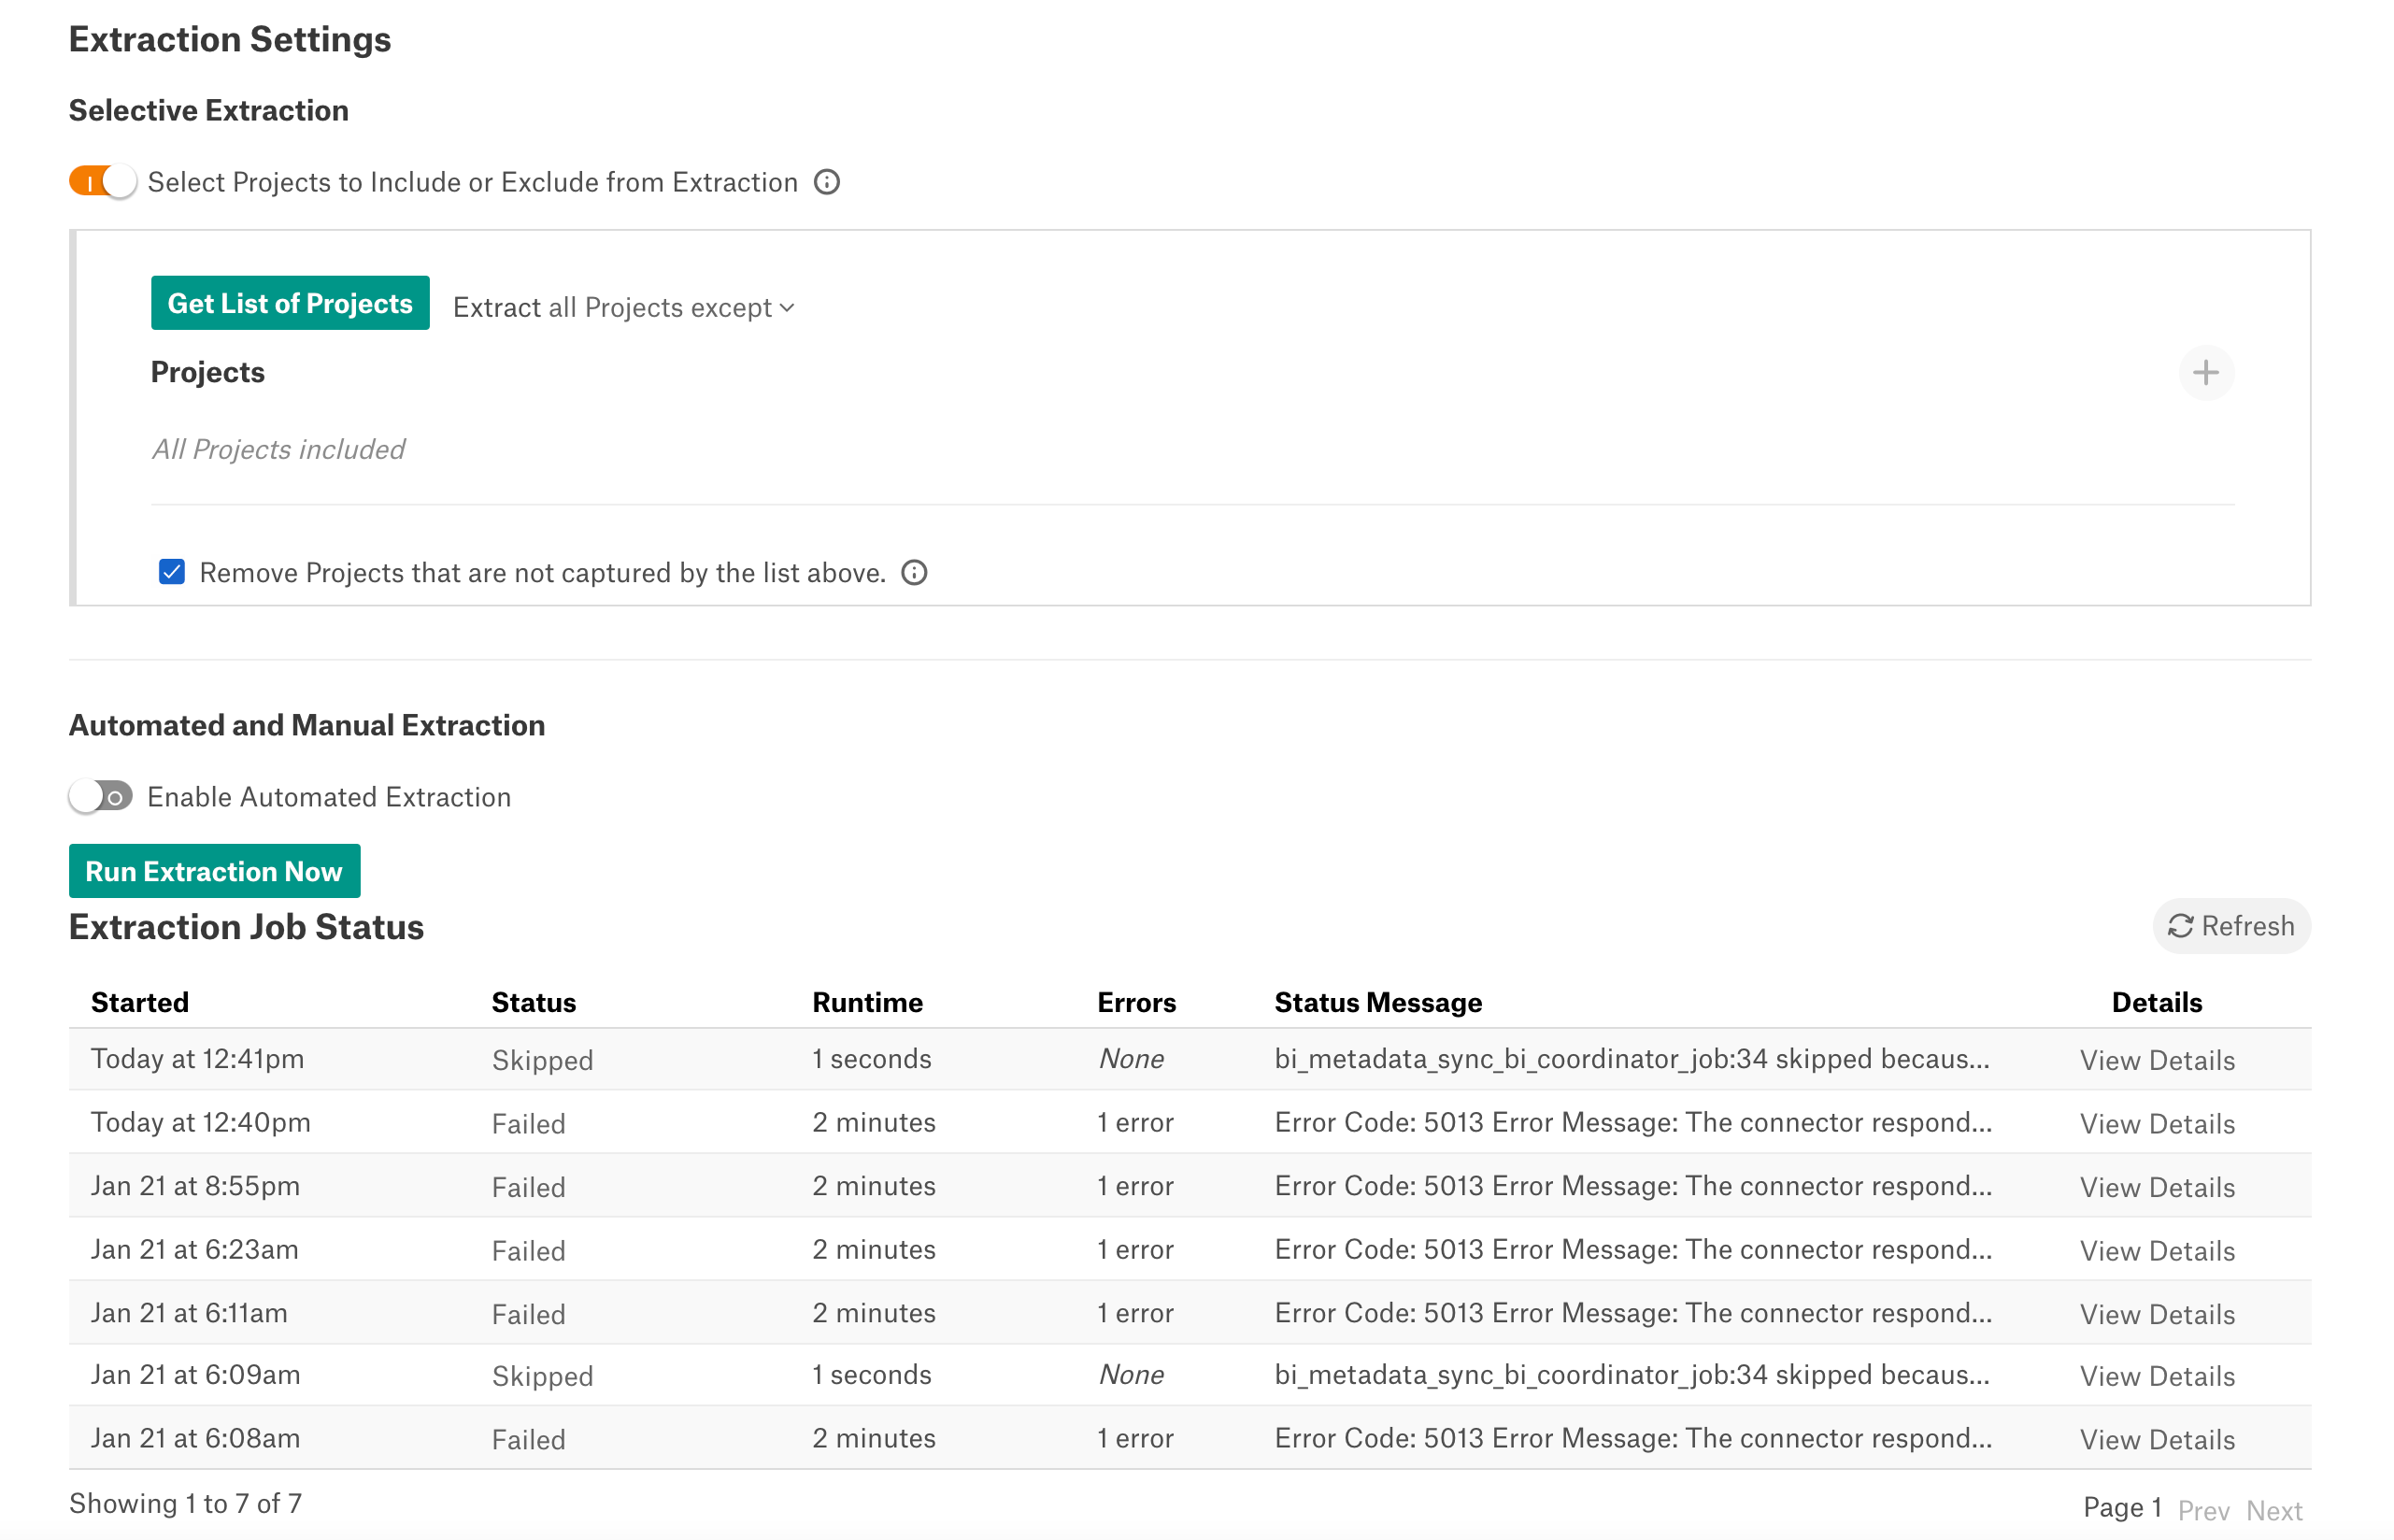
Click Get List of Projects to first fetch the list of projects (Folders in Qlik Sense) from Qlik Sense.
The status of the Get Projects action is logged in the Job History table at the bottom of the Settings page.
Once the folder synchronization is successful, a drop-down list of projects will become enabled. Select one or more projects to apply the filter.
Check if you are using the desired filter option. Available filter options are described below:
Filter Option
Description
Extract all Projects except
Extract metadata from all Projects except from the workspaces selected.
Extract only these Projects
Extract metadata only from the selected Projects.
Click Run Extraction Now to extract metadata. The status of the extraction action is also logged in the Job History table at the bottom of the page.
If you want to automatically update the metadata in the catalog, go to Automated and Manual Extraction. Turn on Enable Automated Extraction and select the day and time for extraction. The metadata extraction will be automatically scheduled to run at the specified time.
Delete the BI Server
To delete the BI Source, refer Delete a BI Source.
Troubleshooting
Refer to Logs to be collected.