Manage Business Policies
Alation Cloud Service Applies to Alation Cloud Service instances of Alation
Customer Managed Applies to customer-managed instances of Alation
Important
You are viewing documentation for Alation’s Classic User Experience.
Business Policies are a generic policy object that captures an organization’s policy information about anything regulated by policies, including data governance, data use, data management, and any other area that needs a policy. Business policies are managed in the Policy Center, are discoverable through Search, and can be linked to other catalog objects using Object Set custom fields.
Note
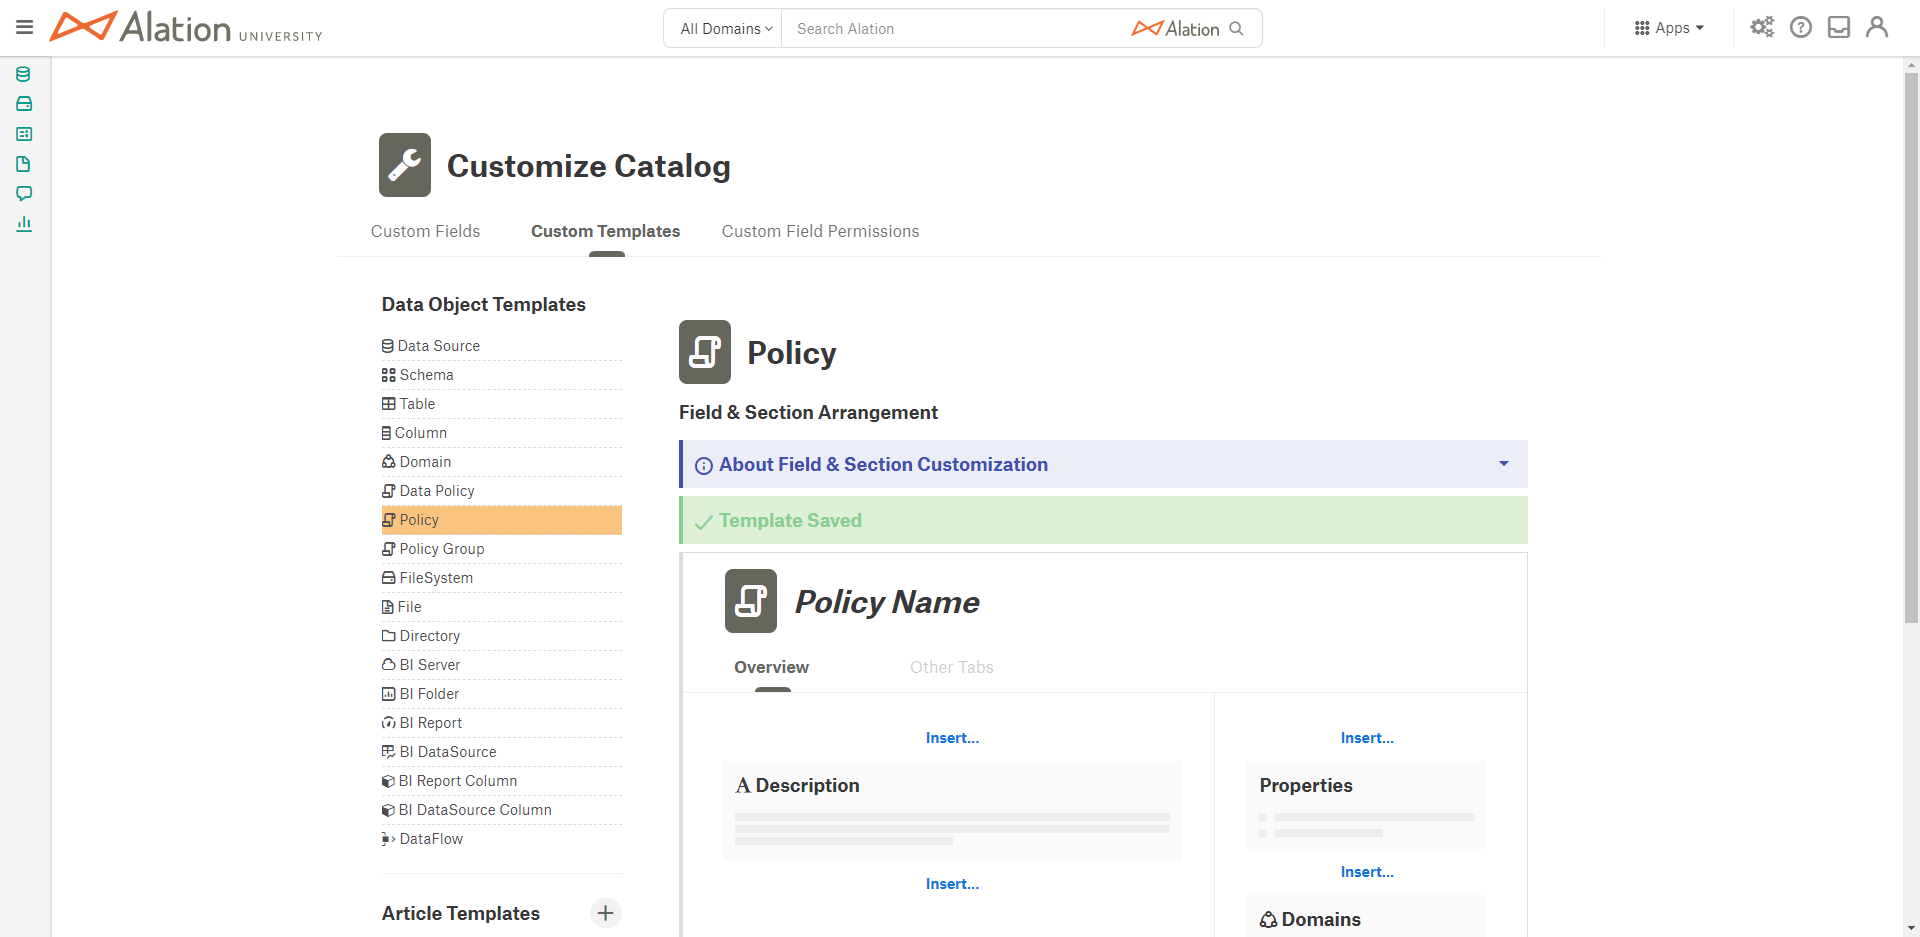
The default template of the business policy object does not include any Object Set fields. Catalog or Server Admins can create Object Set fields in Settings > Customize Catalog and add them to the default template of the policy object. After this, linking to other catalog objects using Object Set fields is available when you create a policy, since it’s part of the template. You can also create multiple custom templates for policy objects. See Customize Business Policy Templates.
Note
To narrow Search results to business policies, expand the Object Type filter group, select Policy Objects, and then select Policies.
Note
To confirm that a catalog object is a business policy, open its catalog page and look at the URL. If the URL contains /app/policy/, the object is a business policy. For example: https://my-catalog.alation.com/app/policy/42/overview.
Create a Business Policy
Perform the following steps to create policies in Alation:
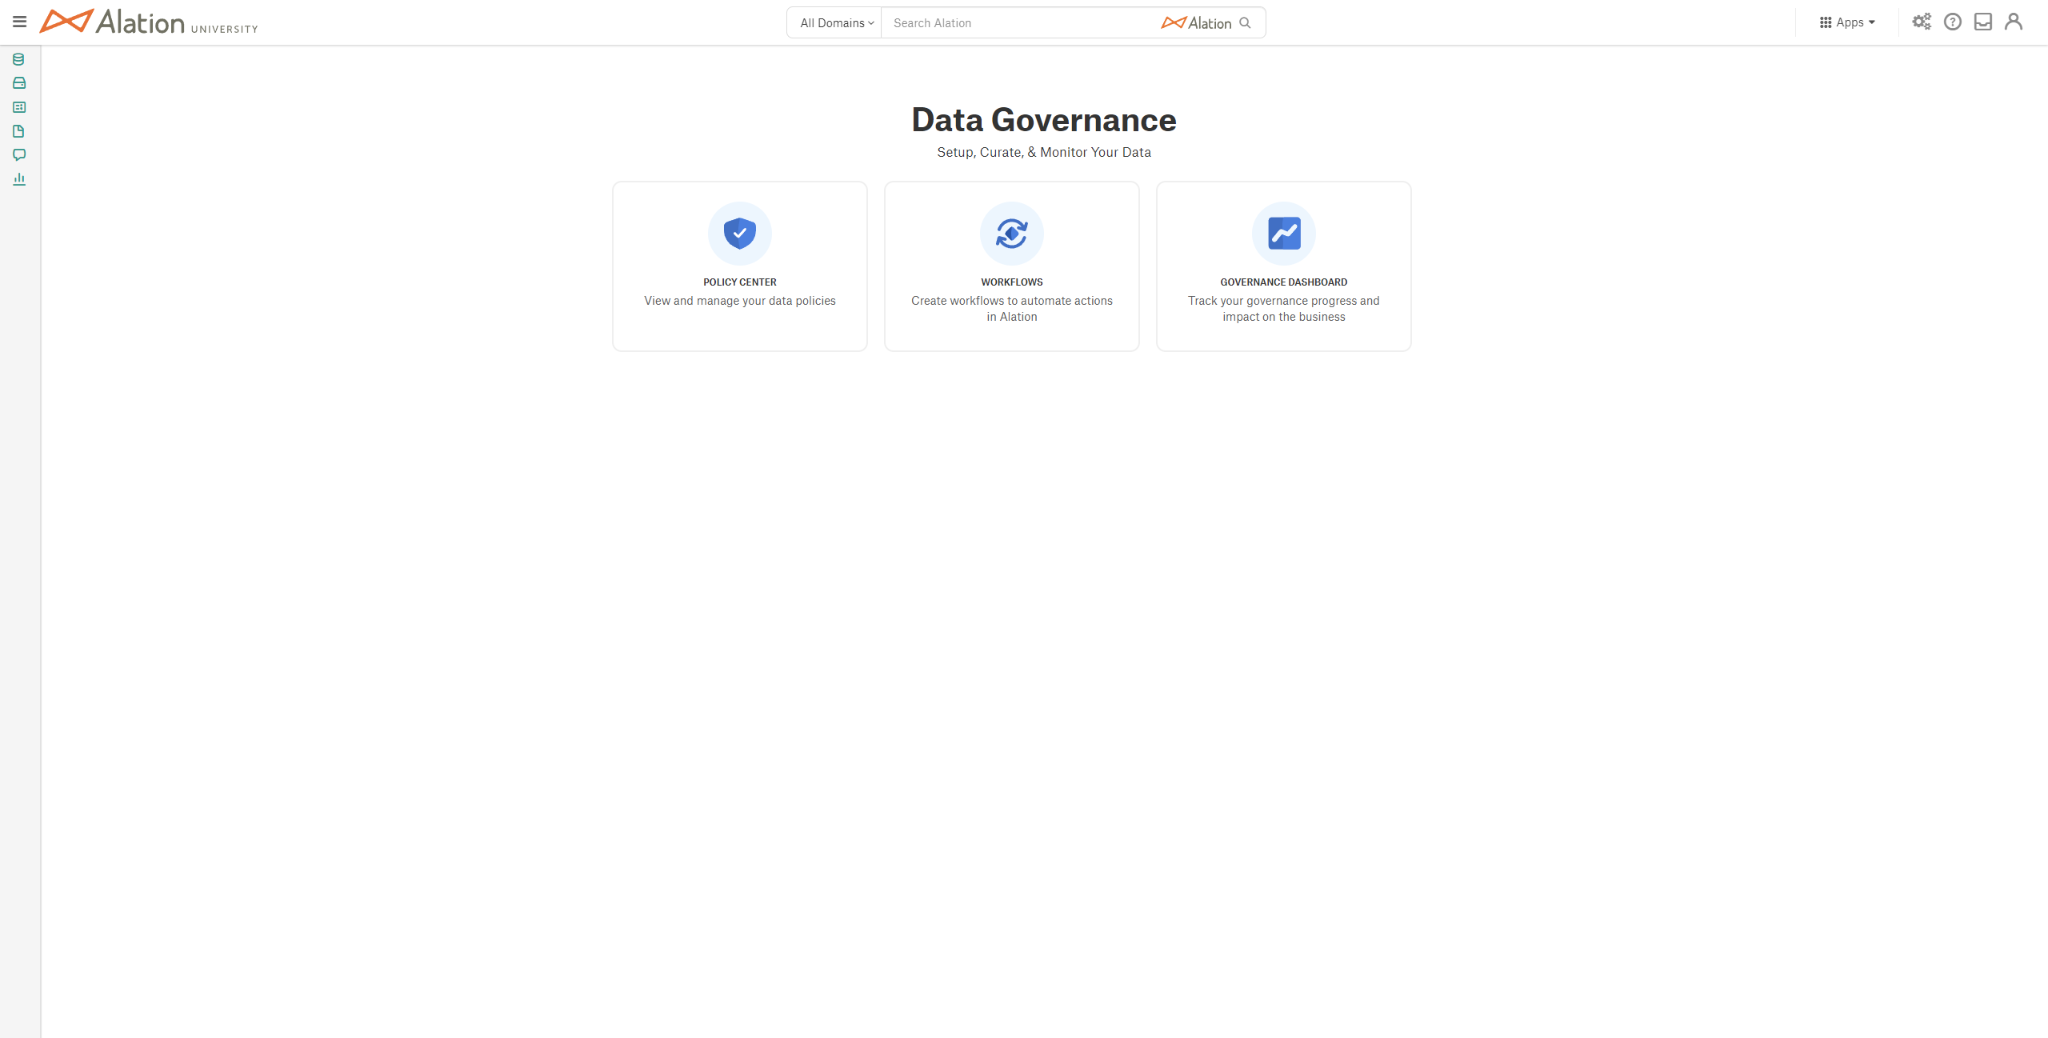
From the Apps menu, click Curate and Govern.
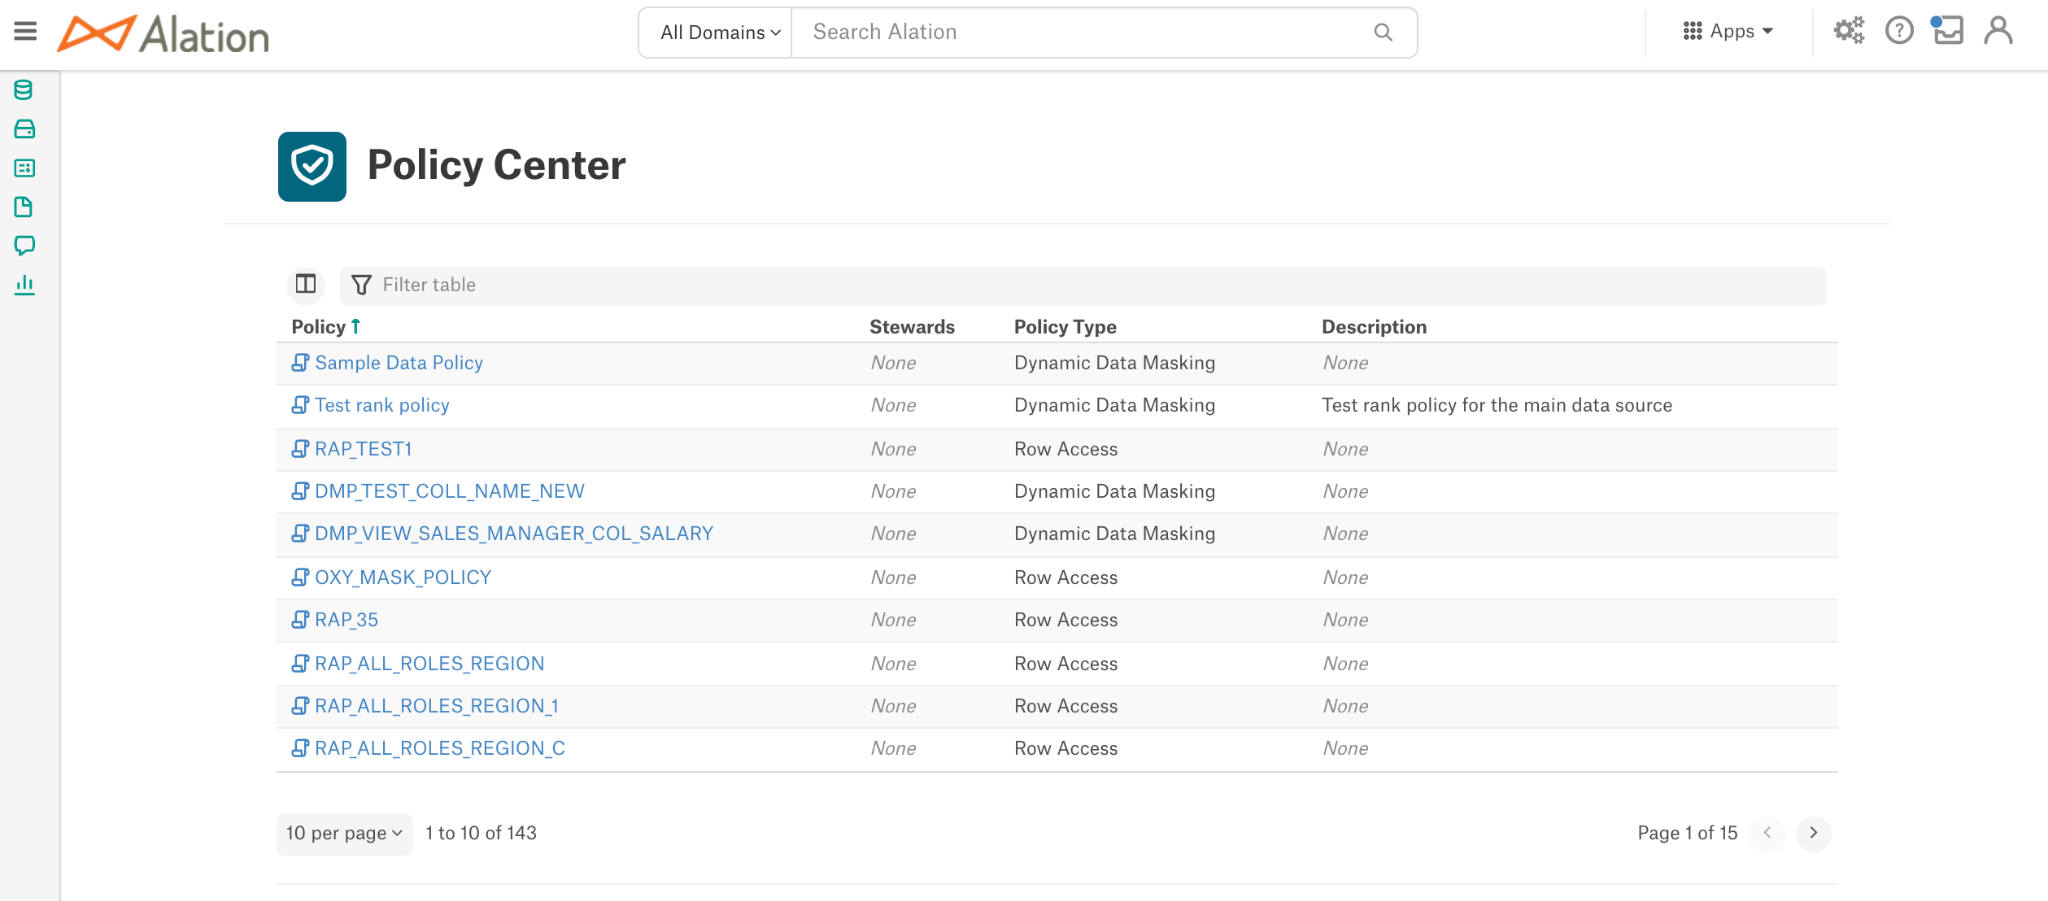
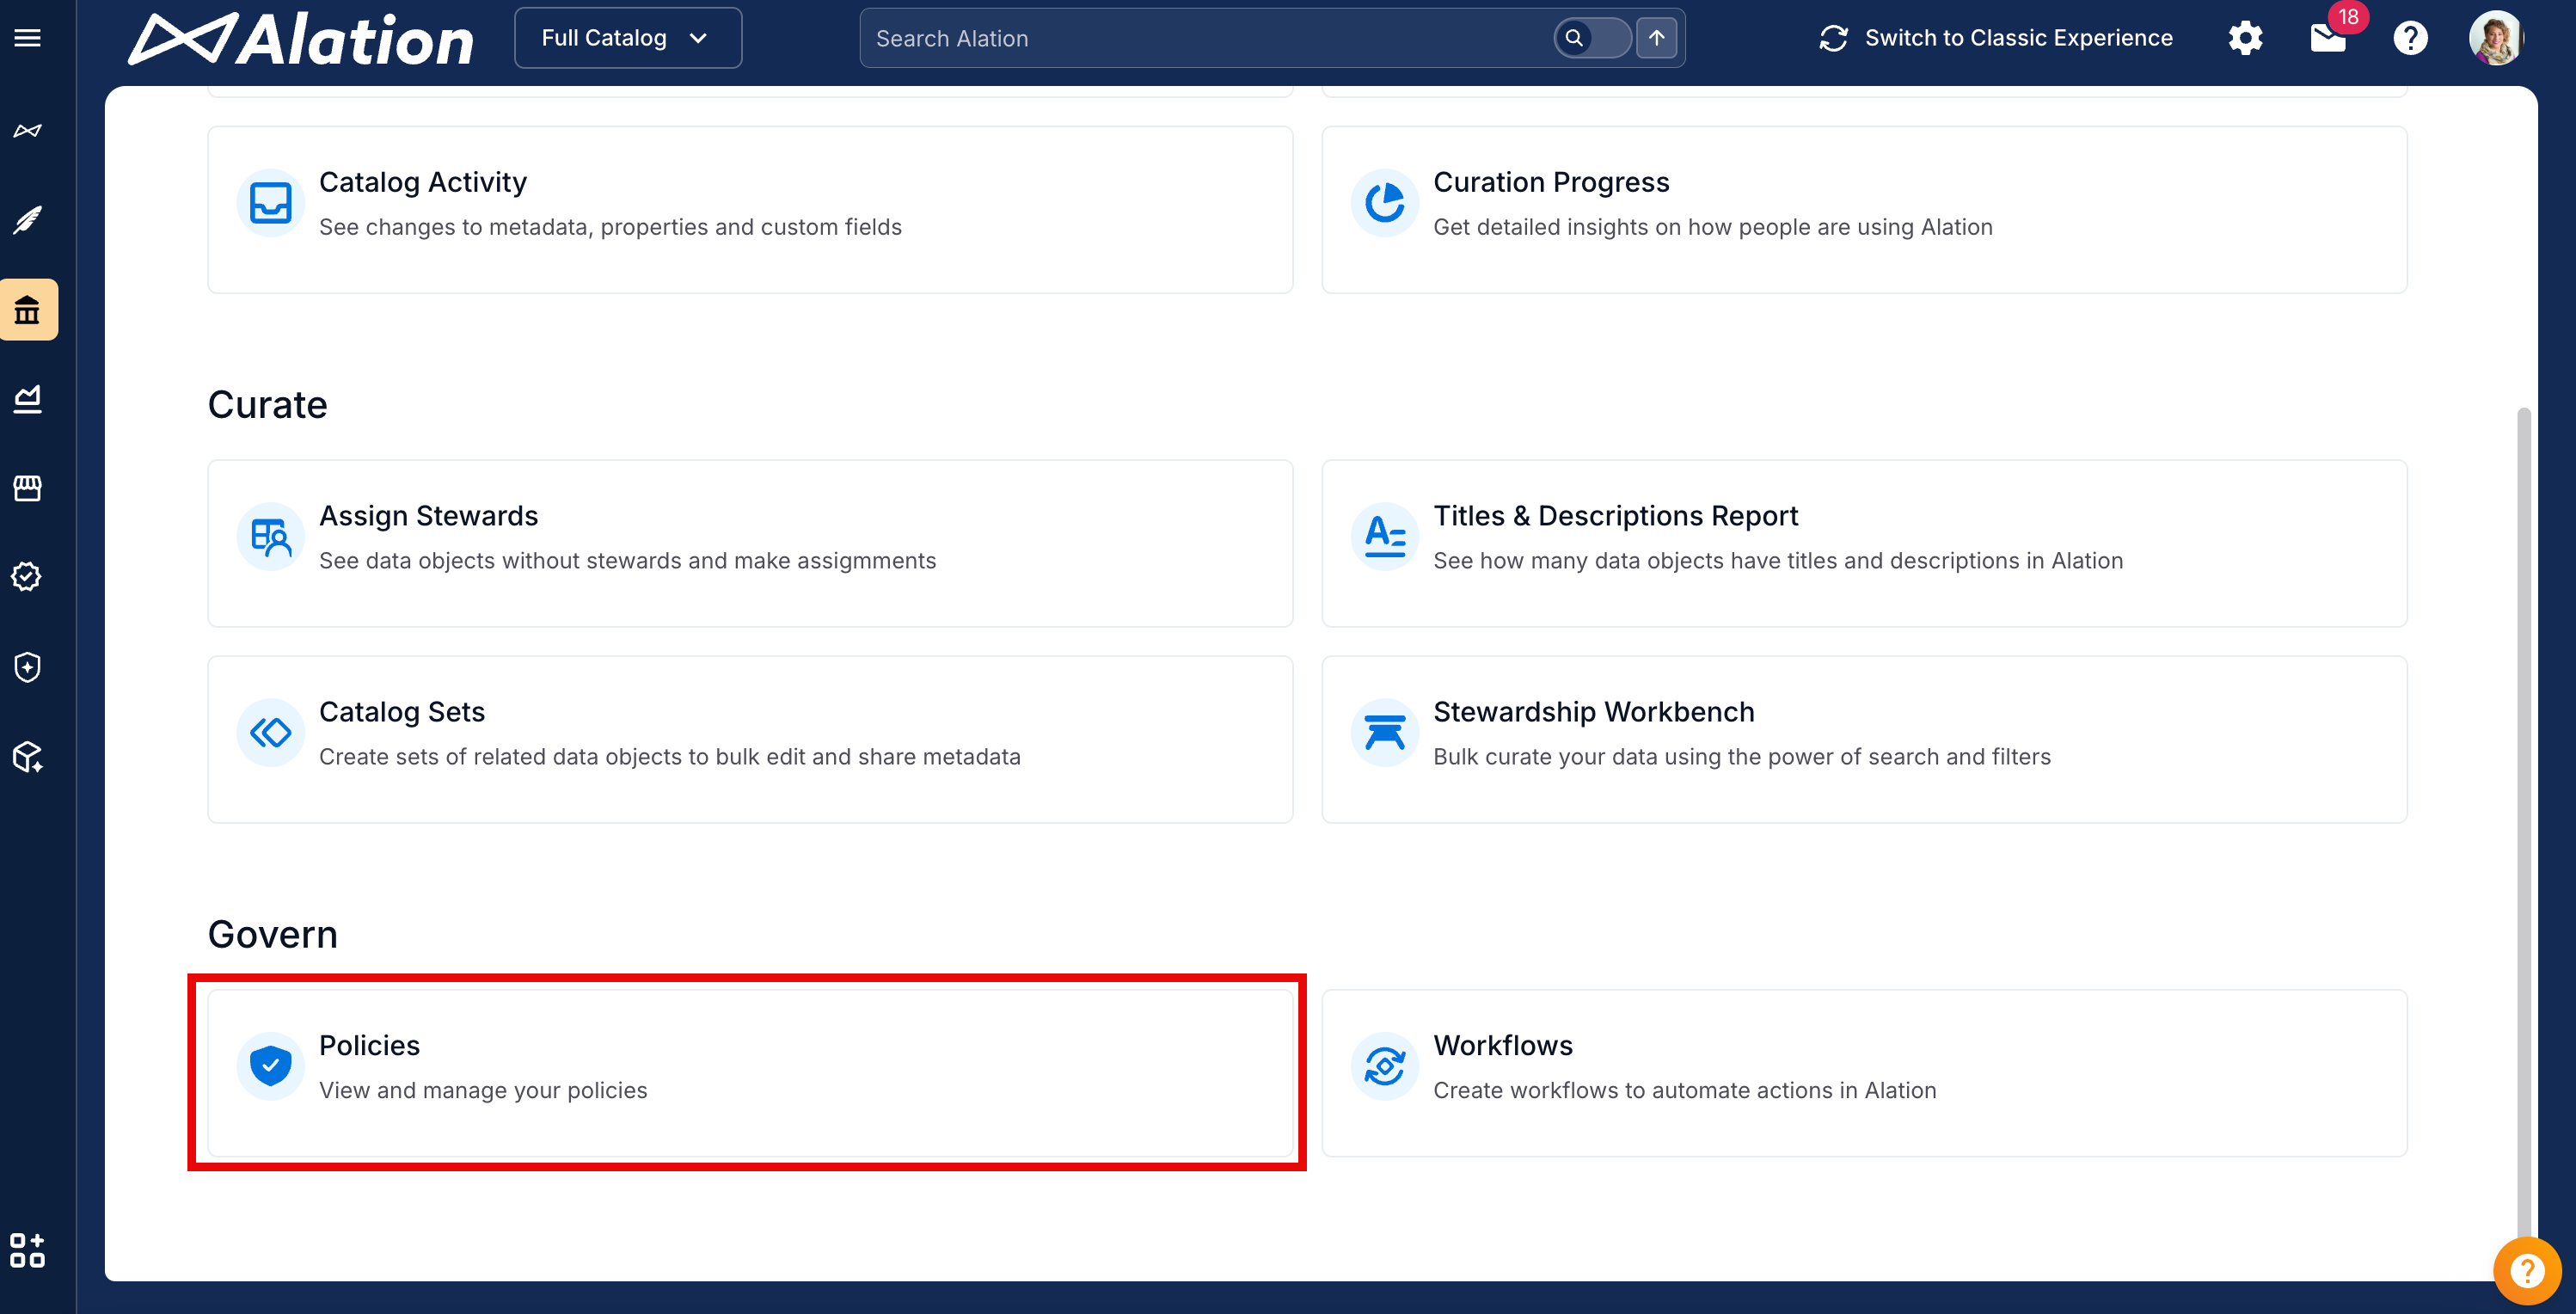
Under Govern, click Policies to access the Policy Center.
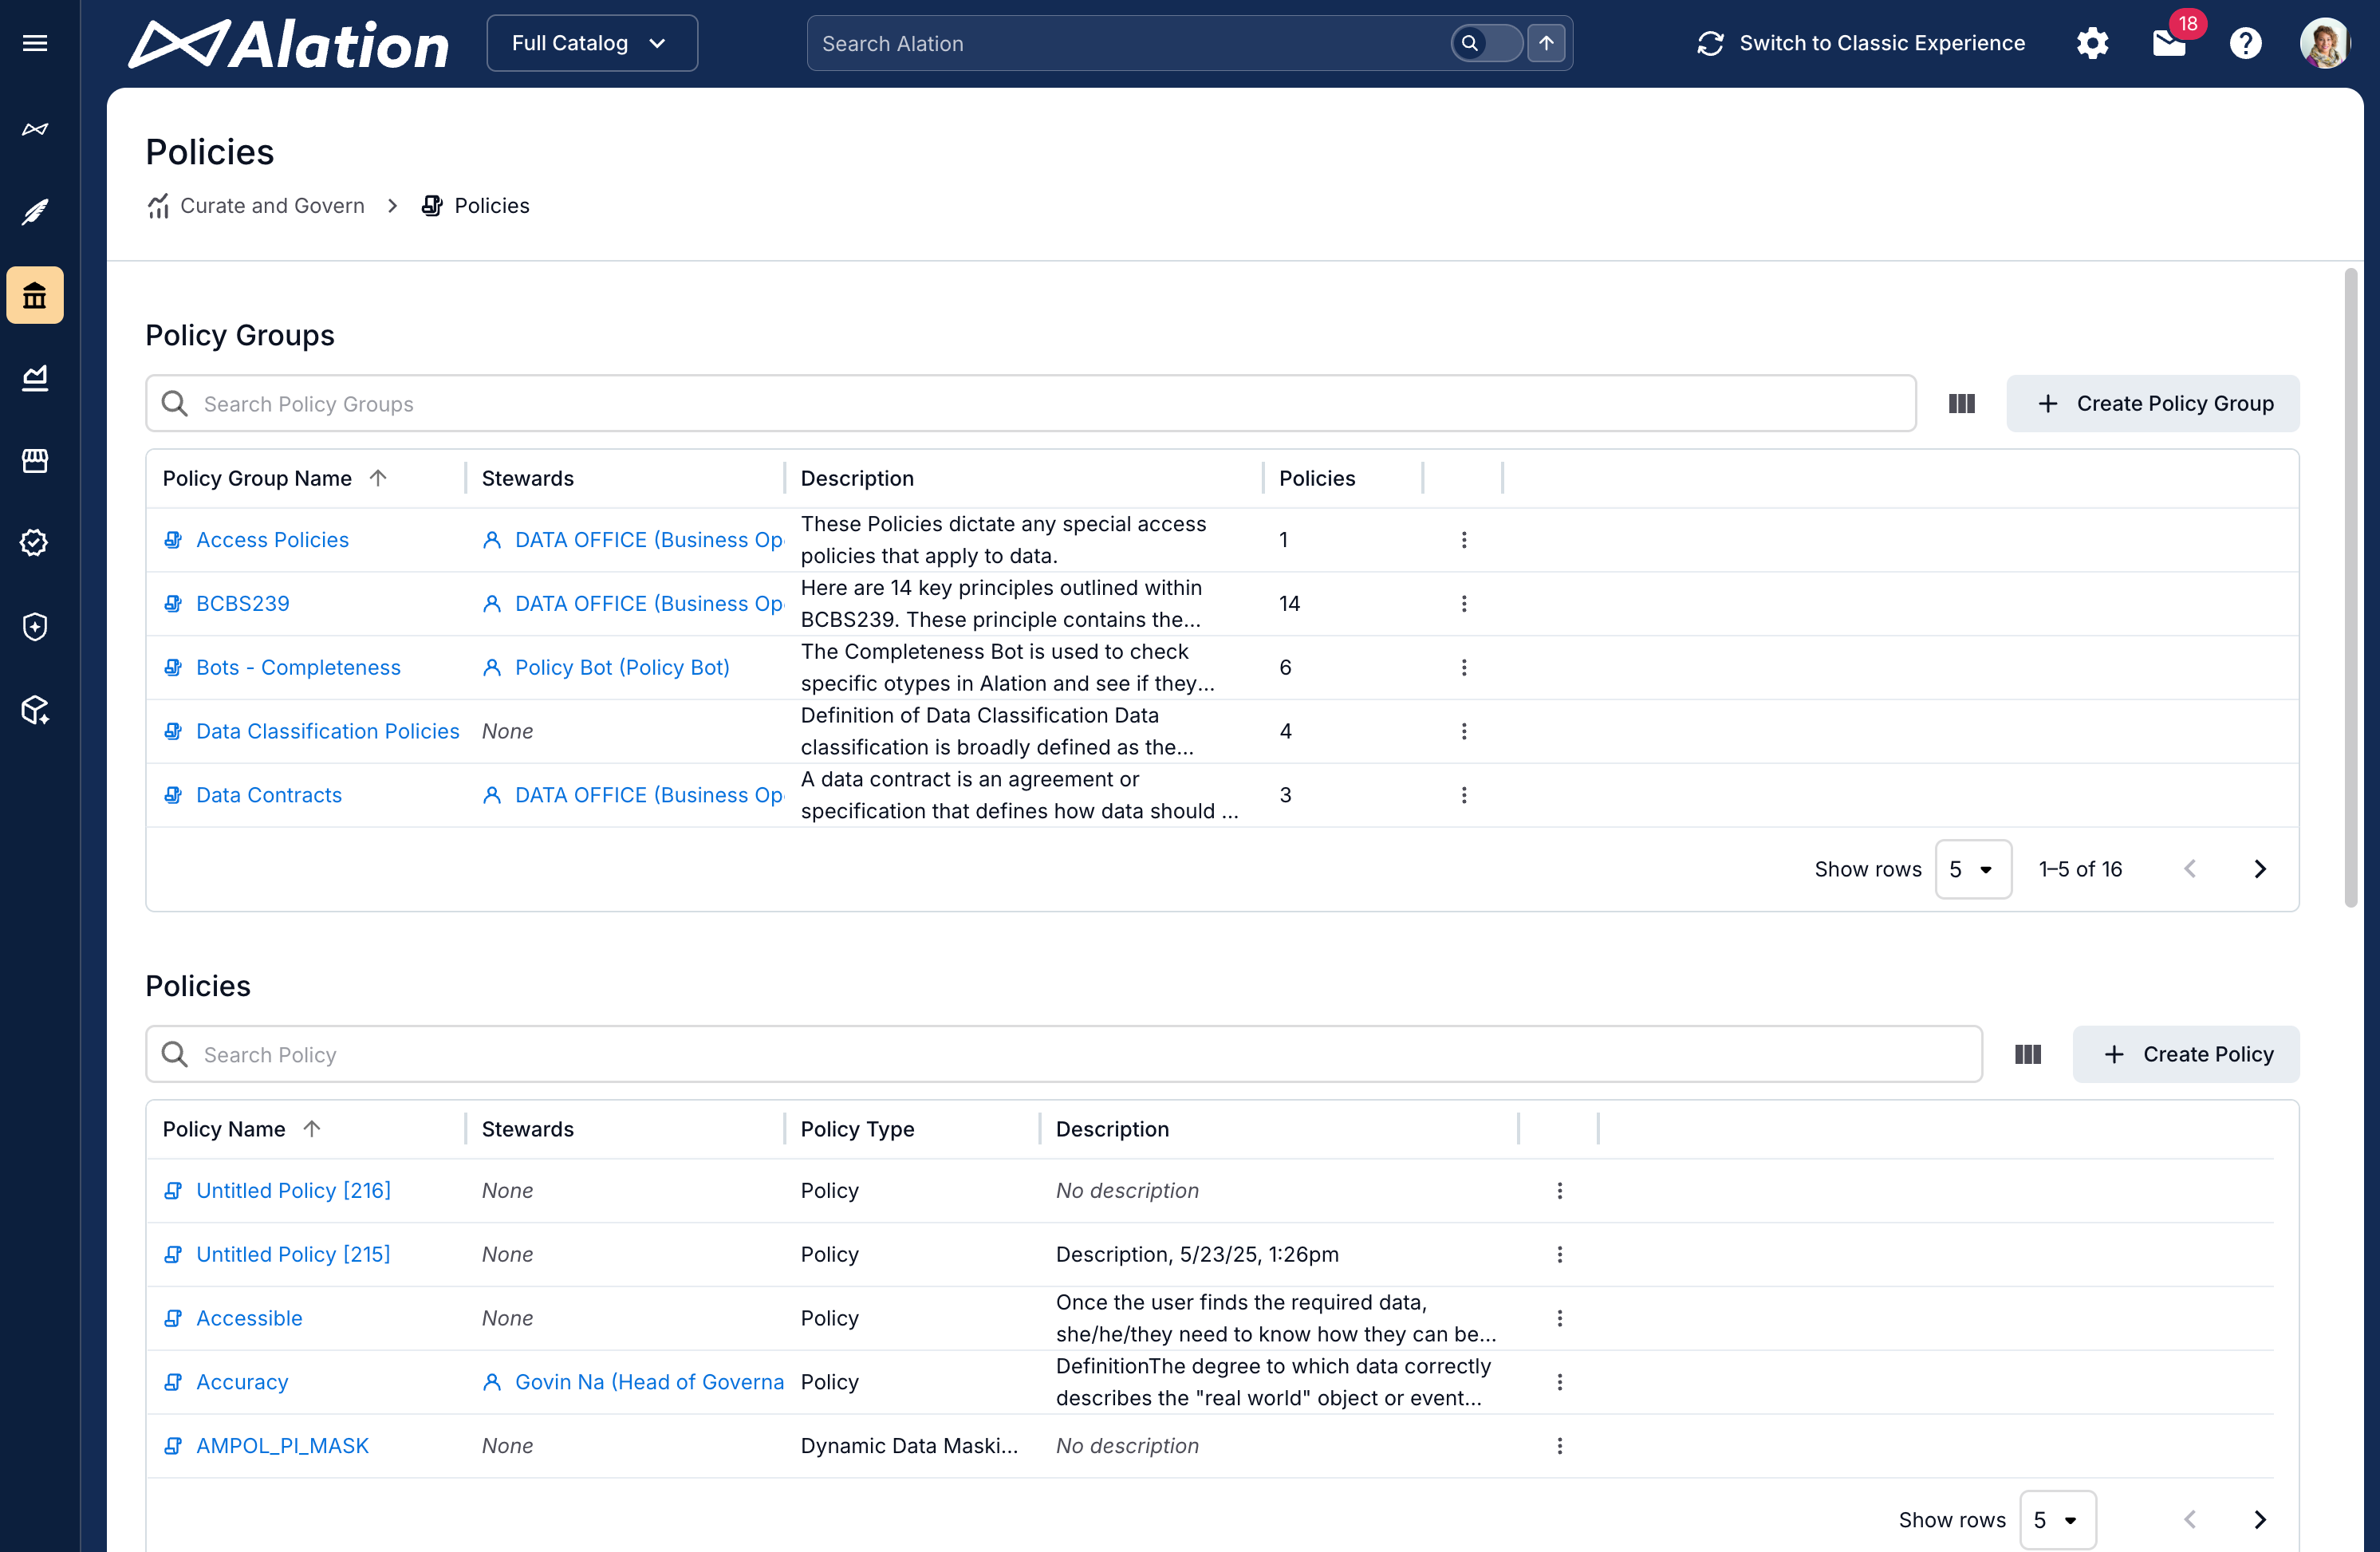
Click + Create Policy in the Policies section to create a new policy. A new policy page appears.
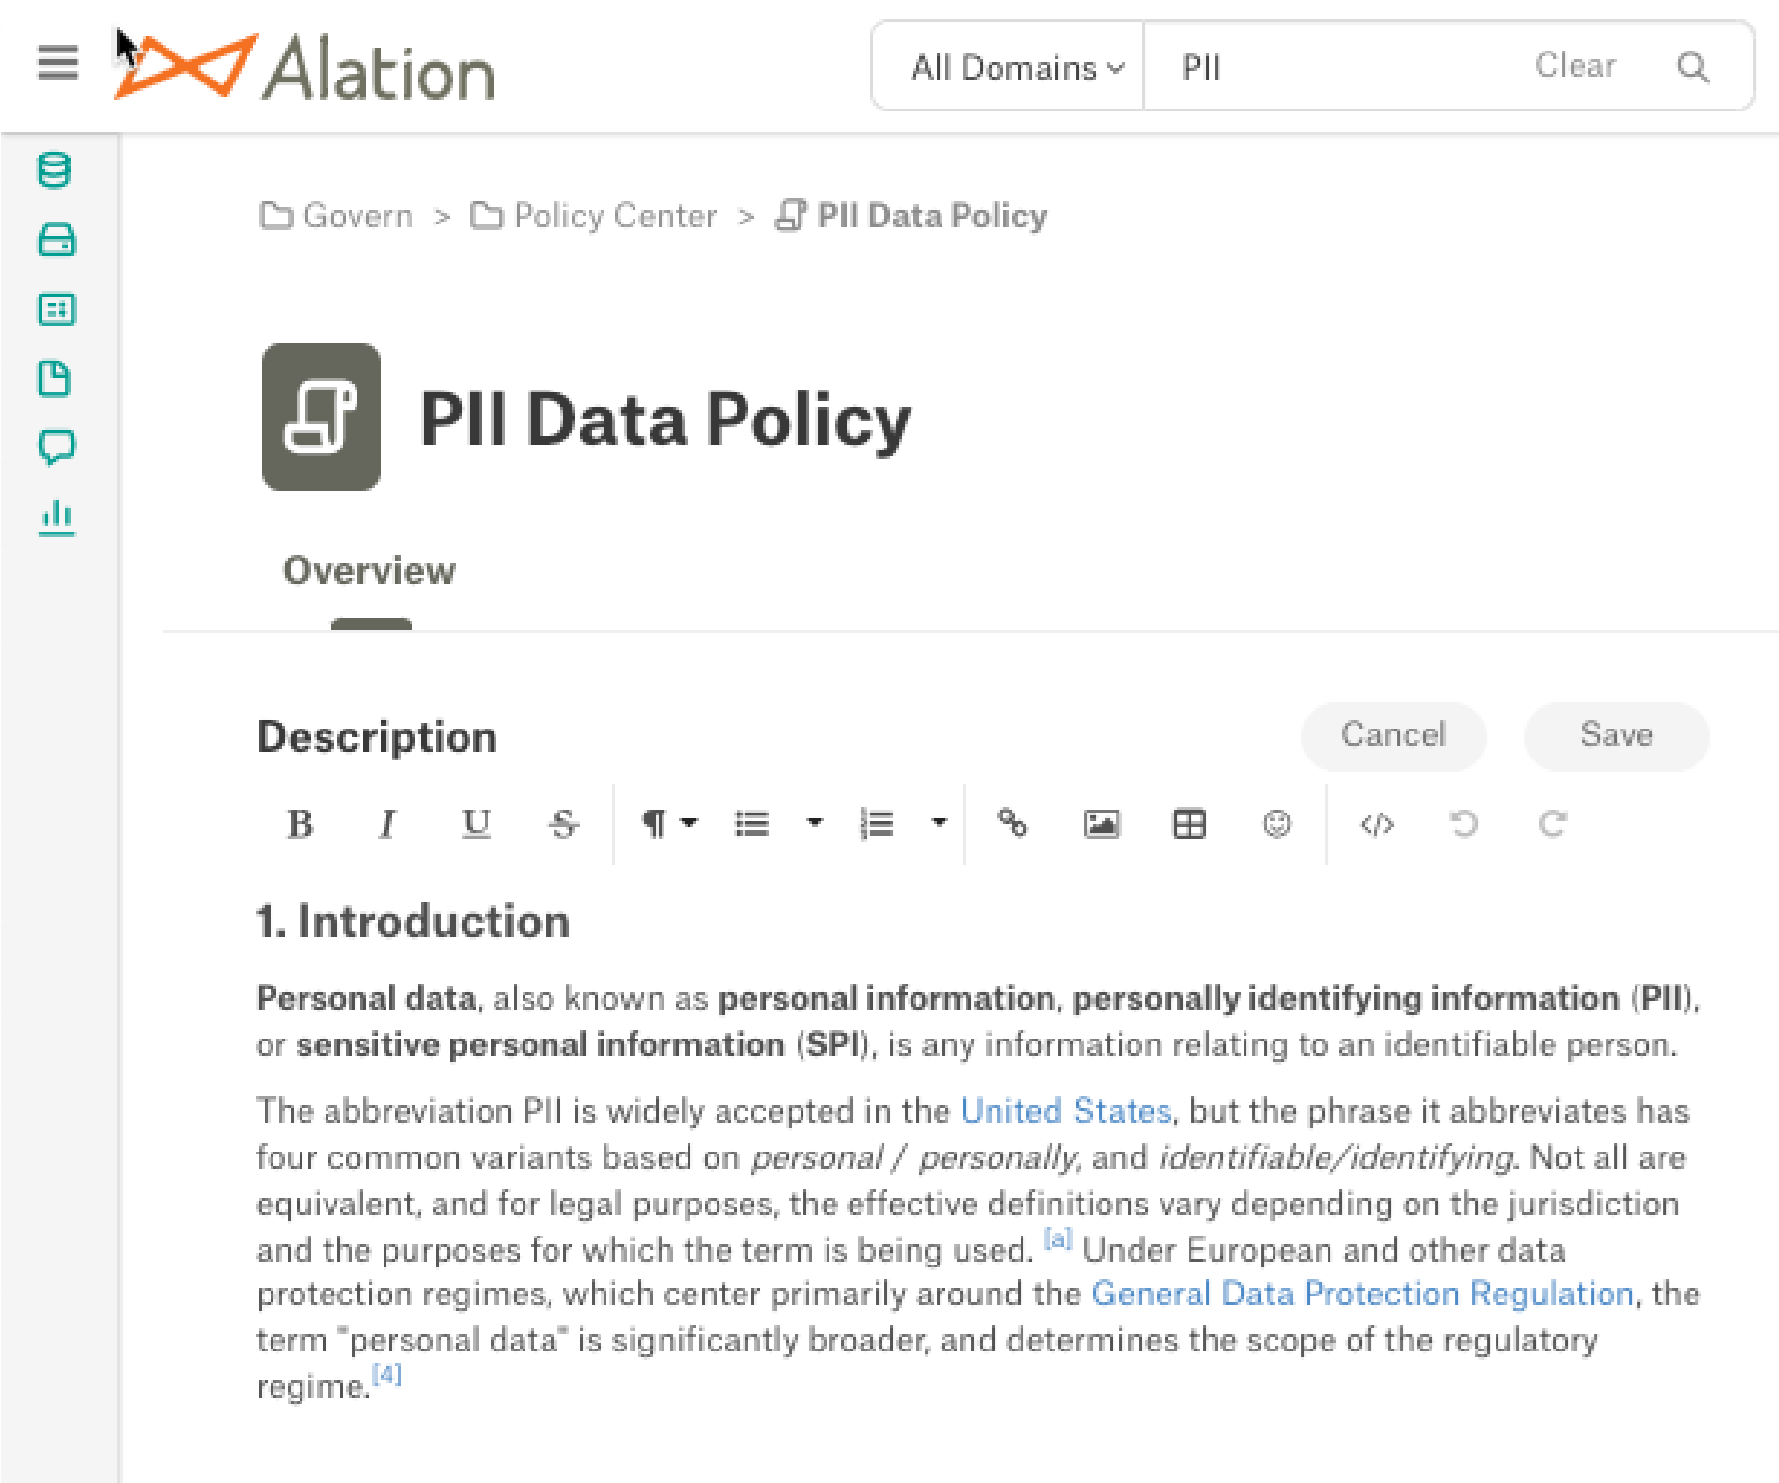
Provide a desired title for the policy and edit the description to add information about the policy.
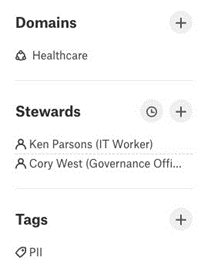
The following can be added to the policy if desired:
Member of a domain or subdomain
Stewards
Tags
Click Save to commit the changes or Cancel to discard your edits.
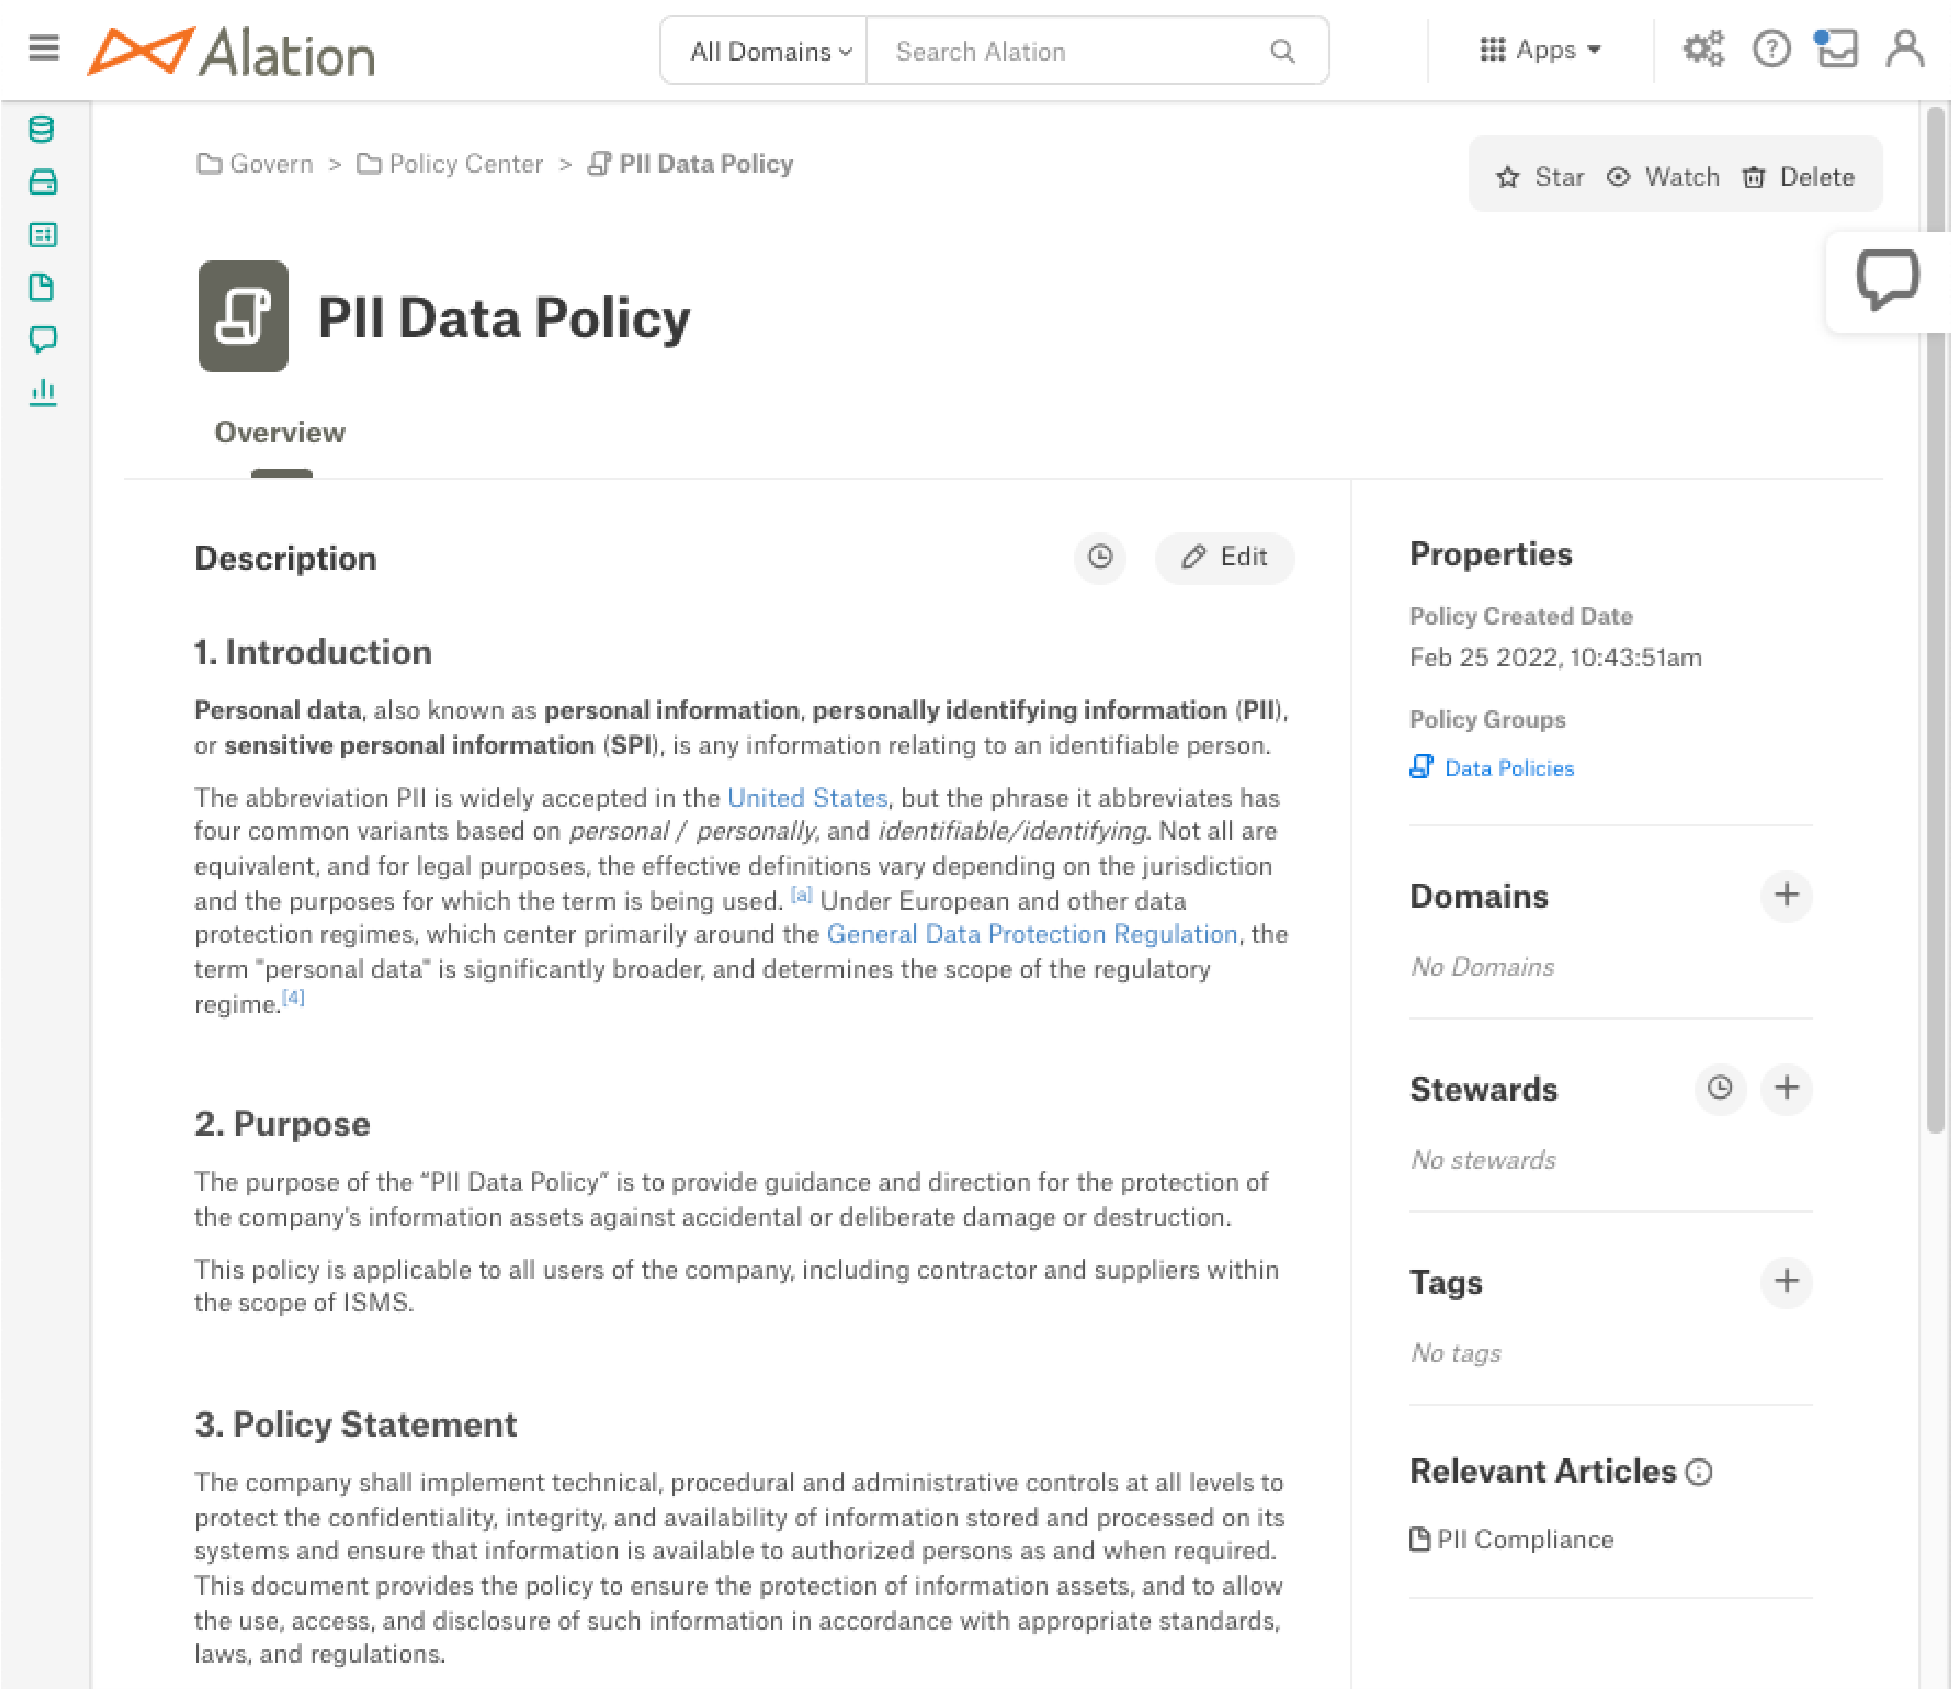
Once created, the policy can be added to documents using @-mentions. Articles that contain @-references to this policy will be displayed in the Relevant Articles section on the catalog page.
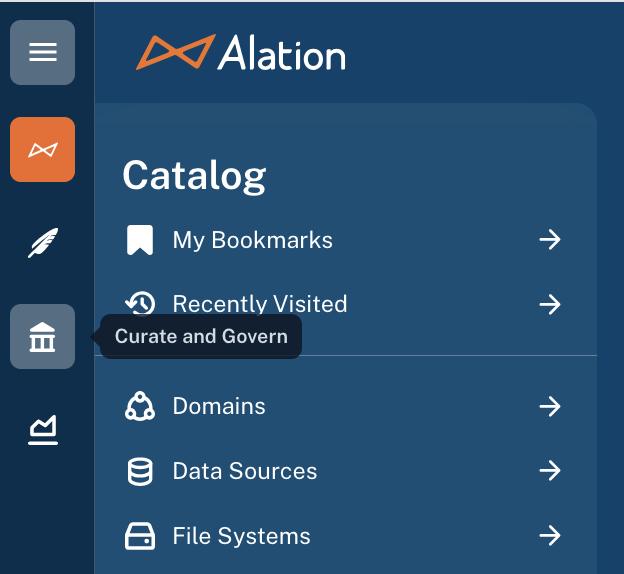
In the left-side navigation panel, click the Curate and Govern icon. The Curate and Govern landing page opens.
Under Govern, click Policies to access the Policy Center.
Click + Create Policy in the Policies section. A new policy page appears.
Provide a title for the policy and edit the description to add information about the policy.
Note
Your changes are saved as you apply them. The policy page has no Save button.
(Optional) Apply a different policy template. By default, the standard policy template is applied. To apply a different template, click the three-dots Options menu in the top-right corner and select Change template. After you select a template, provide values for the template fields.
Provide values for the additional fields if needed:
Member of a domain or subdomain
Stewards
Tags
(Optional) Configure access permissions for the policy. Click the three-dots Options menu in the top-right corner and select Access Settings. See Grant Access to Policies for details.
(Optional) Assign the policy to one or more policy groups. Click the three-dots Options menu in the top-right corner and select Add / Remove Policy Group(s). See Assign a Policy to Policy Groups for details.
Once created, the policy can be referenced from documents using @-mentions. Documents that contain @-references to this policy are listed under Mentions > Referenced By on the policy’s catalog page.
Update a Business Policy
Perform the following steps to update policies in Alation:
From the Apps menu, click Curate and Govern.
Under Govern, click Policies to access the Policy Center.
Click the title of the policy you would like to edit in the Policies section.
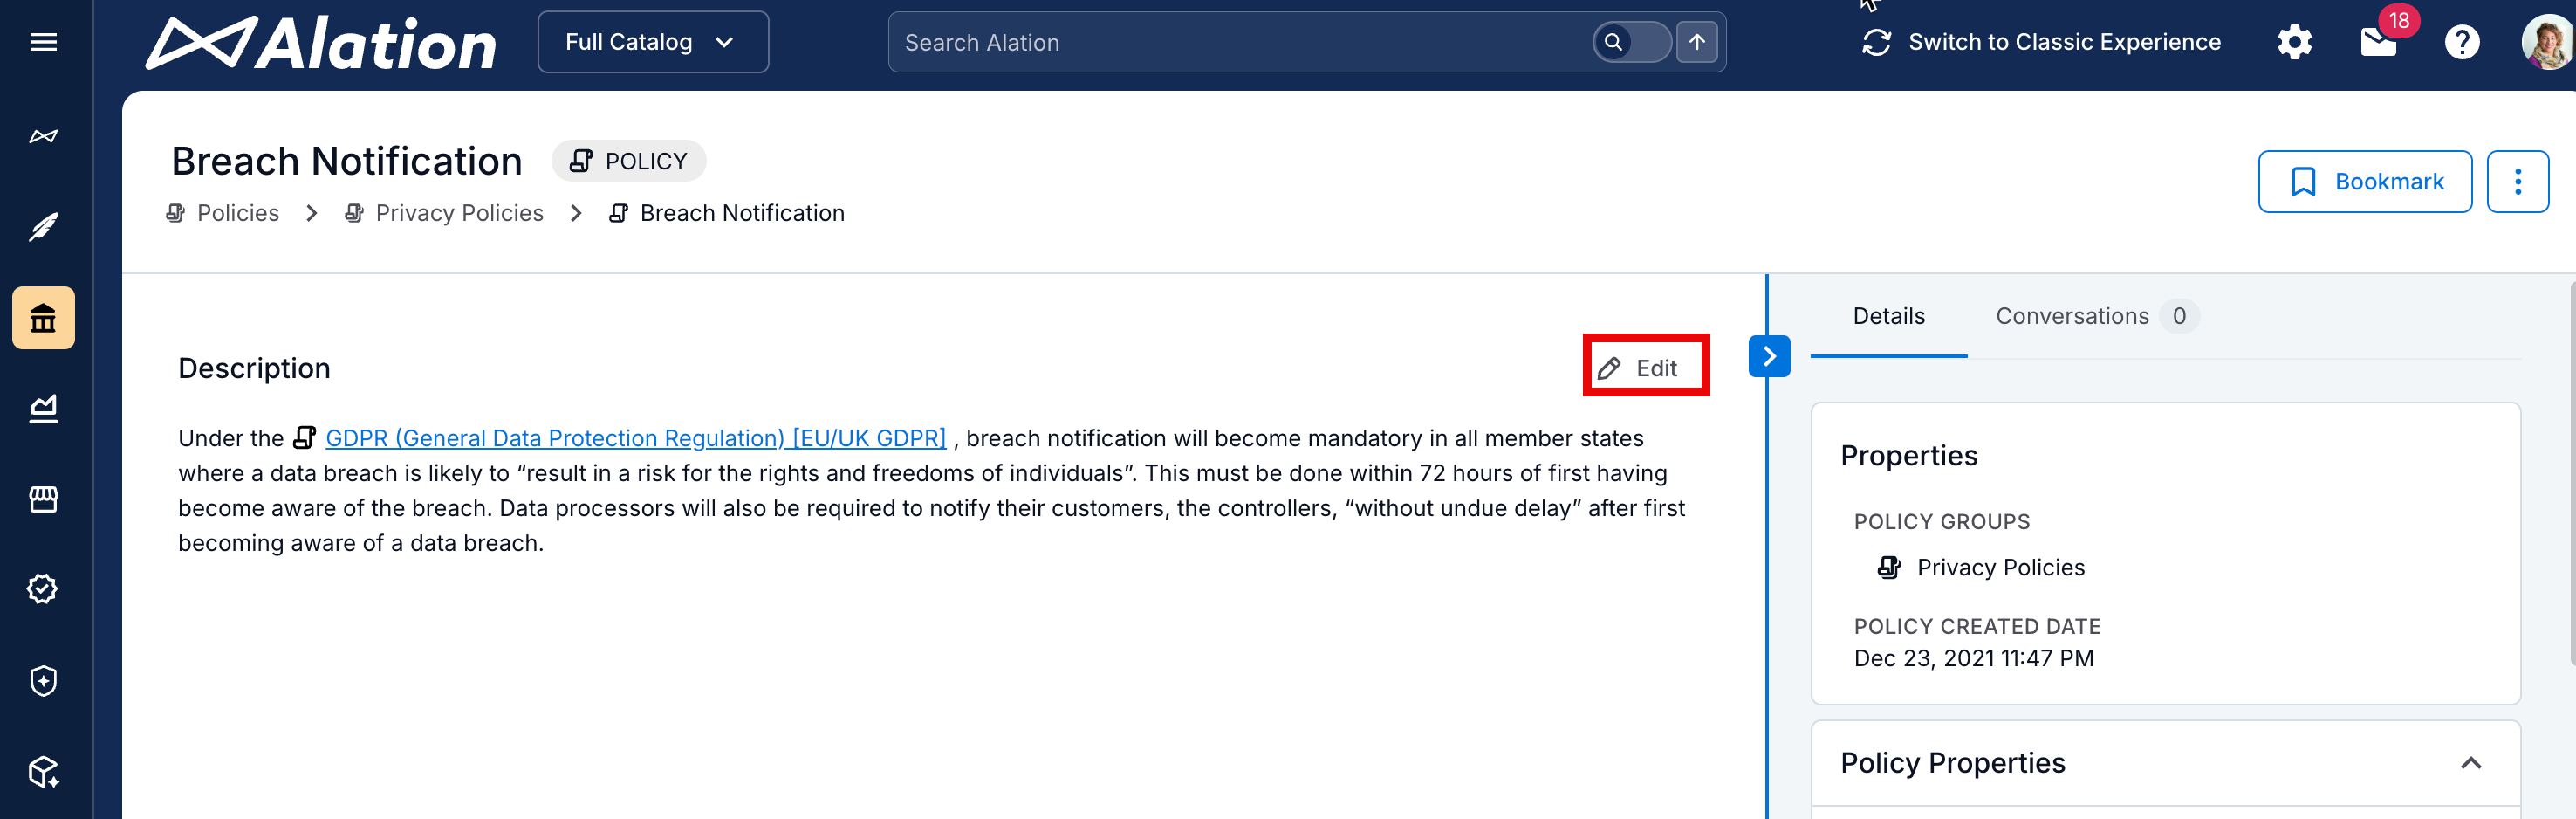
Click Edit to update the policy. Edits can be made to the title, description, Domains, Stewards, and Tags for the policy.
Click Save to commit the changes, or Cancel to discard your edits.
In the left-side navigation panel, click the Curate and Govern icon. The Curate and Govern landing page opens.
Under Govern, click Policies to access the Policy Center.
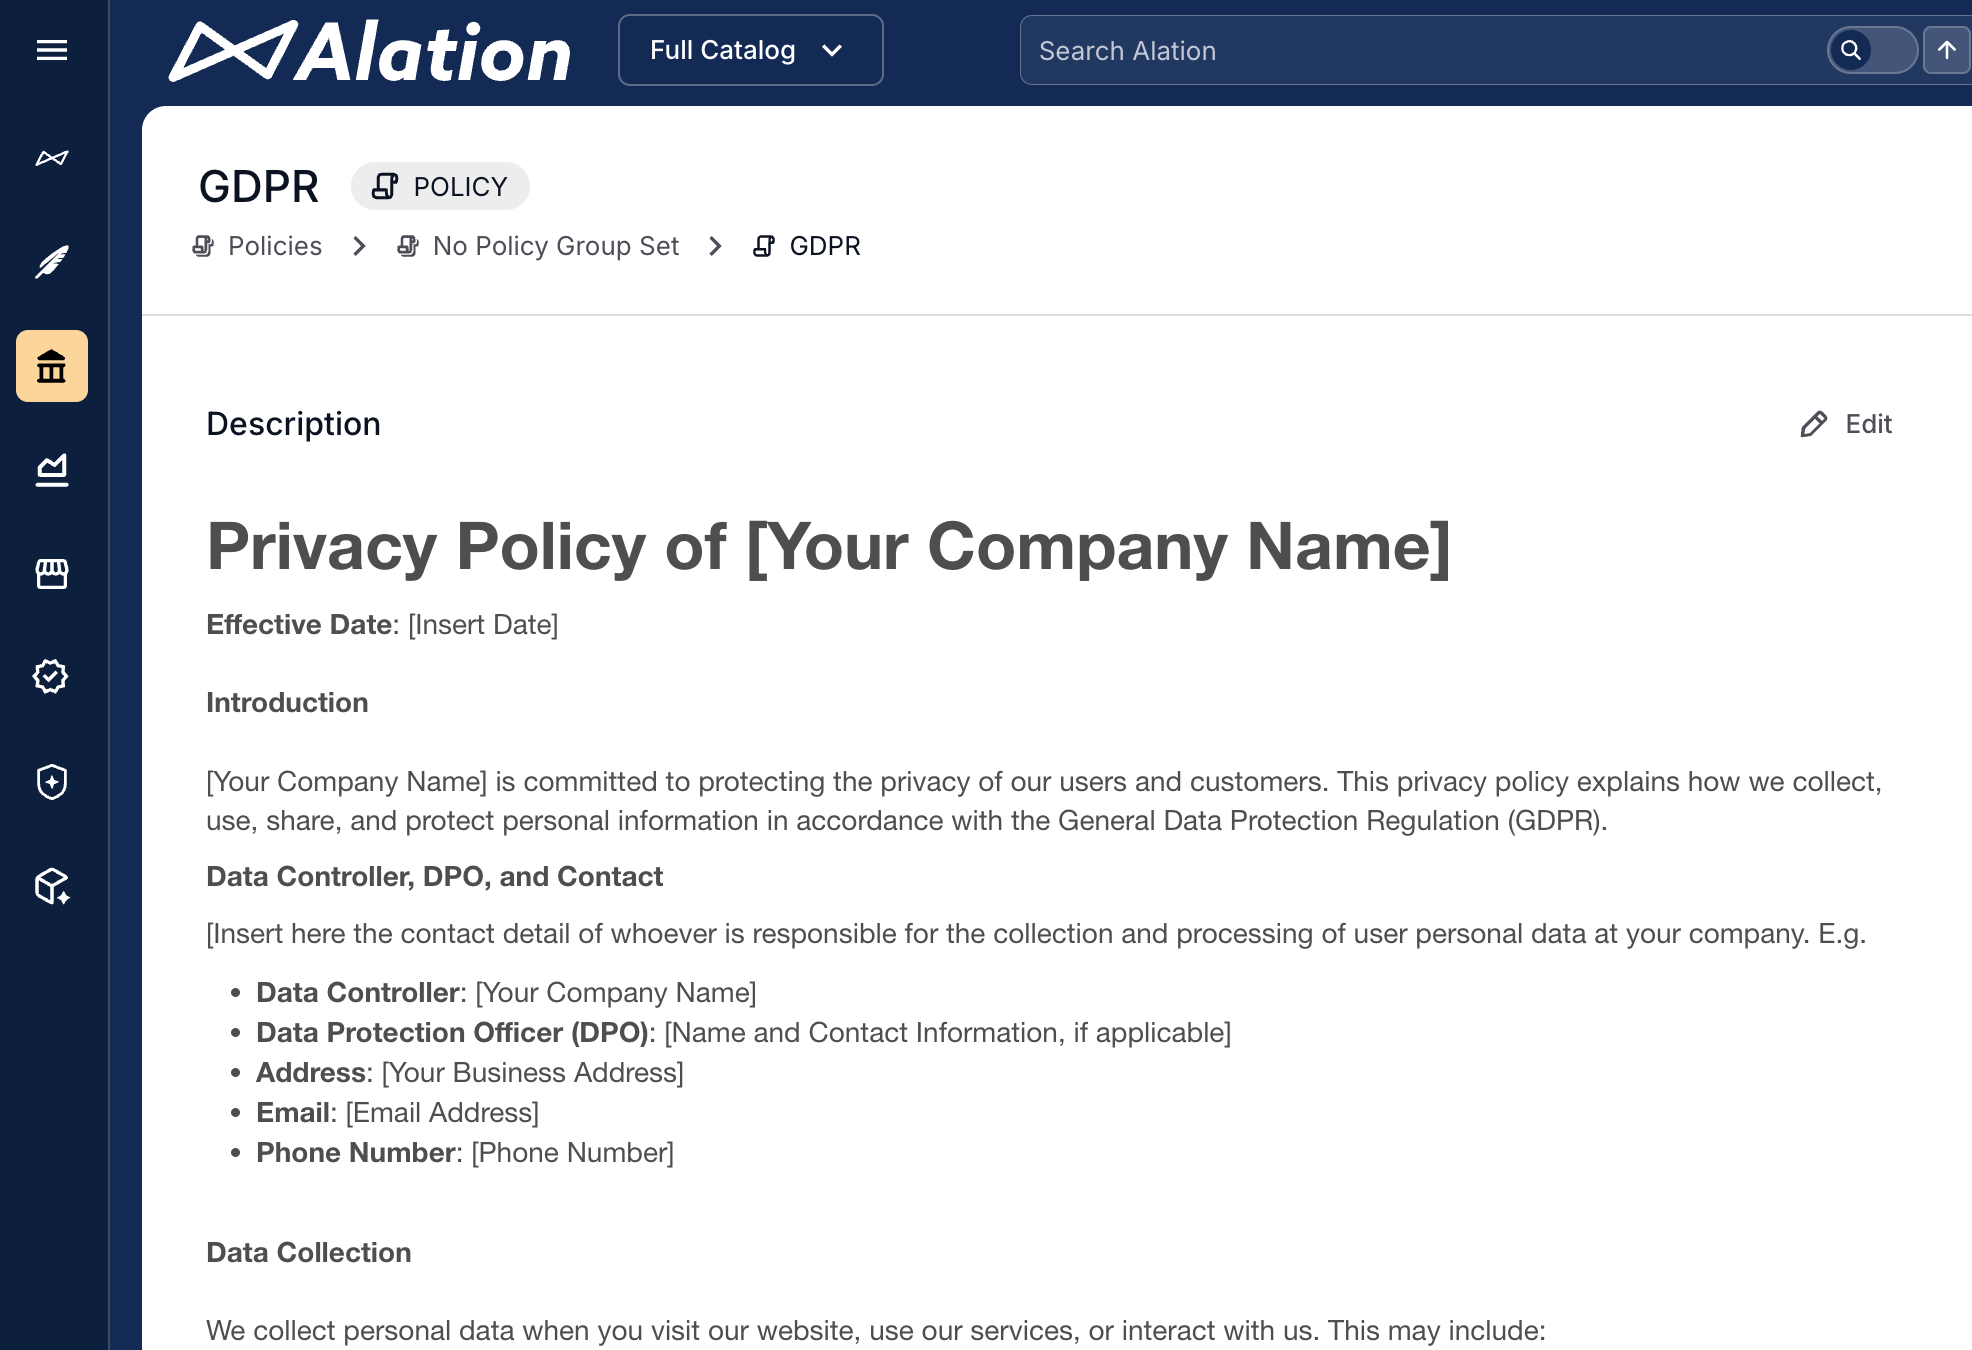
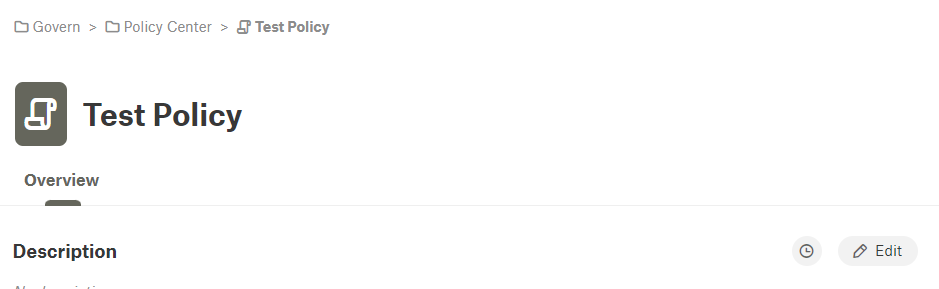
Click the title of the policy you want to edit. The policy’s catalog page opens.
Edit the title, description, Domains, Stewards, Tags, and any custom fields on the page. Editing controls depend on the field type:
Rich text fields, such as the description, provide an Edit button.
Object Set fields provide Add and Remove controls.
Other field types provide inline editors specific to the field.
Change the Template of a Policy
On the policy’s catalog page, select a template from the Type field dropdown in the right-side panel. The template is changed to the selected one, and the fields on the page update to reflect the new template. Provide values for the new fields as needed.
Note
Changing the template displays the fields from the new template. The fields from the previous template will no longer be visible.
To change the template applied to a policy:
Open the Policy Center.
Locate the policy and click its title to open the catalog page.
Click the three-dots Options menu in the top-right corner and select Change template. The list of available policy templates opens.
Select the template you want to apply.
Click Save in the Change Template dialog. The previous template is replaced with the new one. Curate the fields on the new template to provide values.
Configure Access to a Policy
You can configure access permissions for a policy from the Policy Center or from the policy’s catalog page. See Grant Access to Policies for the available options.
To configure access from the Policy Center:
Open the Policy Center.
Locate the policy in the Policies table.
Click the three-dots icon on the right of the corresponding table row.
Select Access Settings. The Access Settings dialog opens.
To configure access from the policy’s catalog page:
Open the policy’s catalog page.
Click the three-dots Options menu in the top-right corner and select Access Settings. The Access Settings dialog opens.
Assign a Policy to Policy Groups
Perform the following steps to assign a policy to one or more policy groups, or to remove it from a group:
Open the Policy Center.
Locate the policy in the Policies table.
Click the three-dots icon on the right of the corresponding table row.
Select Add / Remove Policy Group(s). The Add / Remove Policy Group(s) dialog opens, listing all available policy groups.
(Optional) To find a specific group, enter a keyword in the search bar. The list updates to show matching groups.
Select the checkbox of each group you want to associate the policy with. Clear the checkbox of each group you want to remove the policy from.
Click Save.
View Field History for a Policy
Click the history icon next to a field to view the change history for that field.
Alation records the history of changes you make to fields on a policy object. You can display the history controls on the policy’s catalog page.
To display field history:
Open the policy’s catalog page.
Click the three-dots Options menu in the top-right corner and select one of the following:
Show version history: Displays a history icon next to each field on the page.
Title history: Displays the change history for the title.
Click the history icon next to a field to open the History dialog for that field.
To hide field history, click the three-dots Options menu in the top-right corner and select Hide Version History.
Bookmark a Policy
Click the Star icon in the top-right corner of the policy’s catalog page to bookmark the policy. “Starred” policies are easier to find from your homepage and in Search results, where you can select Starred as a filter.
Bookmark a policy so you can find it again from your homepage or from your bookmarks list. You can also subscribe to email notifications about changes to the policy.
To bookmark a policy:
On the policy’s catalog page, click Bookmark in the top-right corner. The Bookmark dialog opens.
(Optional) Select Notify me via email when changes are made to receive email notifications about updates to the policy. Leave the checkbox clear if you don’t want notifications.
Click Done. The button label changes to Bookmarked.
To remove the bookmark and unsubscribe from notifications, click Bookmarked on the policy’s catalog page.
To find your bookmarked policies, use either of the following:
On your homepage, find the policy under the Bookmarked widget if it’s displayed.
Note
Server Admins and Catalog Admins can customize the homepage, so this widget may not be present.
In the left-side navigation panel, click the Catalog icon and then click My Bookmarks. The search results page opens with all your bookmarked objects listed.
Delete a Business Policy
Perform the following steps to delete policies in Alation:
From the Apps menu, click Curate and Govern.
Under Govern, click Policies to access the Policy Center.
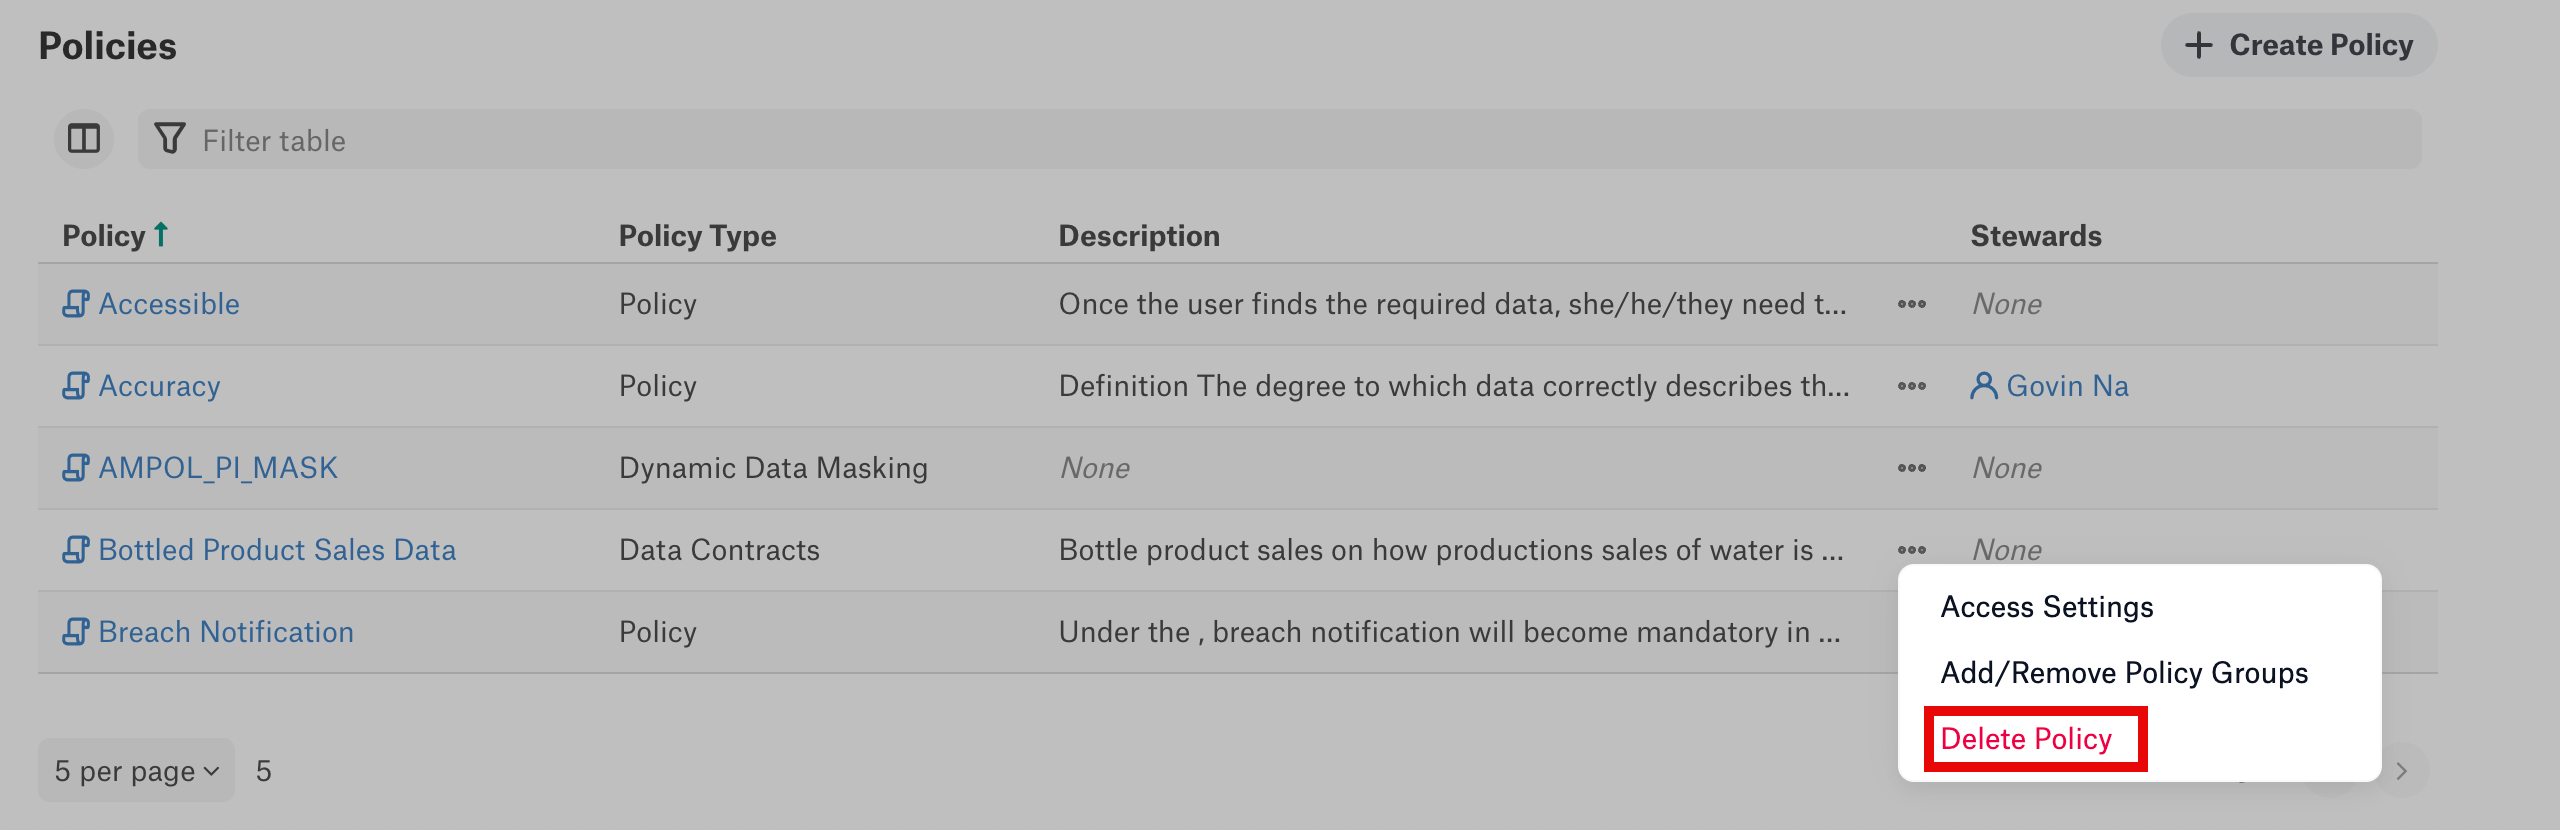
Click the three-dots icon on the policy you want to delete in the Policies section.

Select Delete Policy from the dropdown menu.
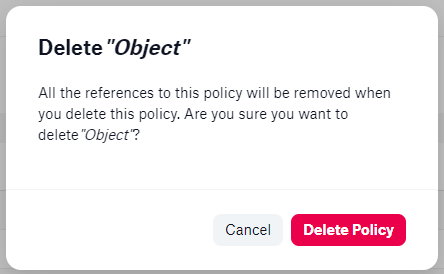
A dialog will appear to confirm the desired removal. If you wish to delete the policy, click Delete Policy.
In the left-side navigation panel, click the Curate and Govern icon. The Curate and Govern landing page opens.
Under Govern, click Policies to access the Policy Center.
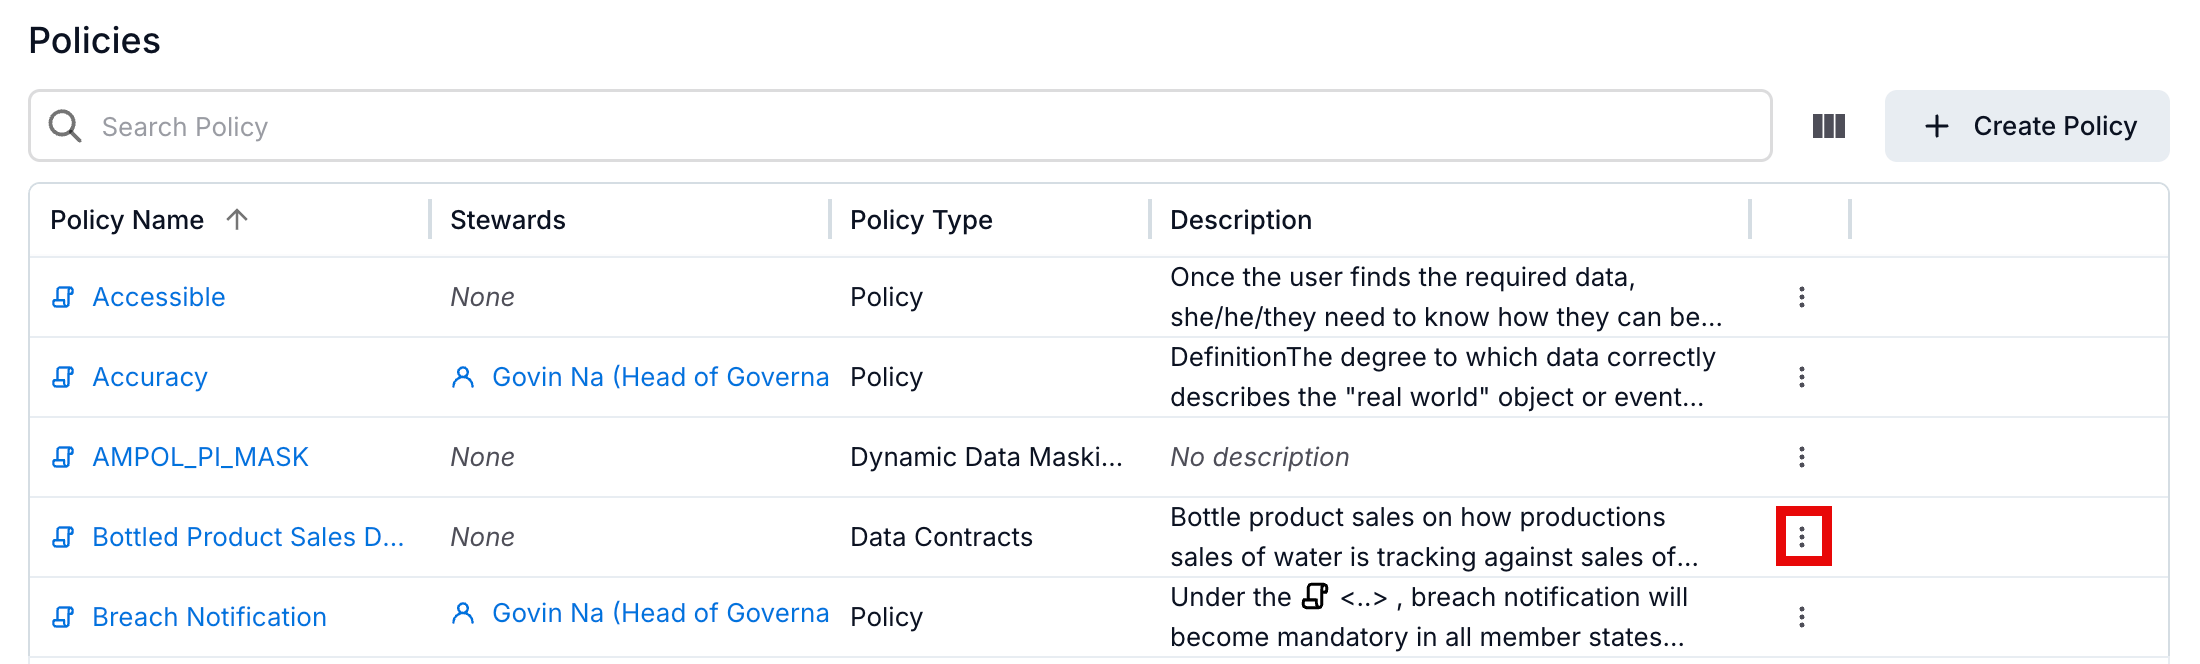
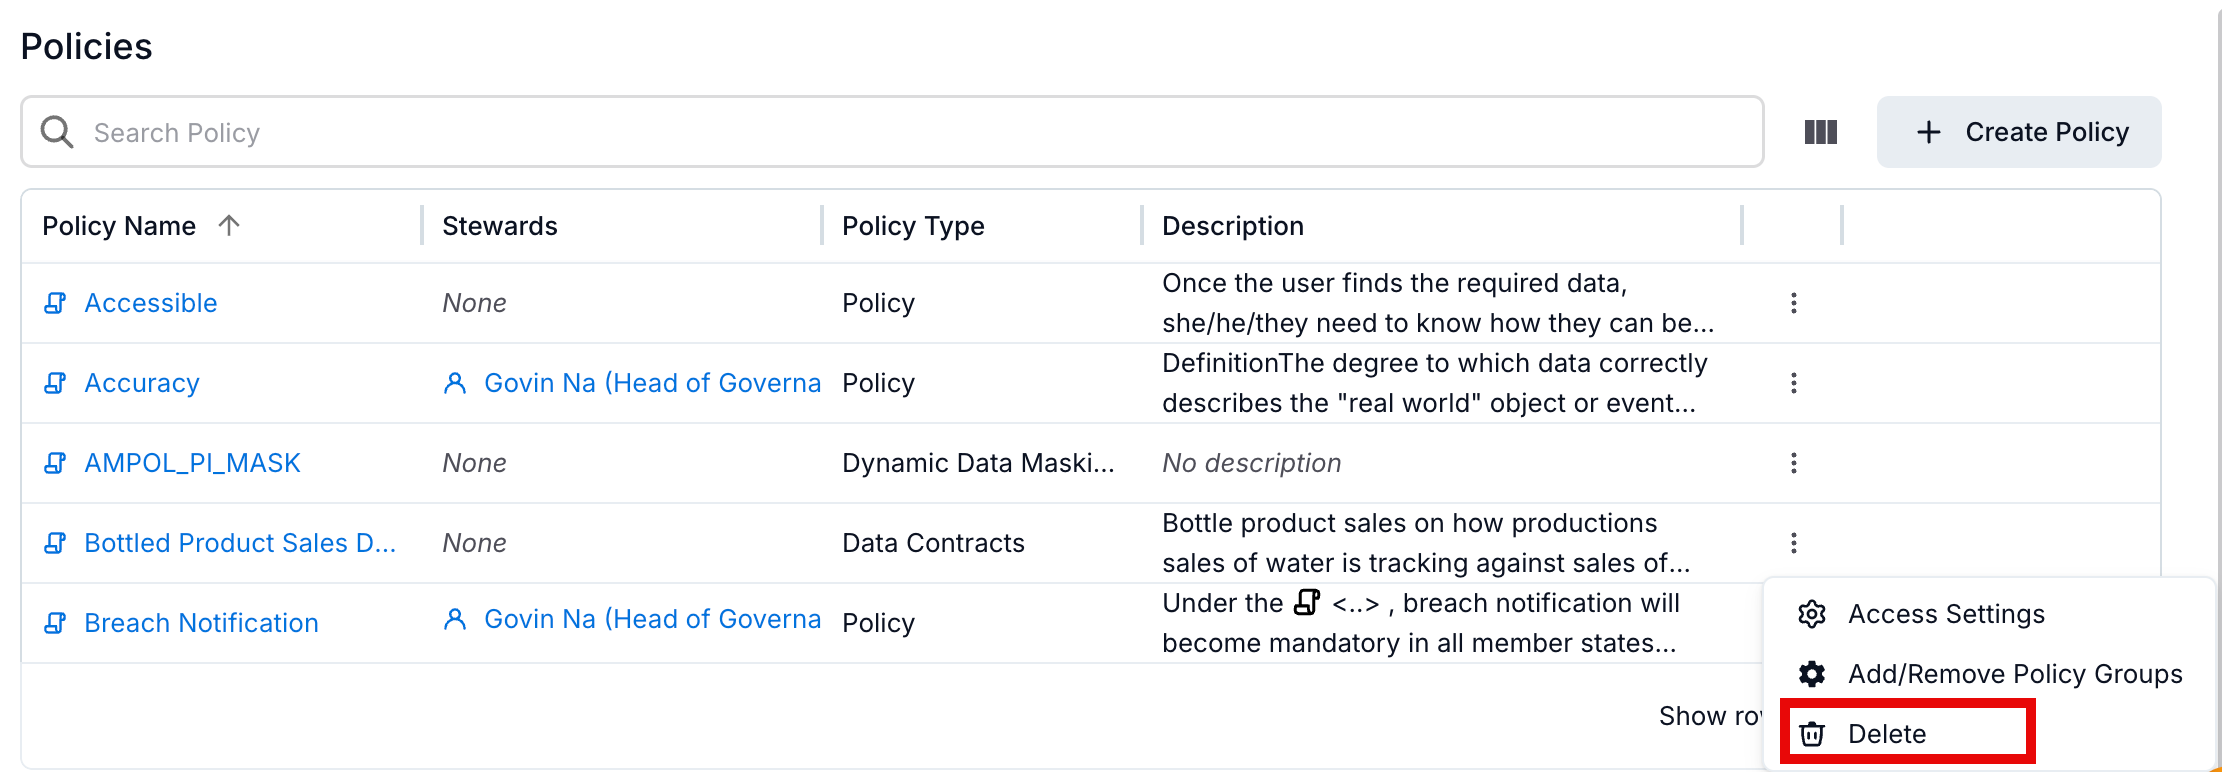
Click the three-dots icon on the policy you want to delete in the Policies section.
Select Delete from the dropdown menu.
A confirmation dialog appears. To delete the policy, click Delete.
Customize Business Policy Templates
Alation users with a role of Server Admin or Catalog Admin can modify and customize the standard policy template and create multiple custom templates for policies.
For additional information on customizing policy templates, see Manage Templates.