Create Workflows for Document Hub
Alation Cloud Service Applies to Alation Cloud Service instances of Alation
Customer Managed Applies to customer-managed instances of Alation
Create an Add Object Request Workflow for a Document Hub Object
To create an Add Object Request workflow for a Document Hub object:
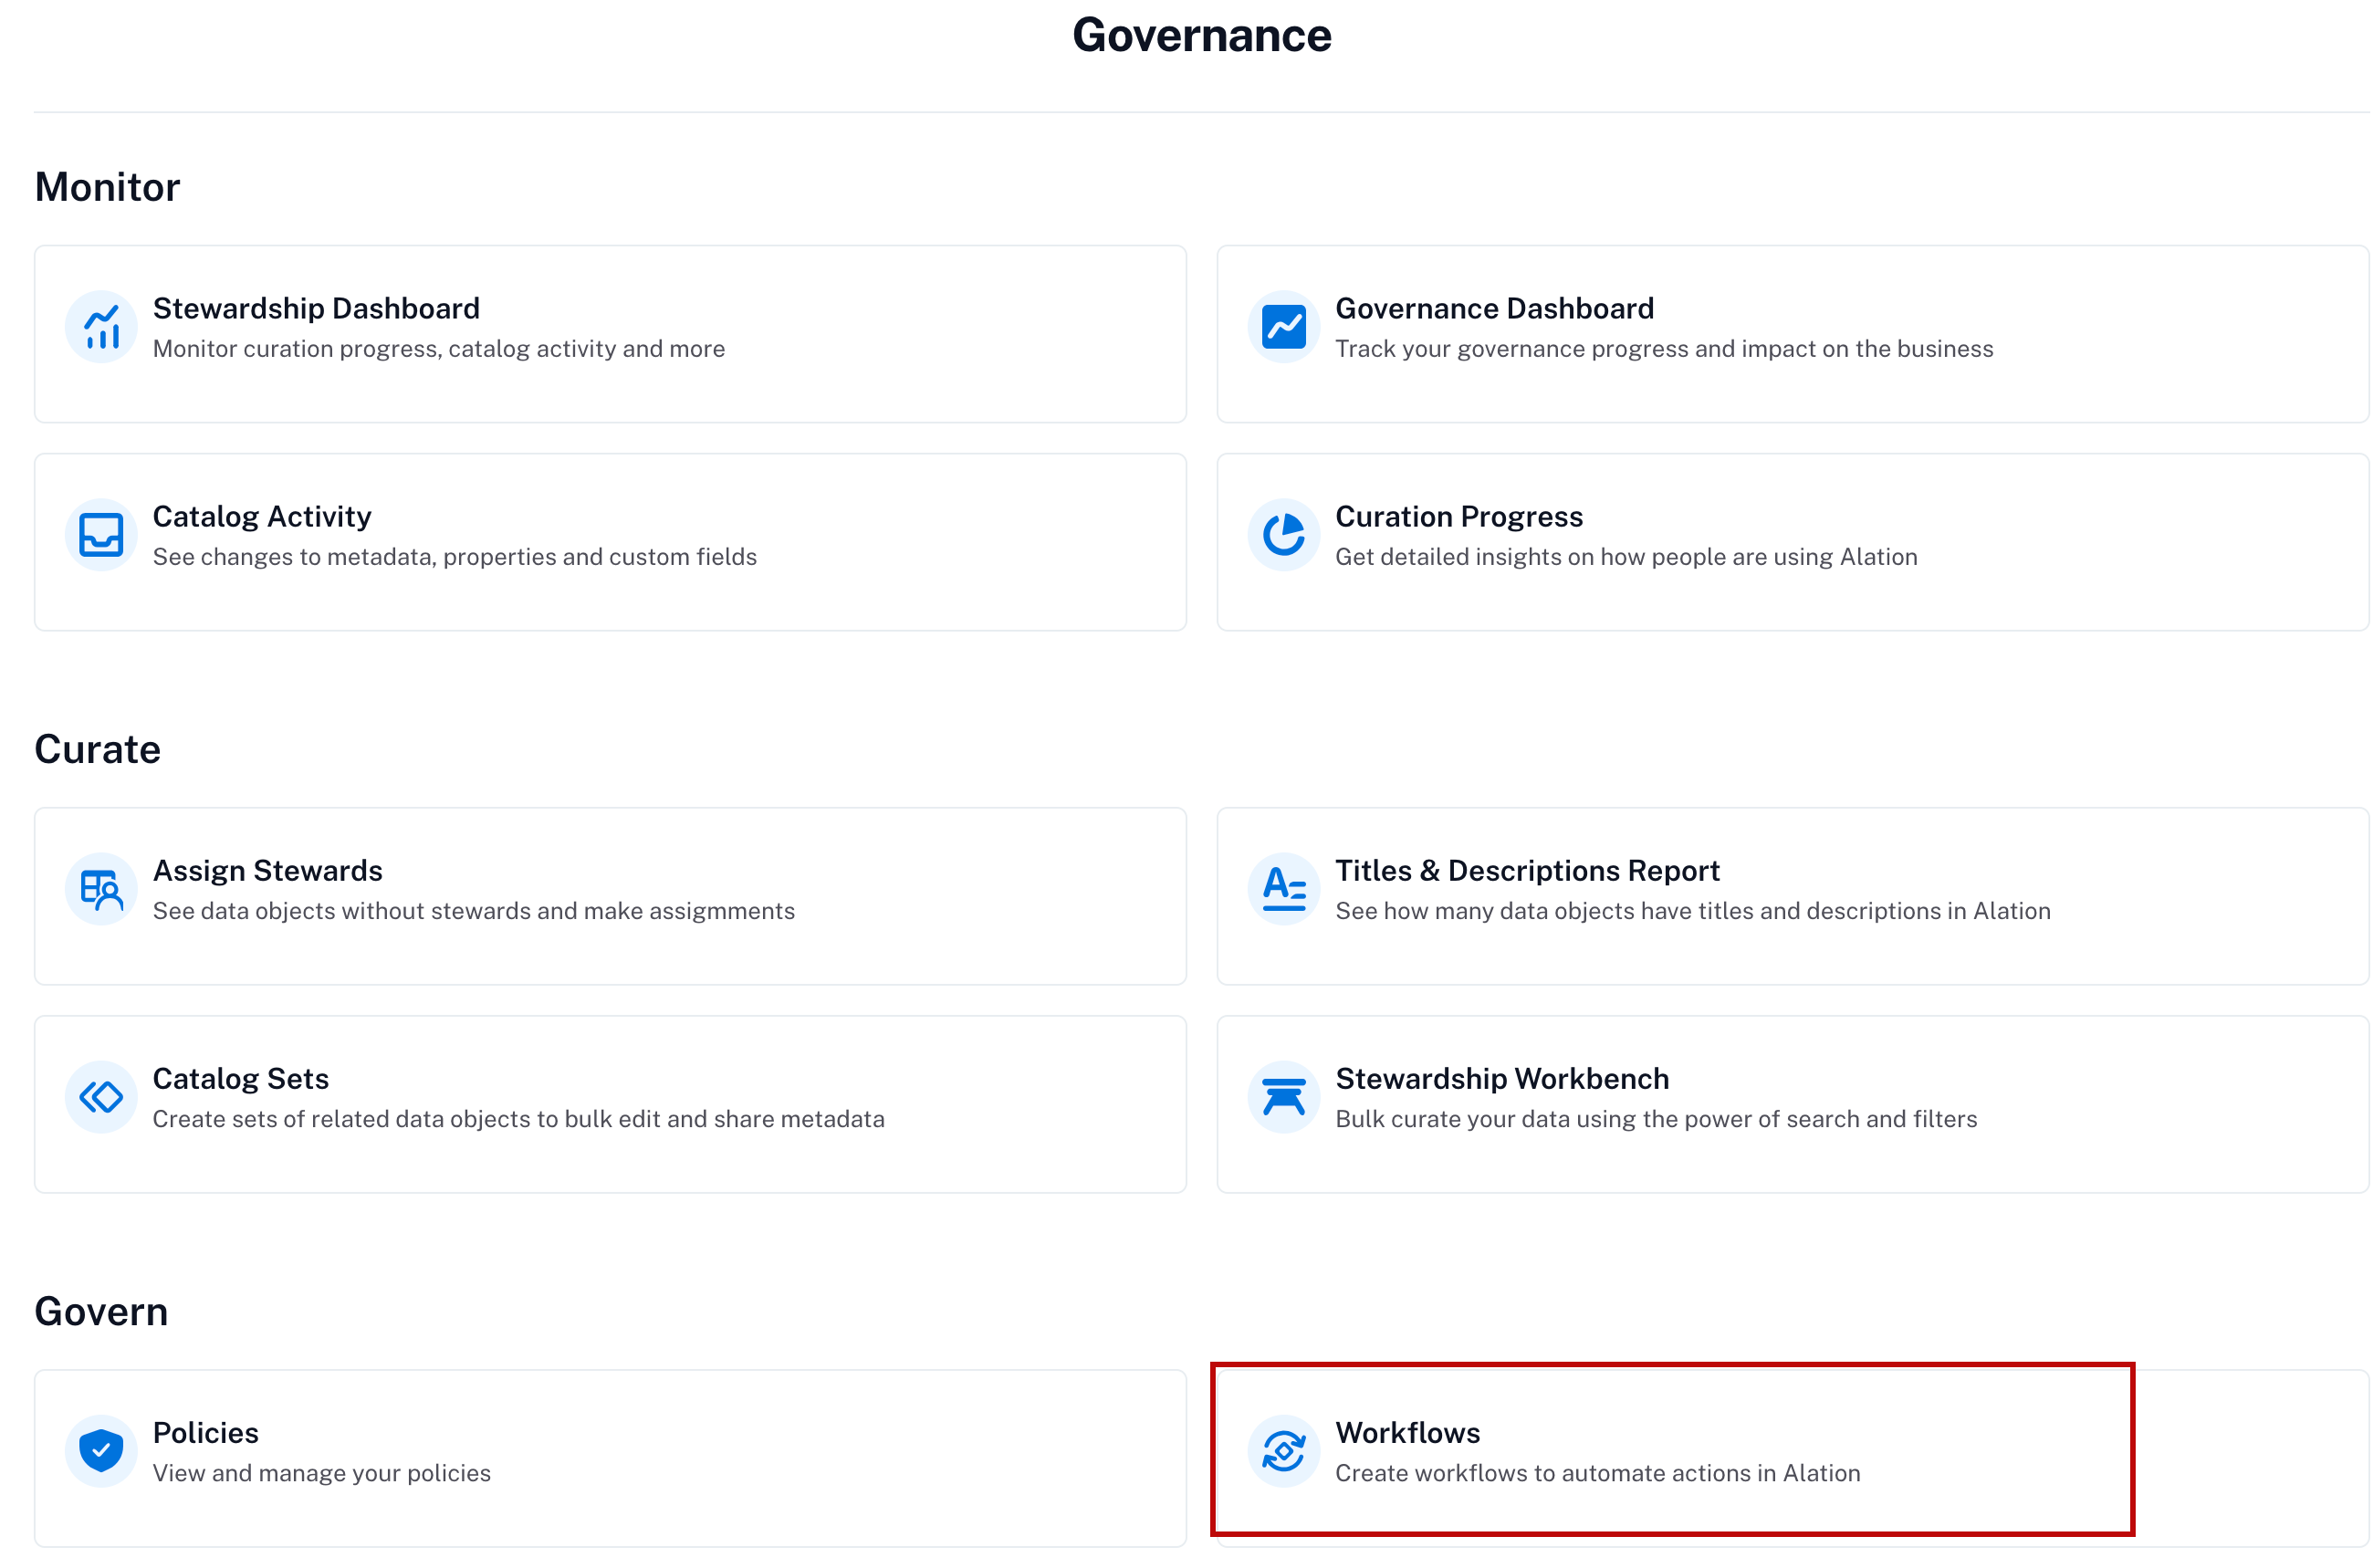
Open the Curate and Govern landing page. On where to find it in Alation, see Curate and Govern Landing Page.
Click Workflows to access the Workflow Center.
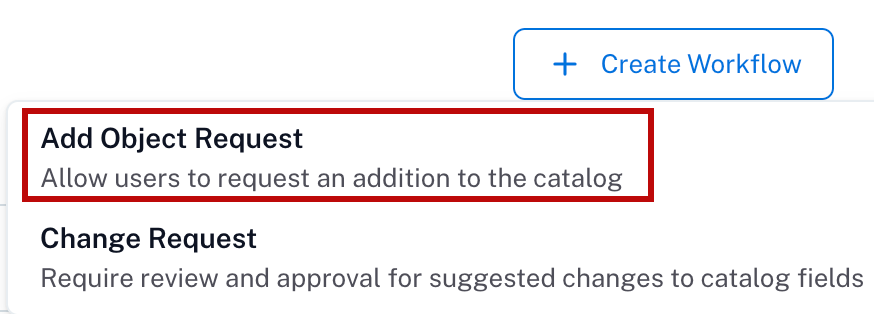
Click the + Create Workflow button on the upper right of the page, then select Add Object Request.
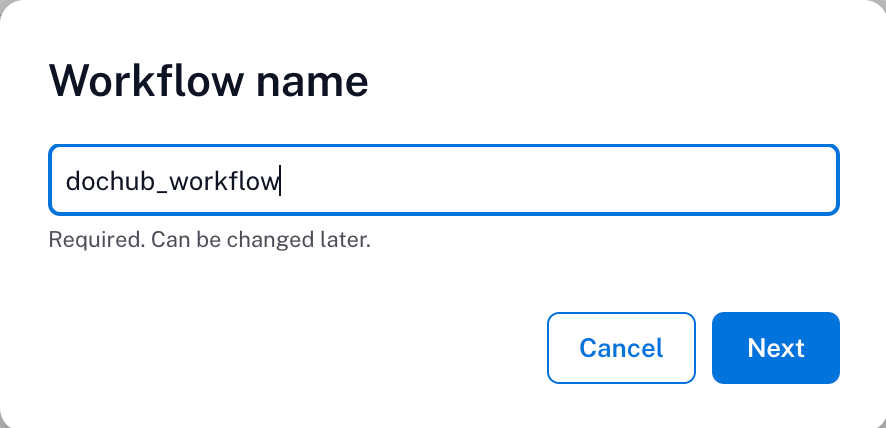
Enter a title for the workflow. The title of the workflow must be unique and the field will alert you if a duplicate title already exists. Click the Next button.
In the Add Object Request Workflow wizard:
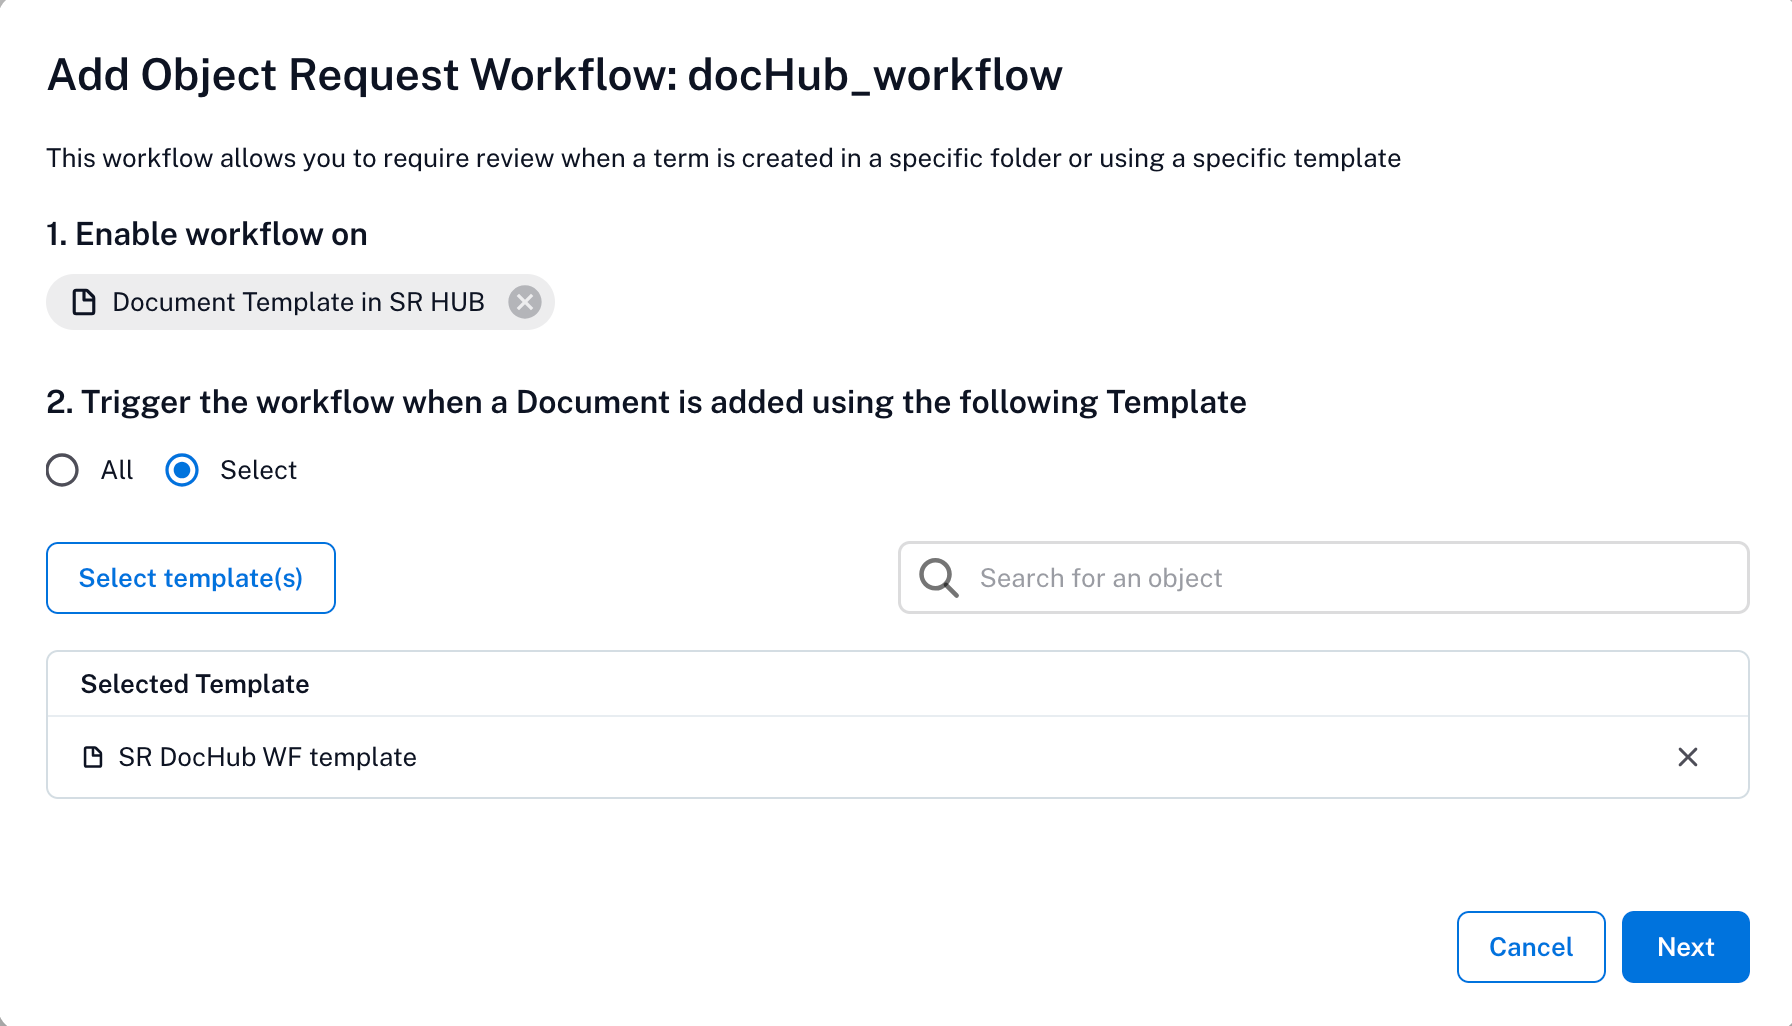
In the Enable workflow on dropdown, select the document hub object type such as document, folder, or the document template to which you want to apply the workflow.
Click Select <Doc_Hub_Object(s)> to select the document(s), folder(s), or template(s) to which you want to apply the workflow. If you choose All, you are given the choice to exclude specific items from the workflow.
Note
Document template selection is limited to a single Document Hub
Click Next.
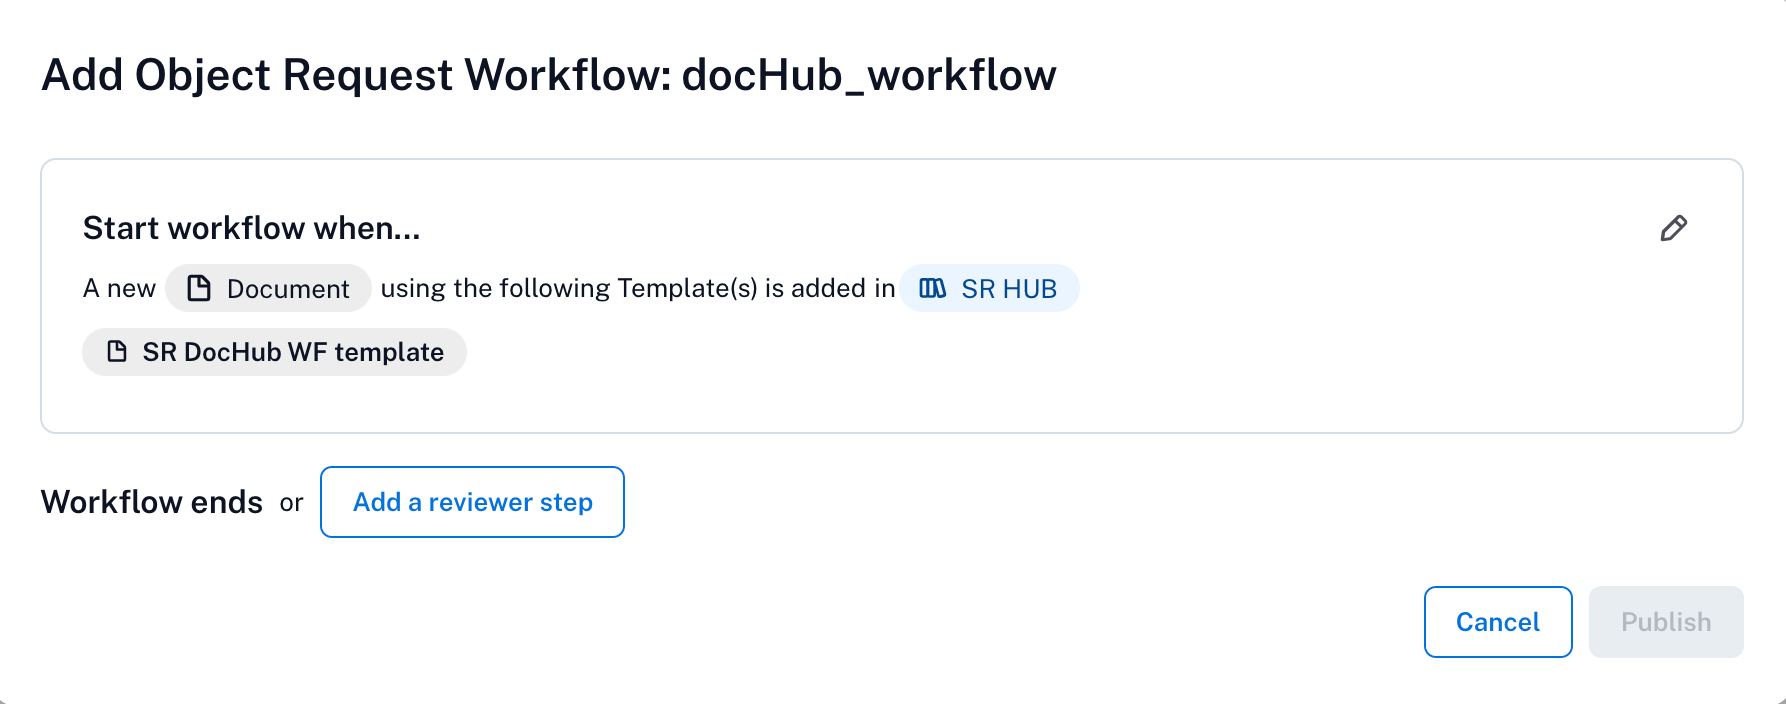
A summary of the workflow appears. Click the Add Reviewers button to specify the names or user groups from whom approval is required.
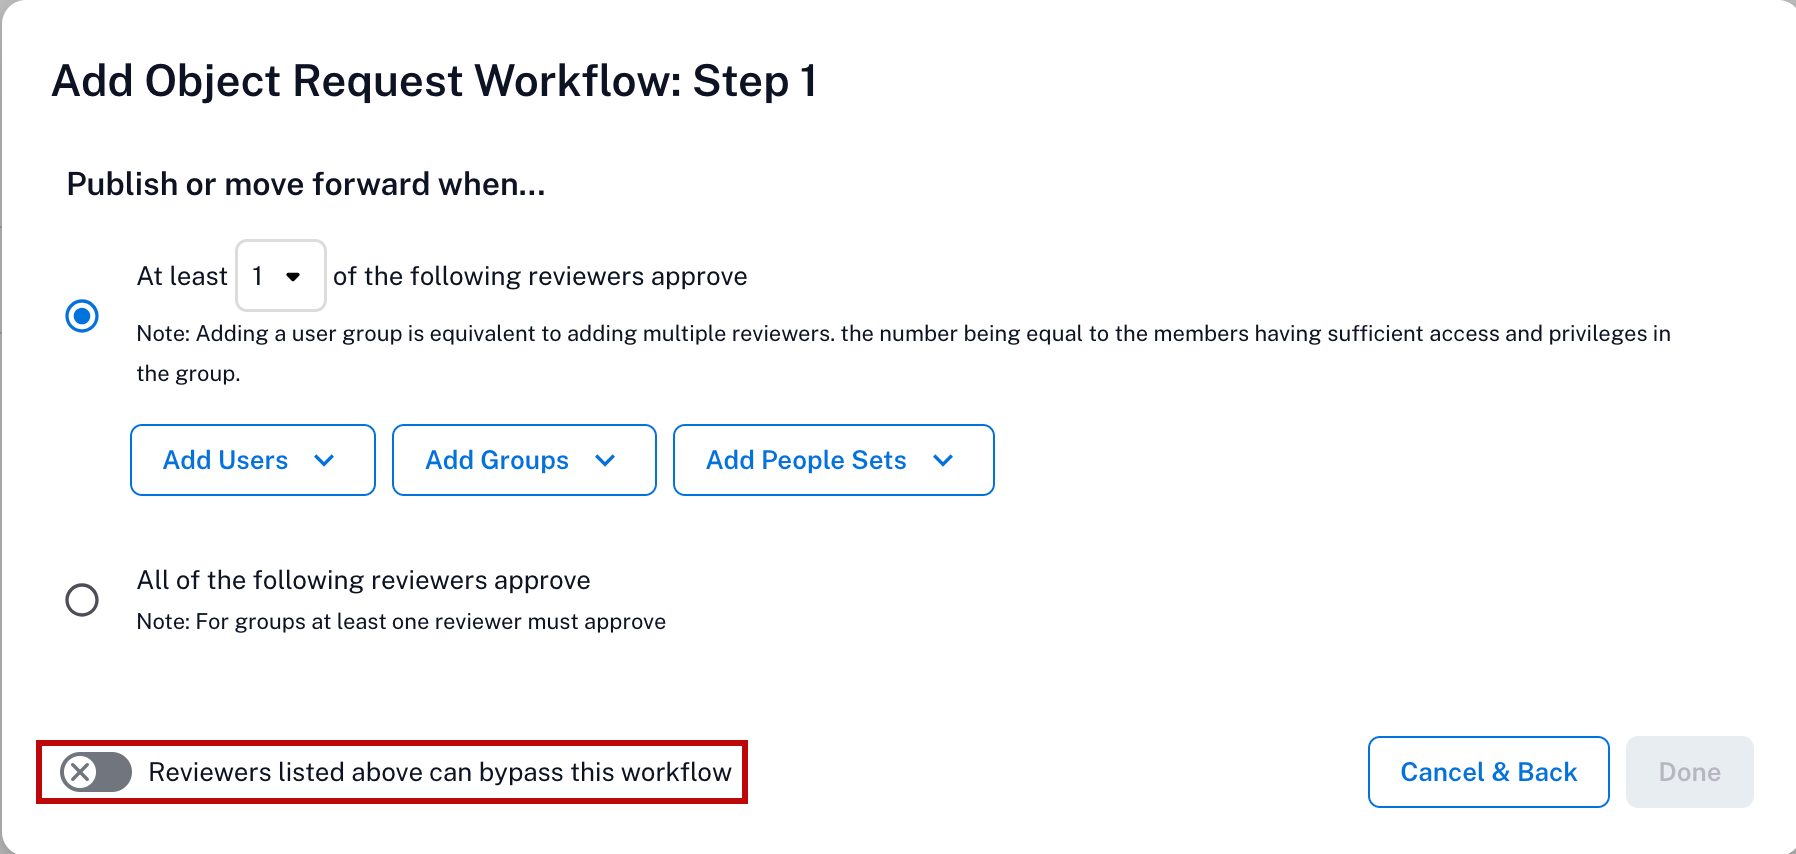
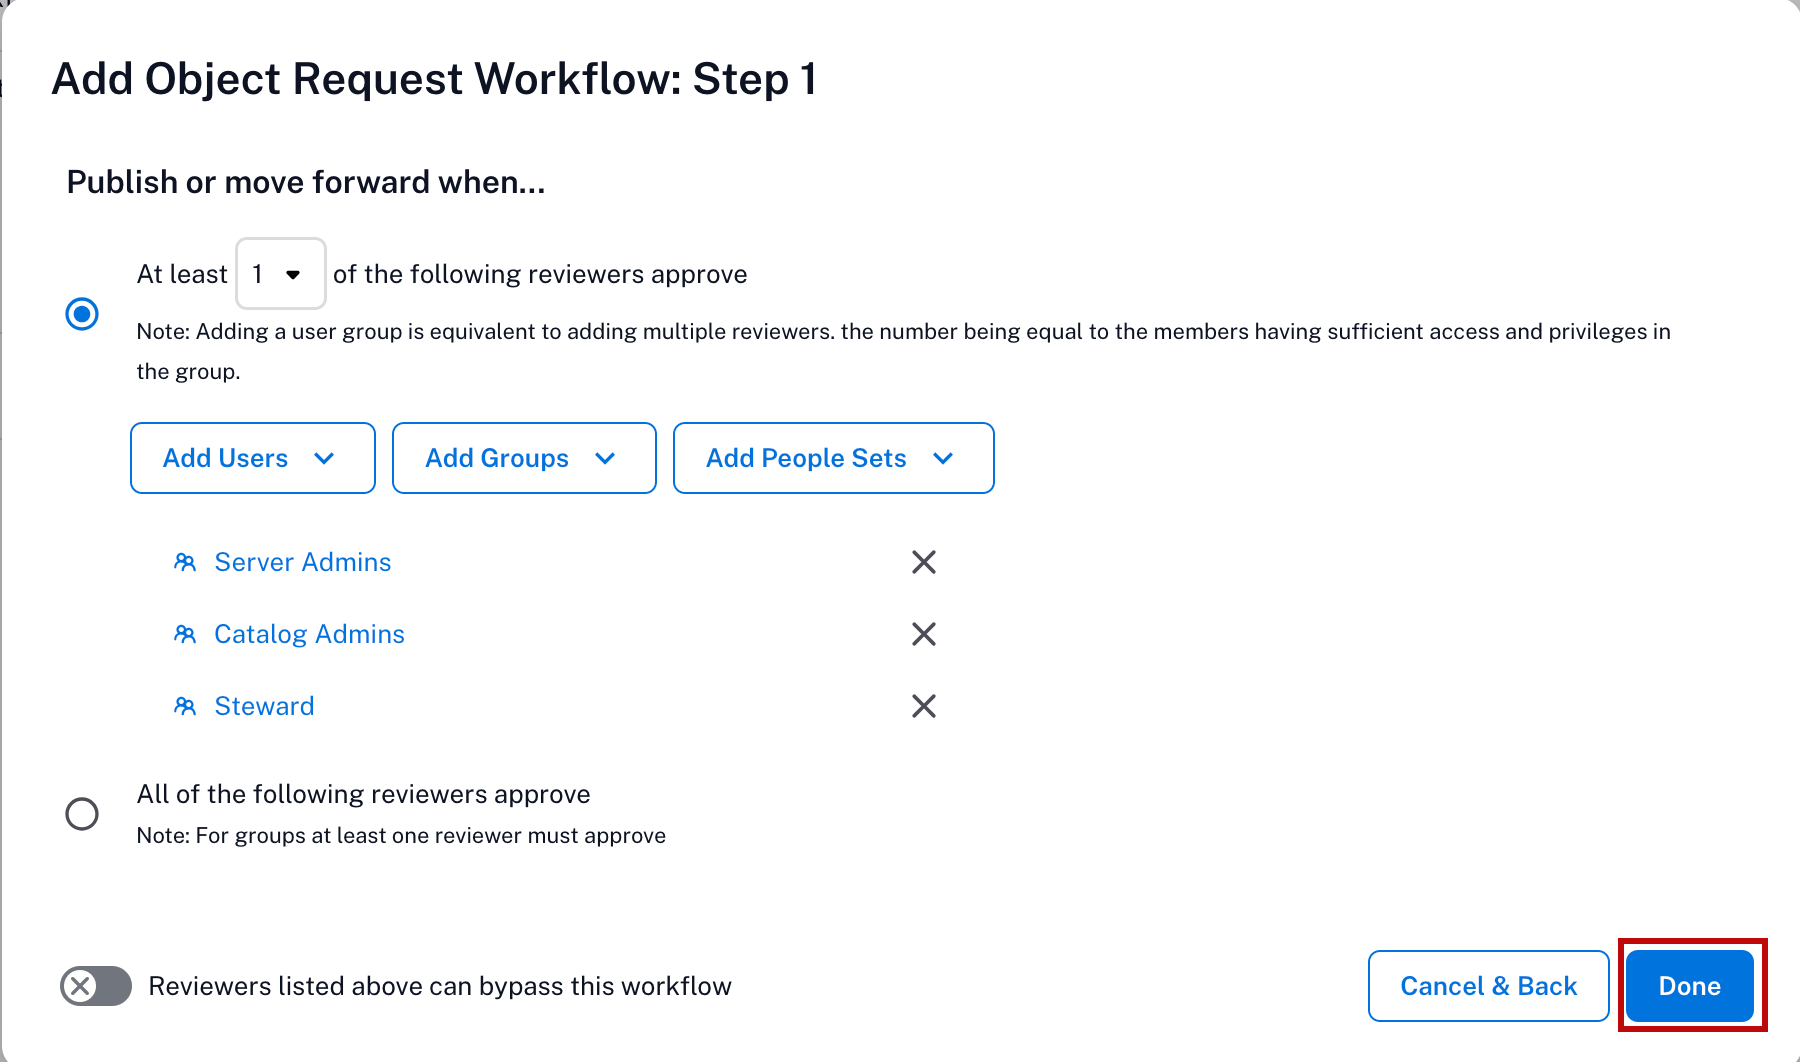
Specify a minimum number of reviewers (from 1 to 9 inclusive), or specify that all reviewers are required to approve. Click Add Users to specify individual users by name, Add Groups to specify user groups as reviewers, or Add People Sets to specify people sets as reviewers. Ensure that only users with the appropriate license level participate as reviewers.
Note
Users with viewer or explorer role cannot be added as reviewers. If you add the users with viewer or explorer role as reviewers, an error message will appear.

You can allow your reviewers to skip the workflow by switching on the toggle labeled Reviewers of this step can bypass the entire workflow.
When you have finished adding reviewers, click Done.
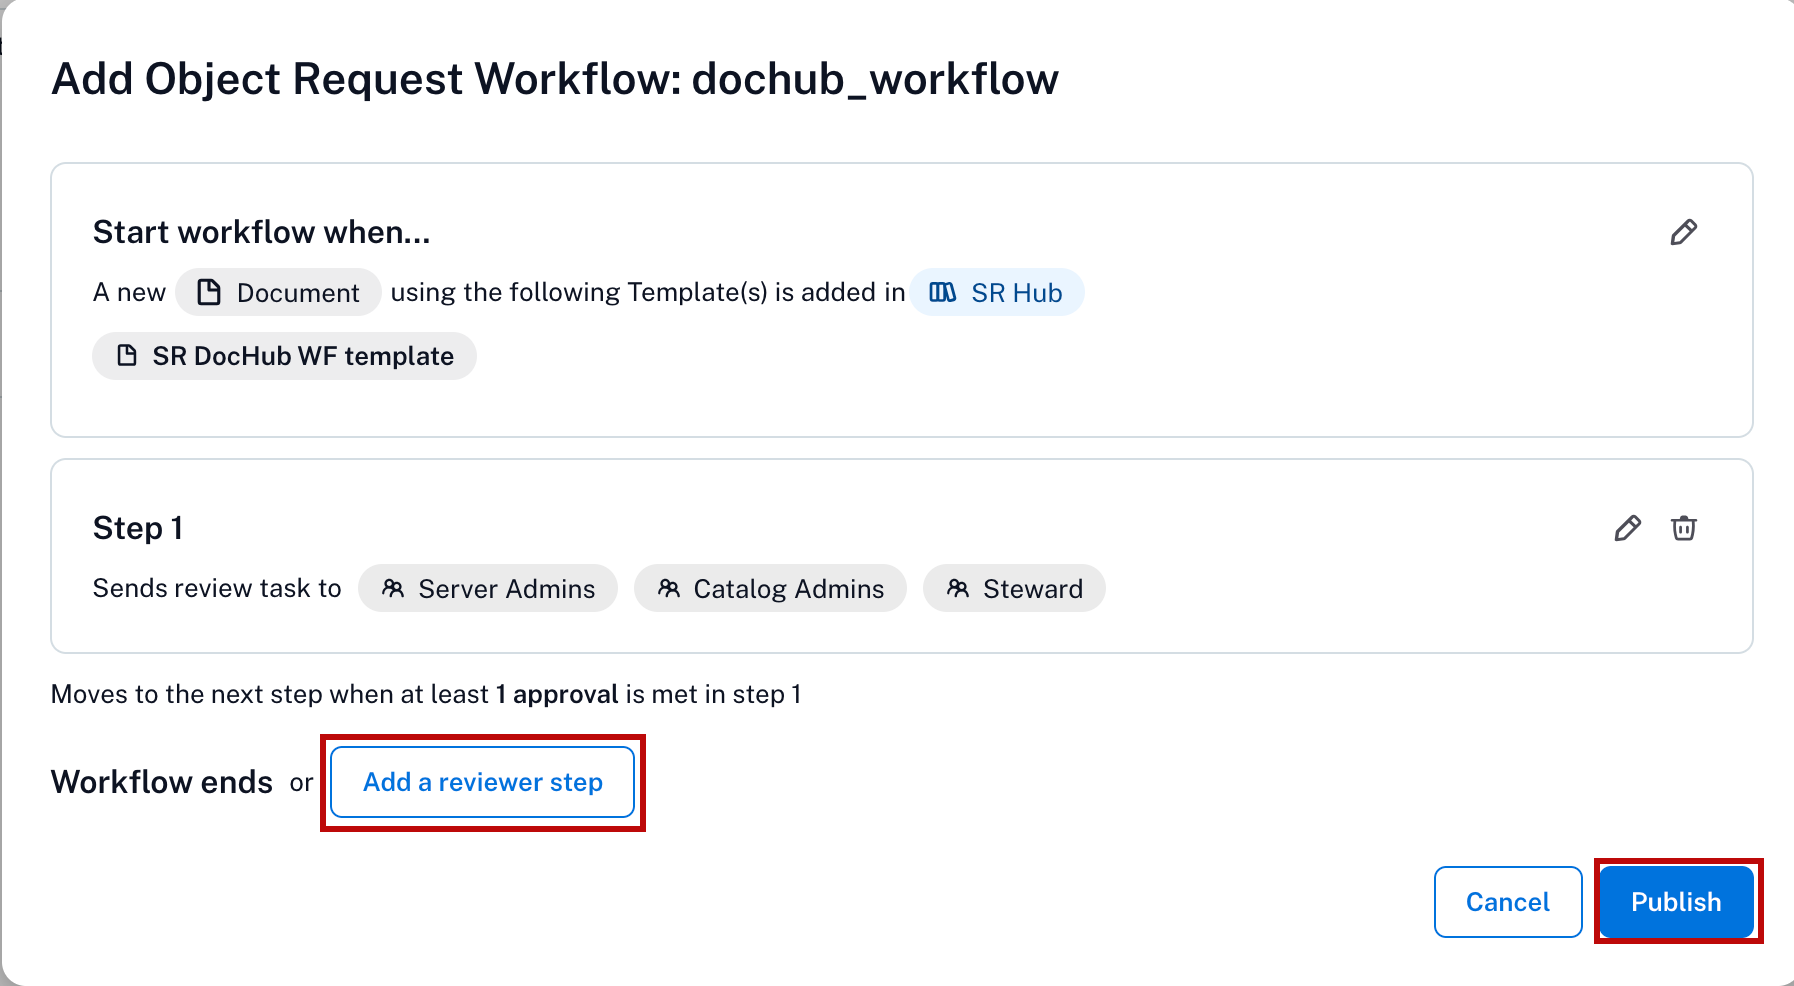
Additional review steps can also be added at this point if desired by clicking the Add a Step button. When you are satisfied that the workflow is complete, click Publish.
Create a Change Request Workflow for a Document Hub Object
To create a Change Request Workflow for a Document Hub object:
Open the Curate and Govern landing page. On where to find it in Alation, see Curate and Govern Landing Page.
Click Workflows to access the Workflow Center.
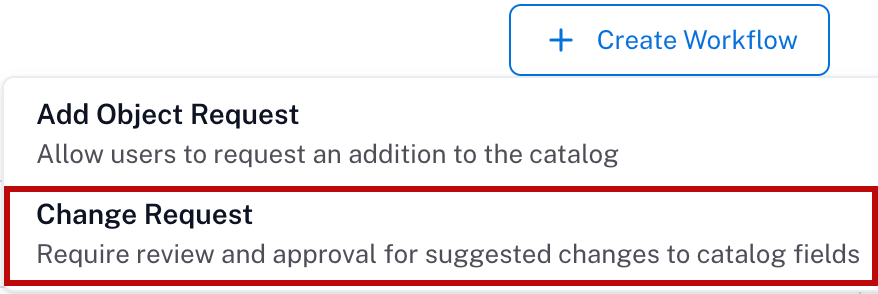
Click the + Create Workflow button on the upper right of the page, then select Change Request.
Enter a desired title for the workflow. The title of the workflow must be unique and the field will alert you if a duplicate title already exists. Click the Next button.
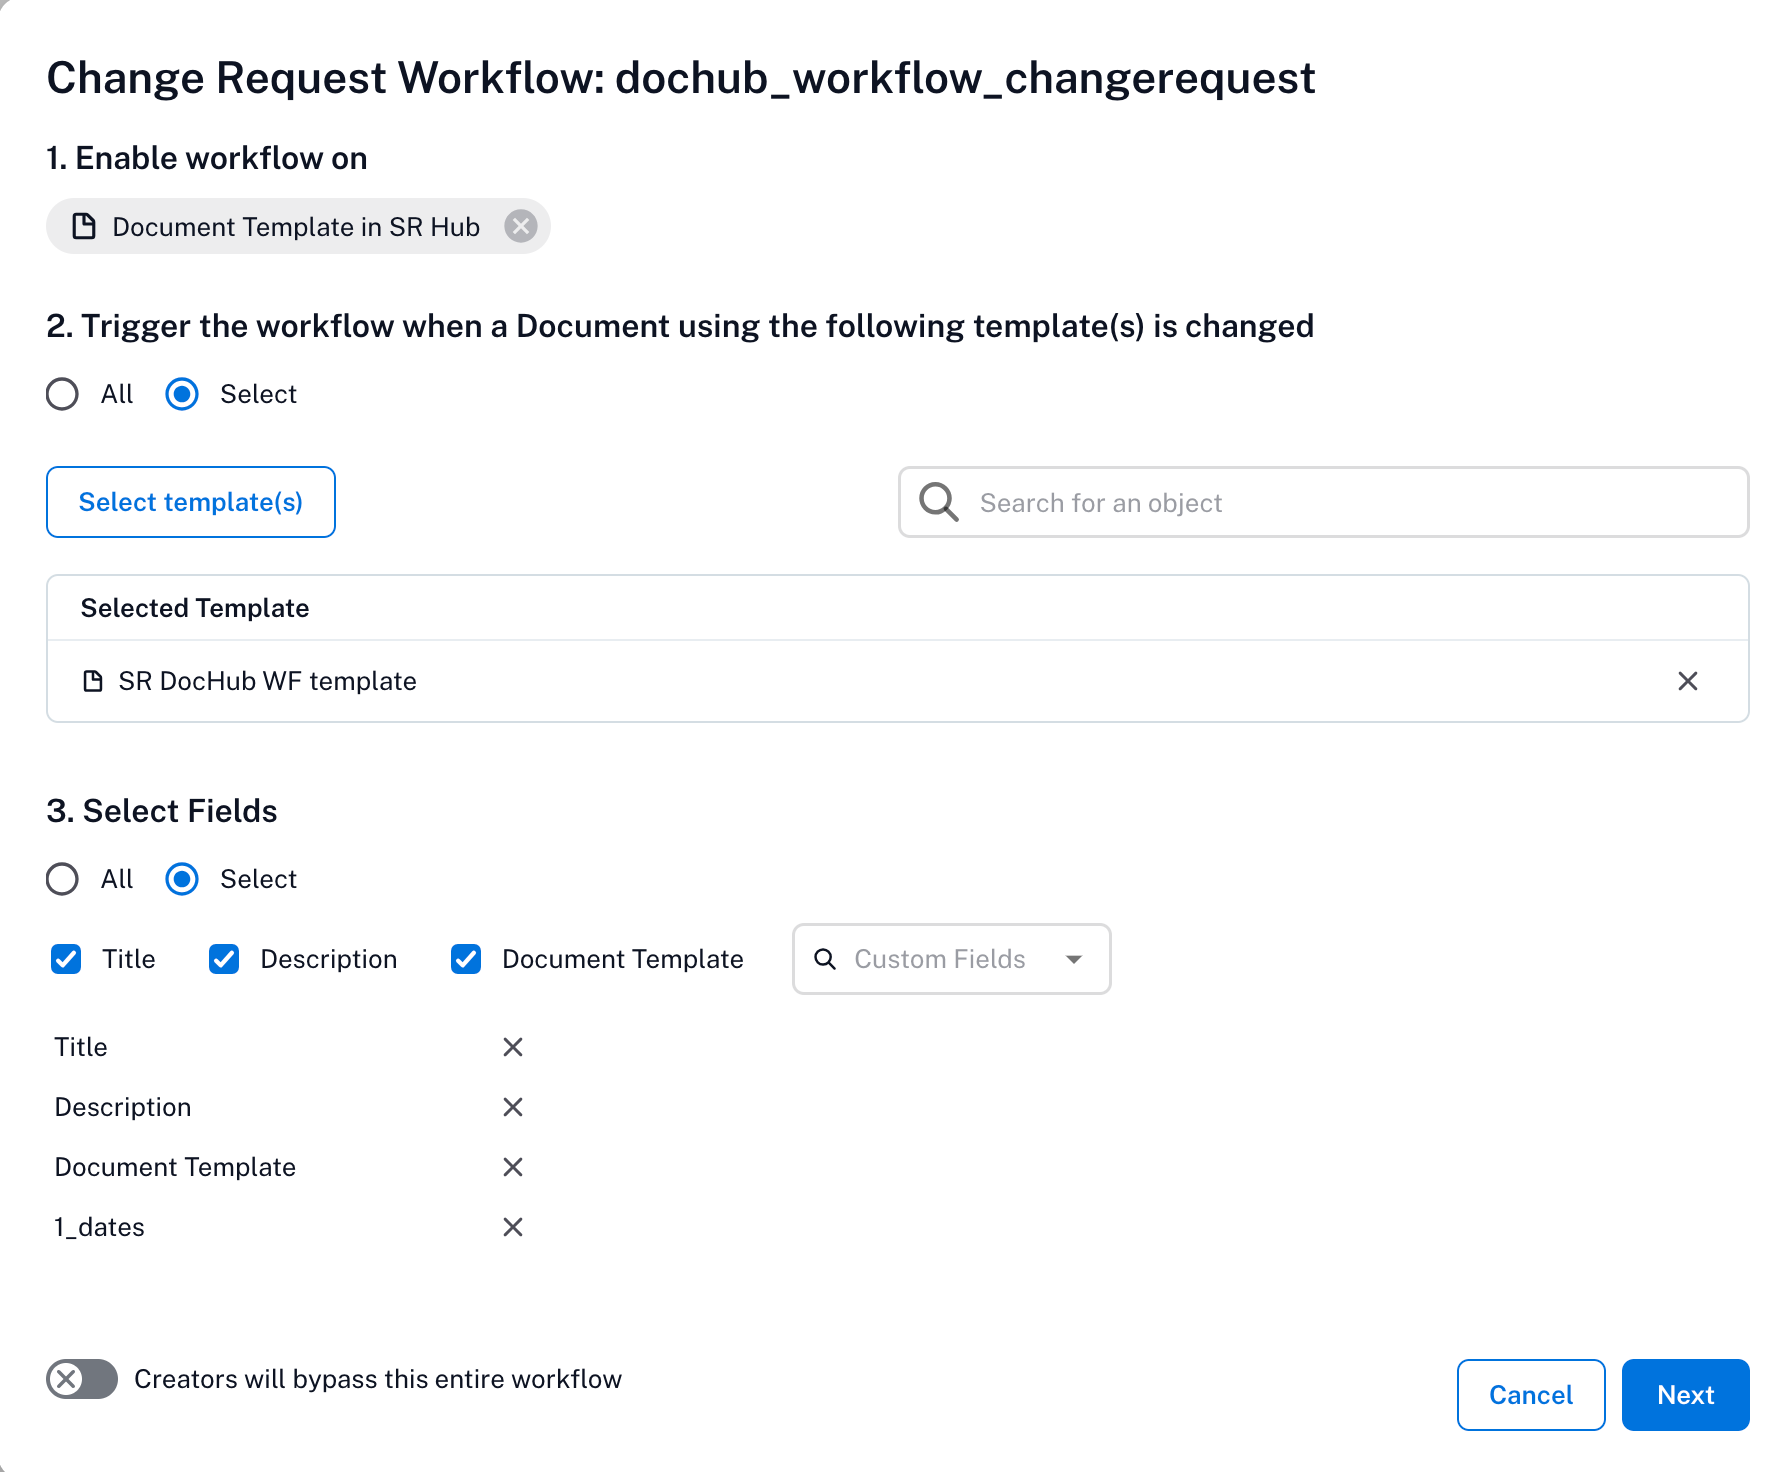
In Change Request Workflow widget:
In the Enable workflow on dropdown, select the document hub object type such as document or folder, or the document template to which you want to apply the workflow.
Click Select <Doc_Hub_Object(s)> to select the document(s), folder(s), or template(s) to which you want to apply the workflow. If you choose All, you are given the choice to exclude specific items from the workflow
Select the fields under Select Fields to which you want to apply the change requset workflow:
Title
Description
Document Template
Custom Fields
Click Next.
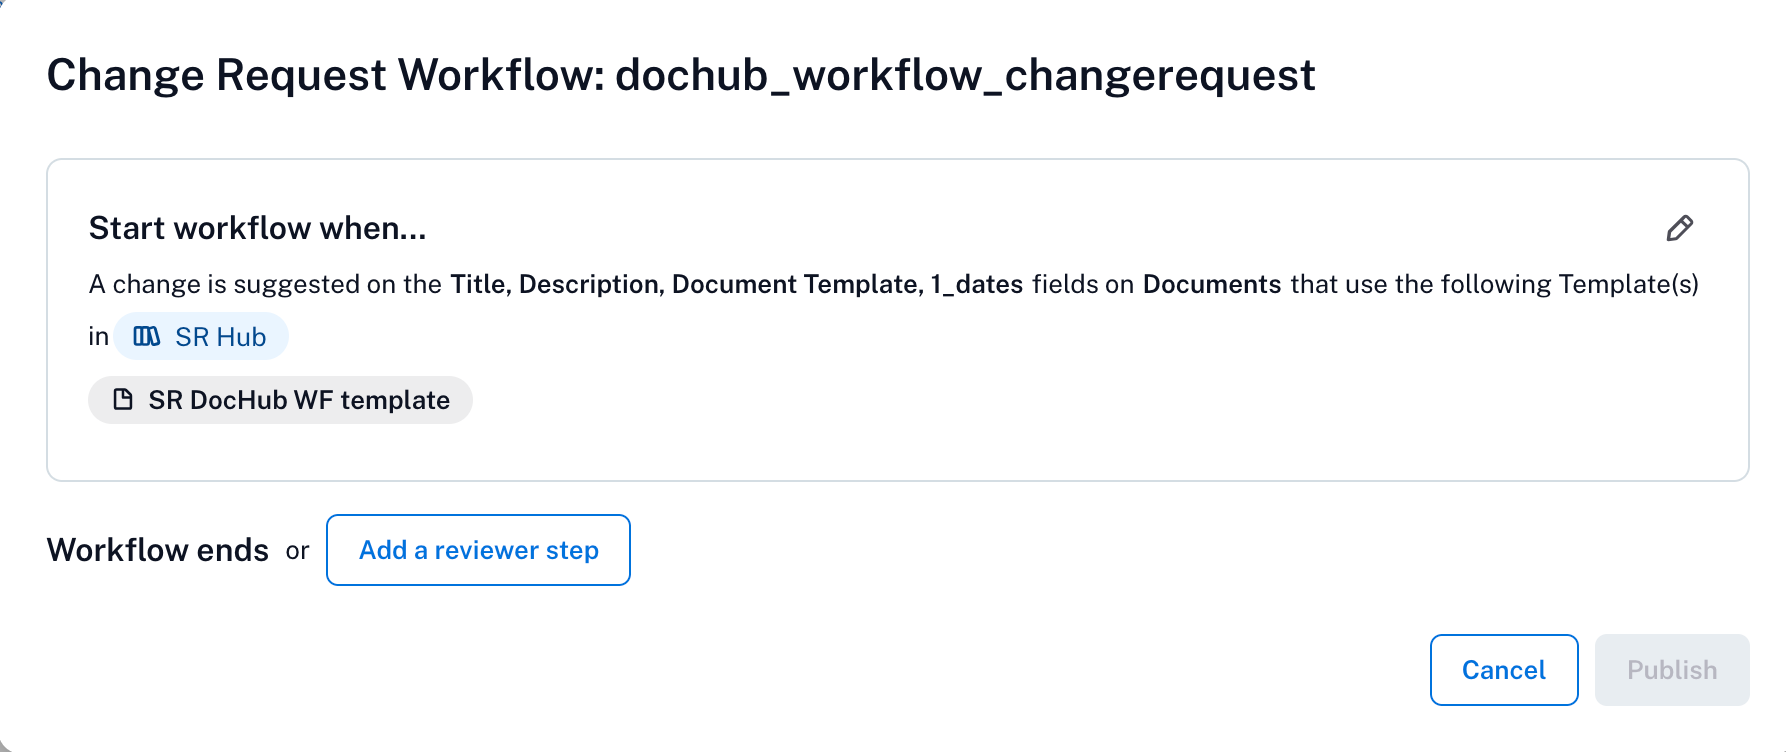
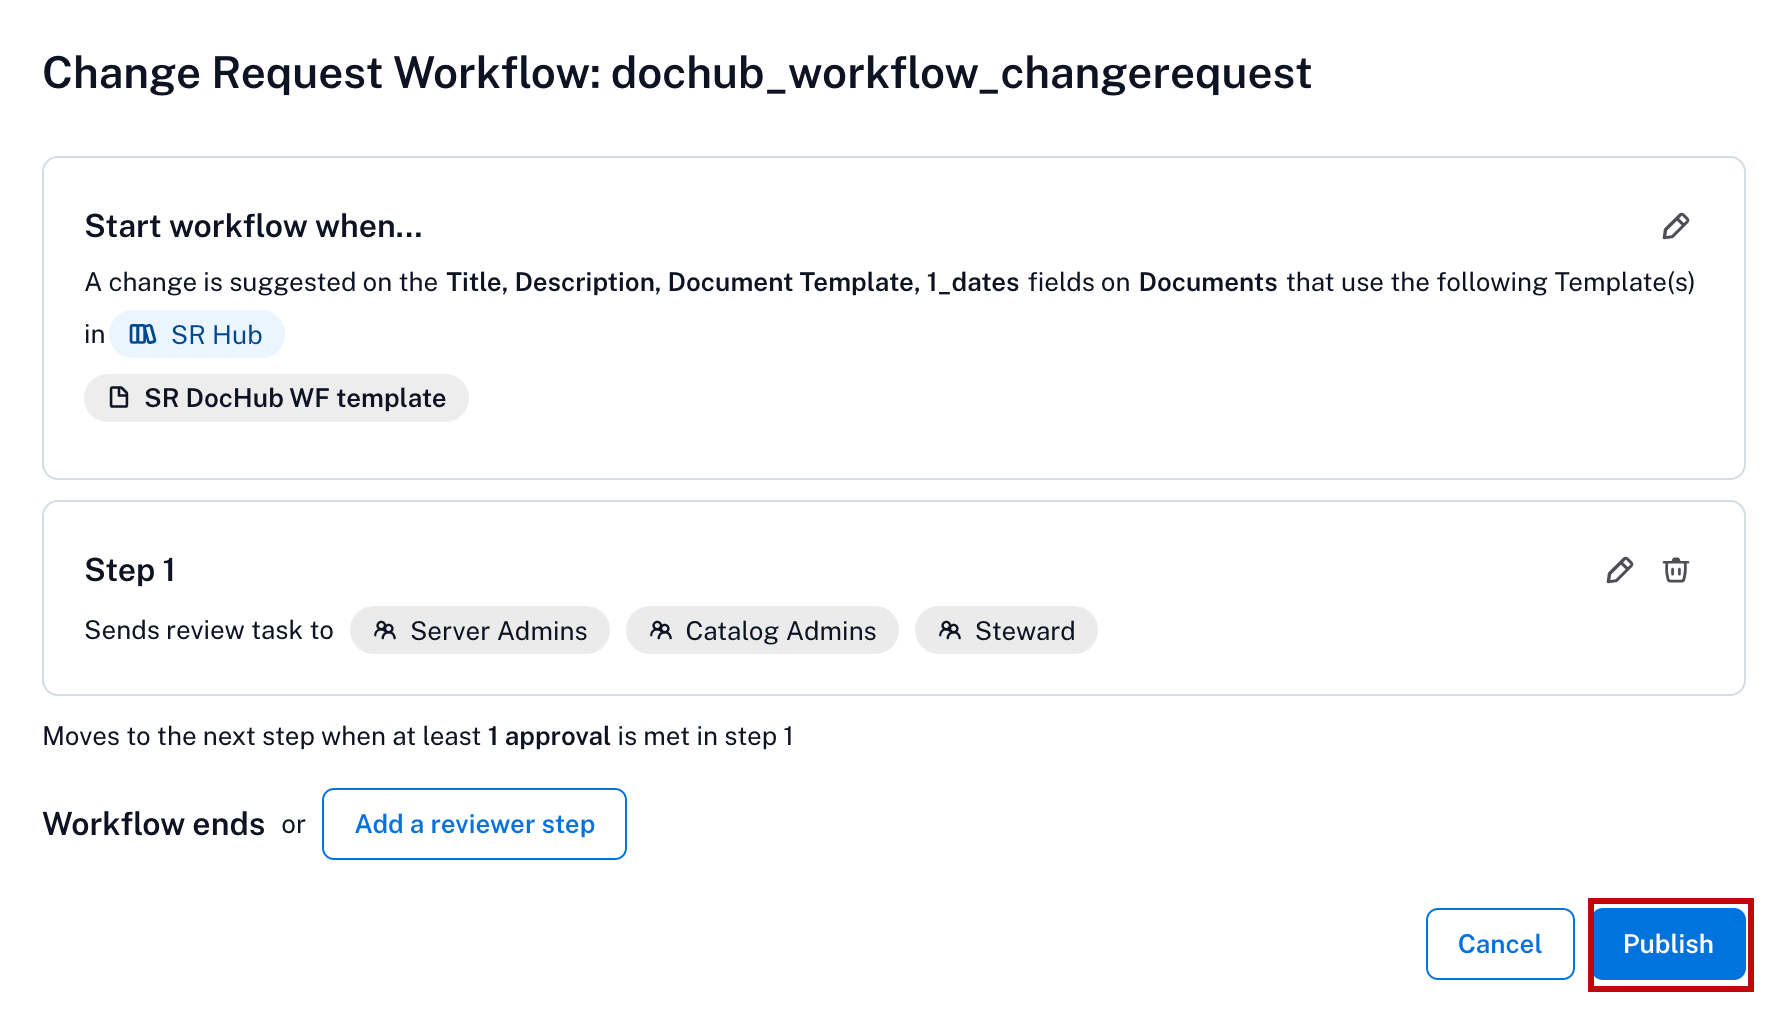
A summary of the workflow appears. Click the Add Reviewers button to specify the names or user groups from whom approval is required.
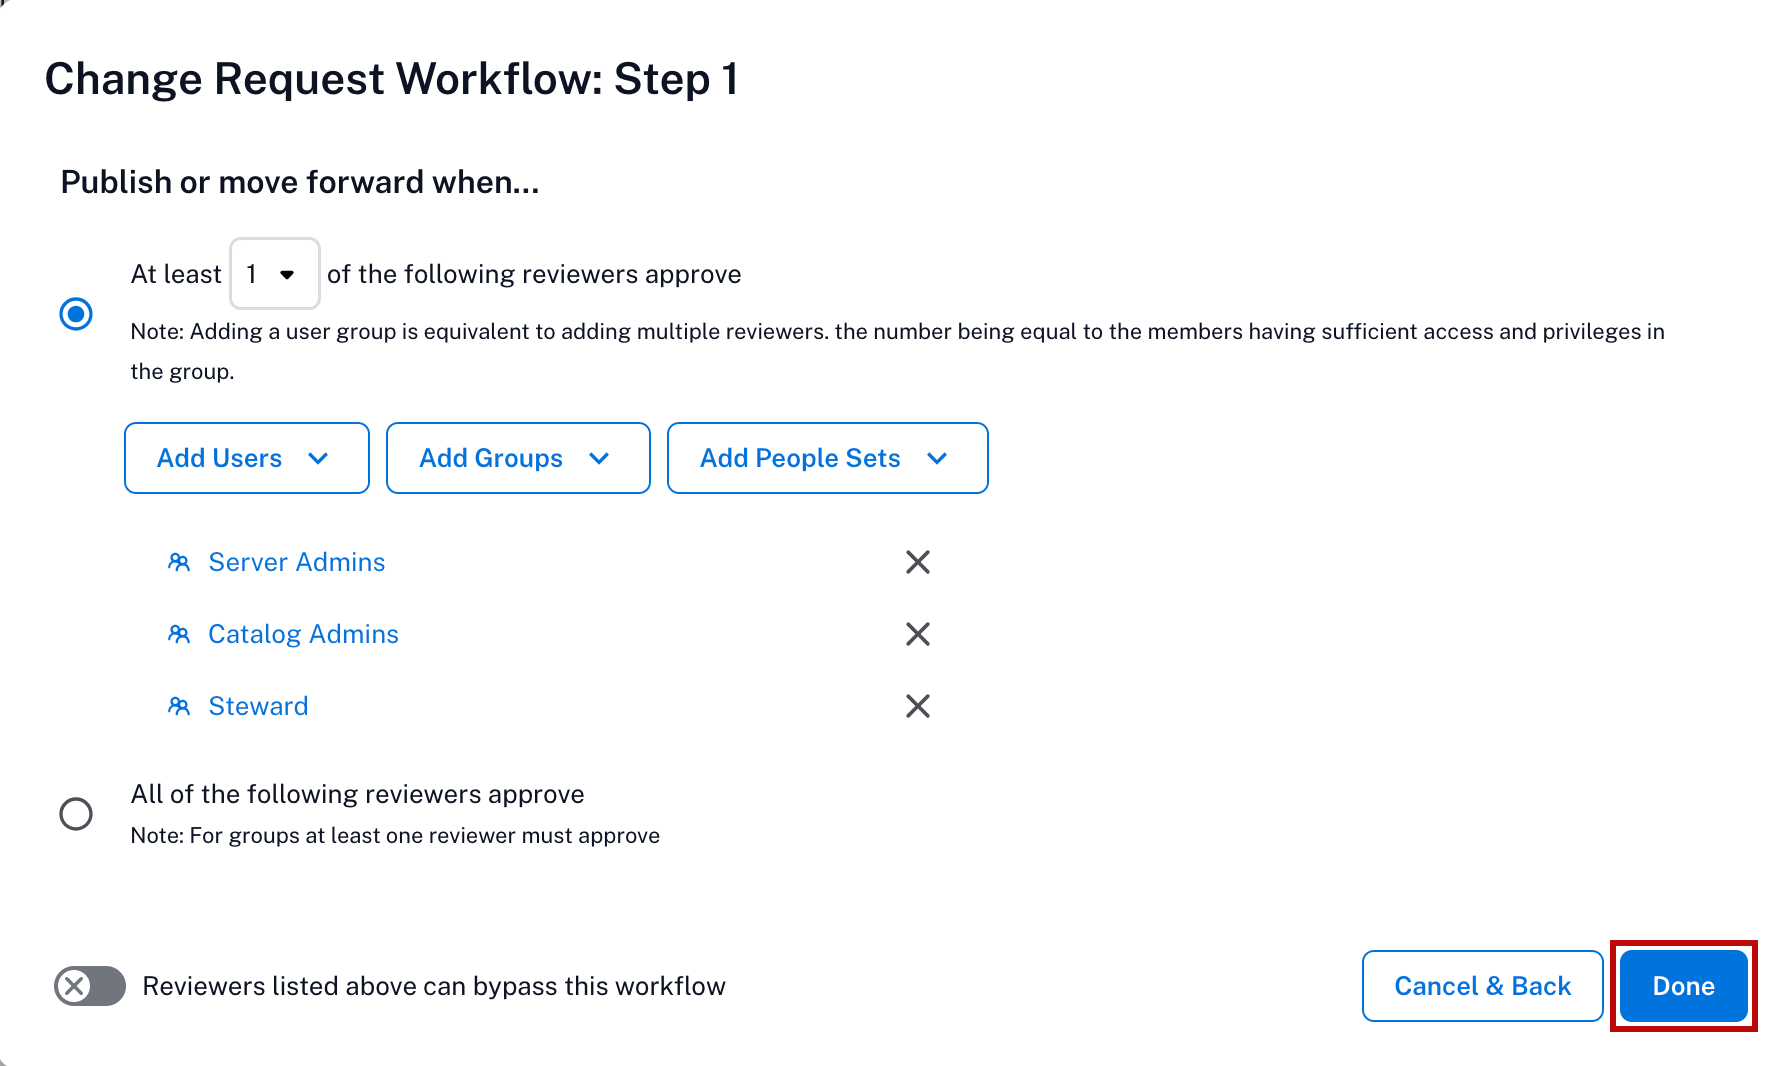
Specify a minimum number of reviewers (from 1 to 9 inclusive), or specify that all reviewers are required to approve. Click Add Users to specify individual users by name, Add Groups to specify user groups as reviewers, or Add People Sets to specify people sets as reviewers. Ensure that only users with the appropriate license level participate as reviewers.
Note
Users with viewer or explorer role cannot be added as reviewers. If you add the users with viewer or explorer role as reviewers, an error message will appear.
You can allow your reviewers or creator to skip the workflow by switching on the toggle labeled Reviewers of this step can bypass the entire workflow.
When you have finished adding reviewers, click Done.
Additional review steps can also be added at this point if desired by clicking the Add a Step button. When you are satisfied that the workflow is complete, click Publish.
To manage workflows, refer to: